What’s the Difference Between a Light and a Dark Fabric Transfer by PrintWorks

You may have noticed that our Fabric Transfers are designated as “light” or “dark”. It is important to pay attention to this, because the process of these two transfers is quite different. In this post we will show you the main differences so you can pick the best transfer for your project.
We offer these different types of transfers so you can find the one that best suits your project and get great results every time. Beyond the basic Light and Dark Transfers, we also offer Specialty Transfers such as Glitter (Light or Dark), Glow in the Dark, and Vanishing. Click here to learn more about these transfers.
Note: This guide is only intended to show the differences between a Light Transfer and a Dark Transfer. Be sure to refer to the complete instructions for your product before you begin! Watch our videos at the end of this post for a closer look at the process.
Printing
D A R K
The design on the back of the Dark Transfers is printed in BLUE. You should print on the other (blank) side of the transfer. Your image does not need to be mirrored.
Note: For use in inkjet printers only.
L I G H T
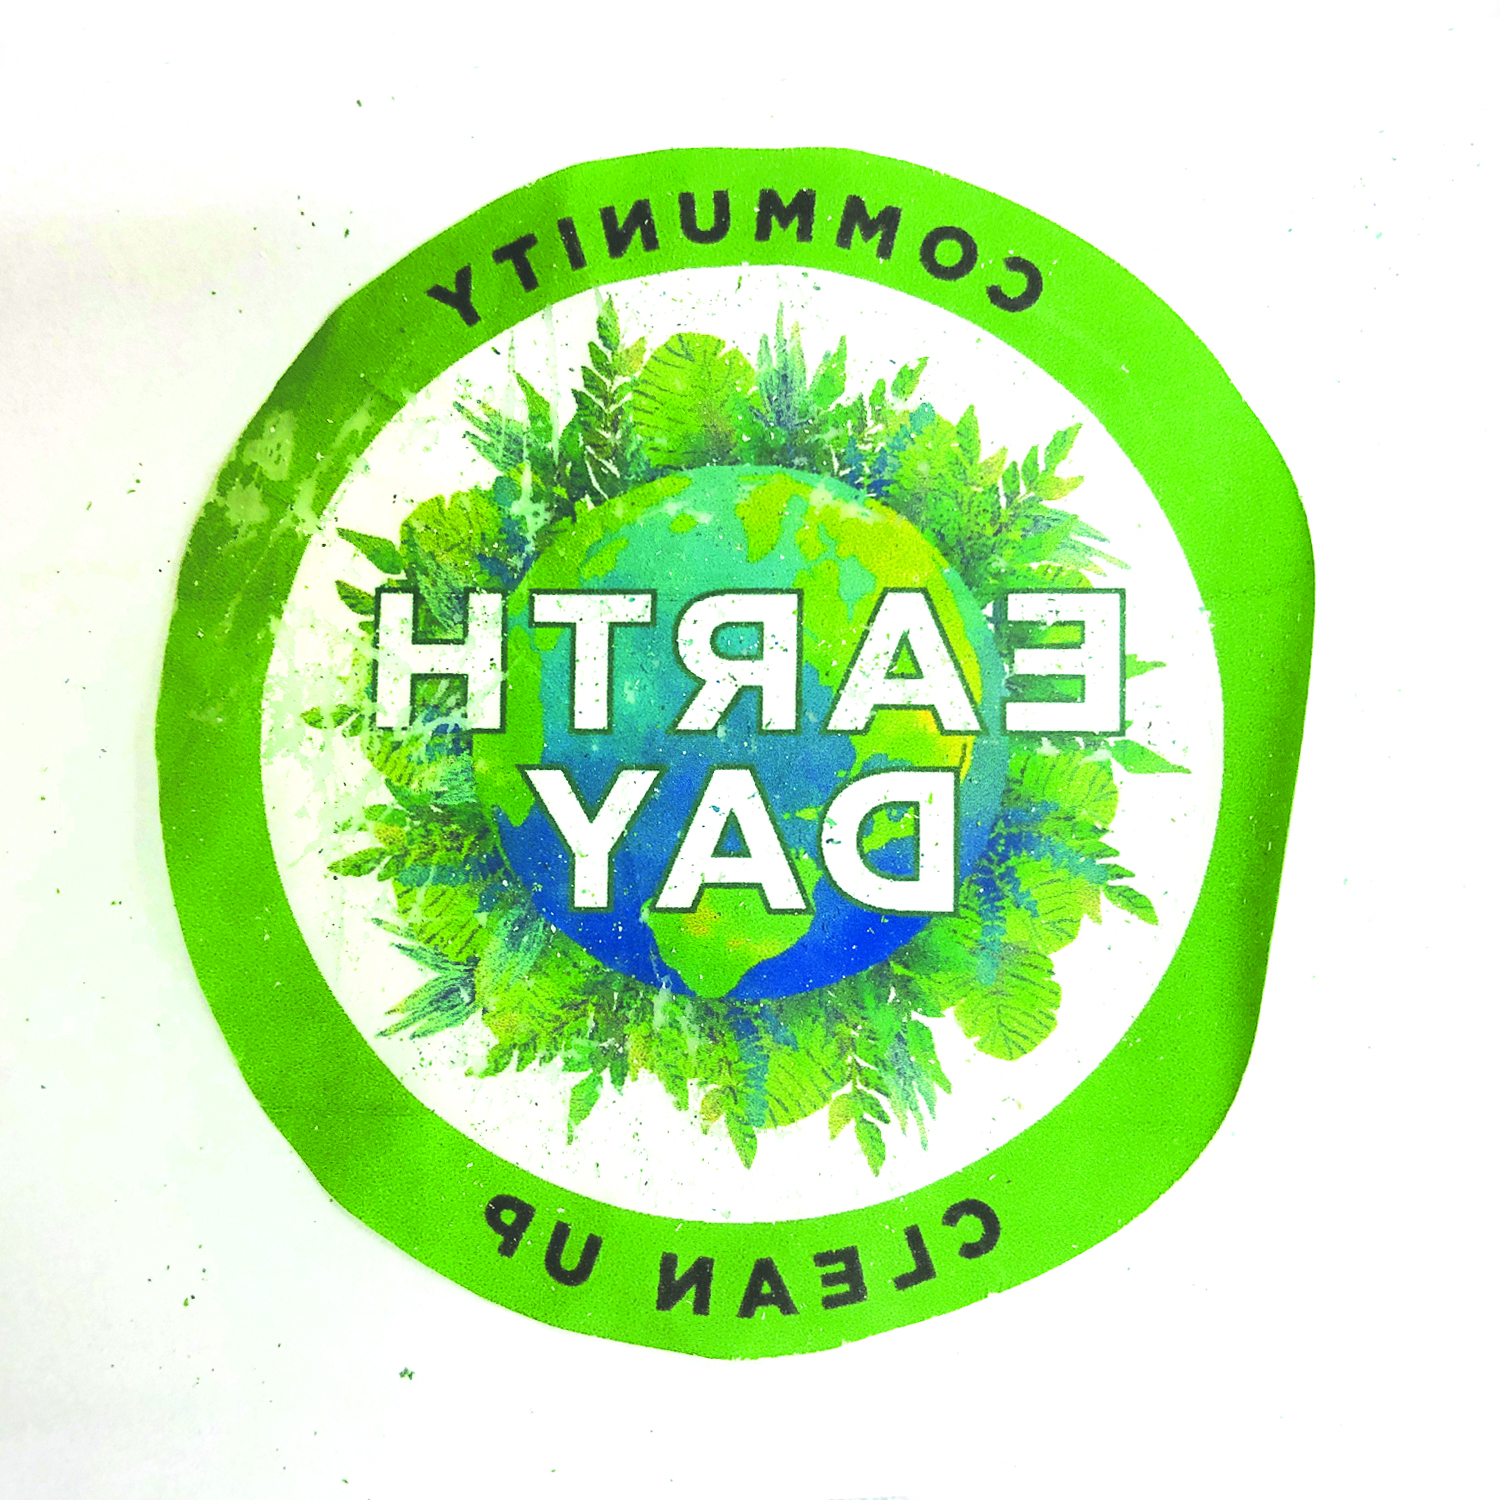
The design on the back of the Light Transfers is printed in PINK/RED. You should print on the other (blank) side of the transfer. You must flip/mirror the image before printing so that your design does not transfer backwards (this is especially important if there are numbers or letters in your design).
Note: For use in inkjet printers only.
Choosing a Fabric Color
D A R K
Dark Transfers on dark fabrics: ✓
Dark transfers are opaque after ironing, which means that any areas left blank will remain white even on dark colors.

Dark Transfers on light fabrics: ✓
Dark Transfers can also be used on light fabrics, and look just as nice.

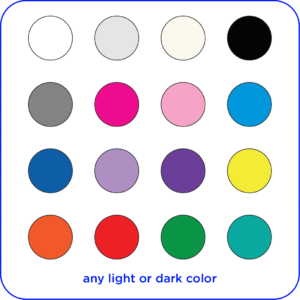
Dark Transfers fabric color suggestions: The sky is really the limit, because dark transfers work well on both colored and white/light-colored fabrics.
L I G H T
Light Transfers on dark fabrics: X
Light Transfers are transparent after ironing, which means that the fabric color will show through the design.

Light Transfers on light fabrics: ✓
Light transfers work best and are intended for white/light-colored fabrics.

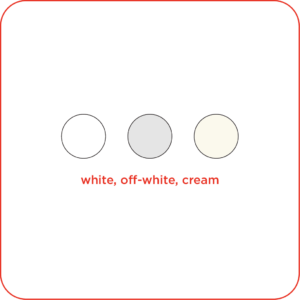
Light Transfers fabric color suggestions: For best results, Light transfers should only be used on light fabrics such as white, off-white, and cream.
Borders
D A R K
Dark Transfers on dark fabrics: X
Because the Dark Transfers are opaque, keep in mind that any borders around your design will show up as white. On dark fabrics, this might not be the look you are hoping for.

Dark Transfers on light fabrics: ✓
Borders on light fabrics are still visible, but because there is less contrast they are not as noticeable. Depending on your design, this may work for you. But if you want the border around your design to blend in more, try using a Light Transfer instead.

L I G H T
Light Transfers on light fabrics: ✓
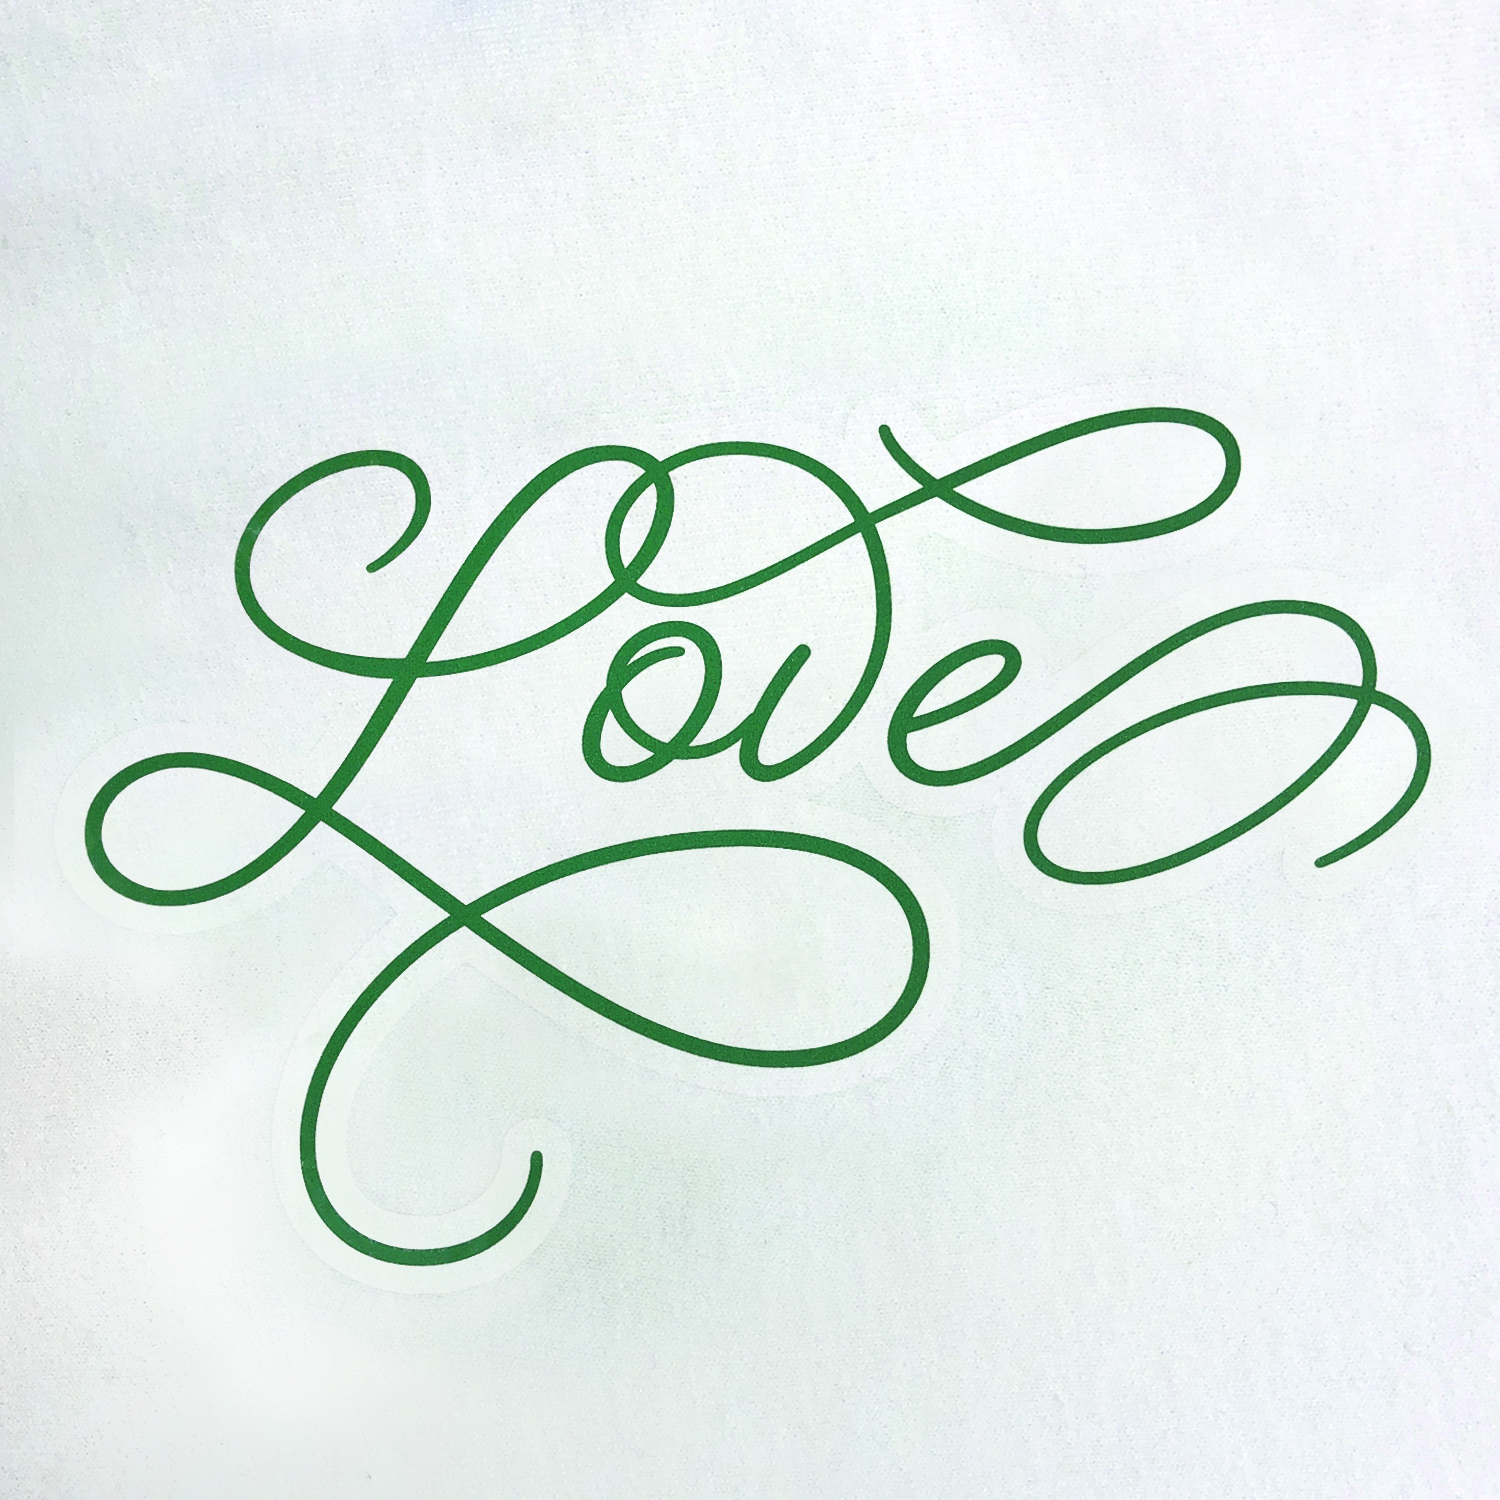
Because Light Transfers are transparent, borders are practically invisible. However, please note that when you iron, the coating on the transfer adheres to the fabric, even in blank areas where there is no design. Because of this you may faintly see the coating as a “shiny” area on the fabric. For everyday wear you usually won’t even notice, but if you look closely at the fabric you may be able to see it.
This is why we recommend that you cut a 1/8″ border around your design, so it is very close to the edge and not noticeable. If you were to simply cut a large square around the whole design, the shiny areas would be much more noticeable.
For more complex designs, you can use any desktop cutting machine’s “print and cut” function (just be sure to lay the transfer on the cutting mat with the image facing up, so the coating doesn’t stick to your mat).
Ironing
D A R K
Peel away the backing paper before ironing. Lay transfer on your fabric, image side up. Cover the transfer with the included overlay paper, which acts as a barrier between the iron and the transfer. Then iron following the Dark Fabric Transfer instructions that came with your product.

L I G H T
Lay the transfer on your fabric, image side down and backing paper face up. You do not need an overlay sheet, the backing paper acts as a barrier between the iron and the transfer. Then iron following the Light Fabric Transfer instructions that came with your product. After ironing, peel the backer after ironing and while still hot.
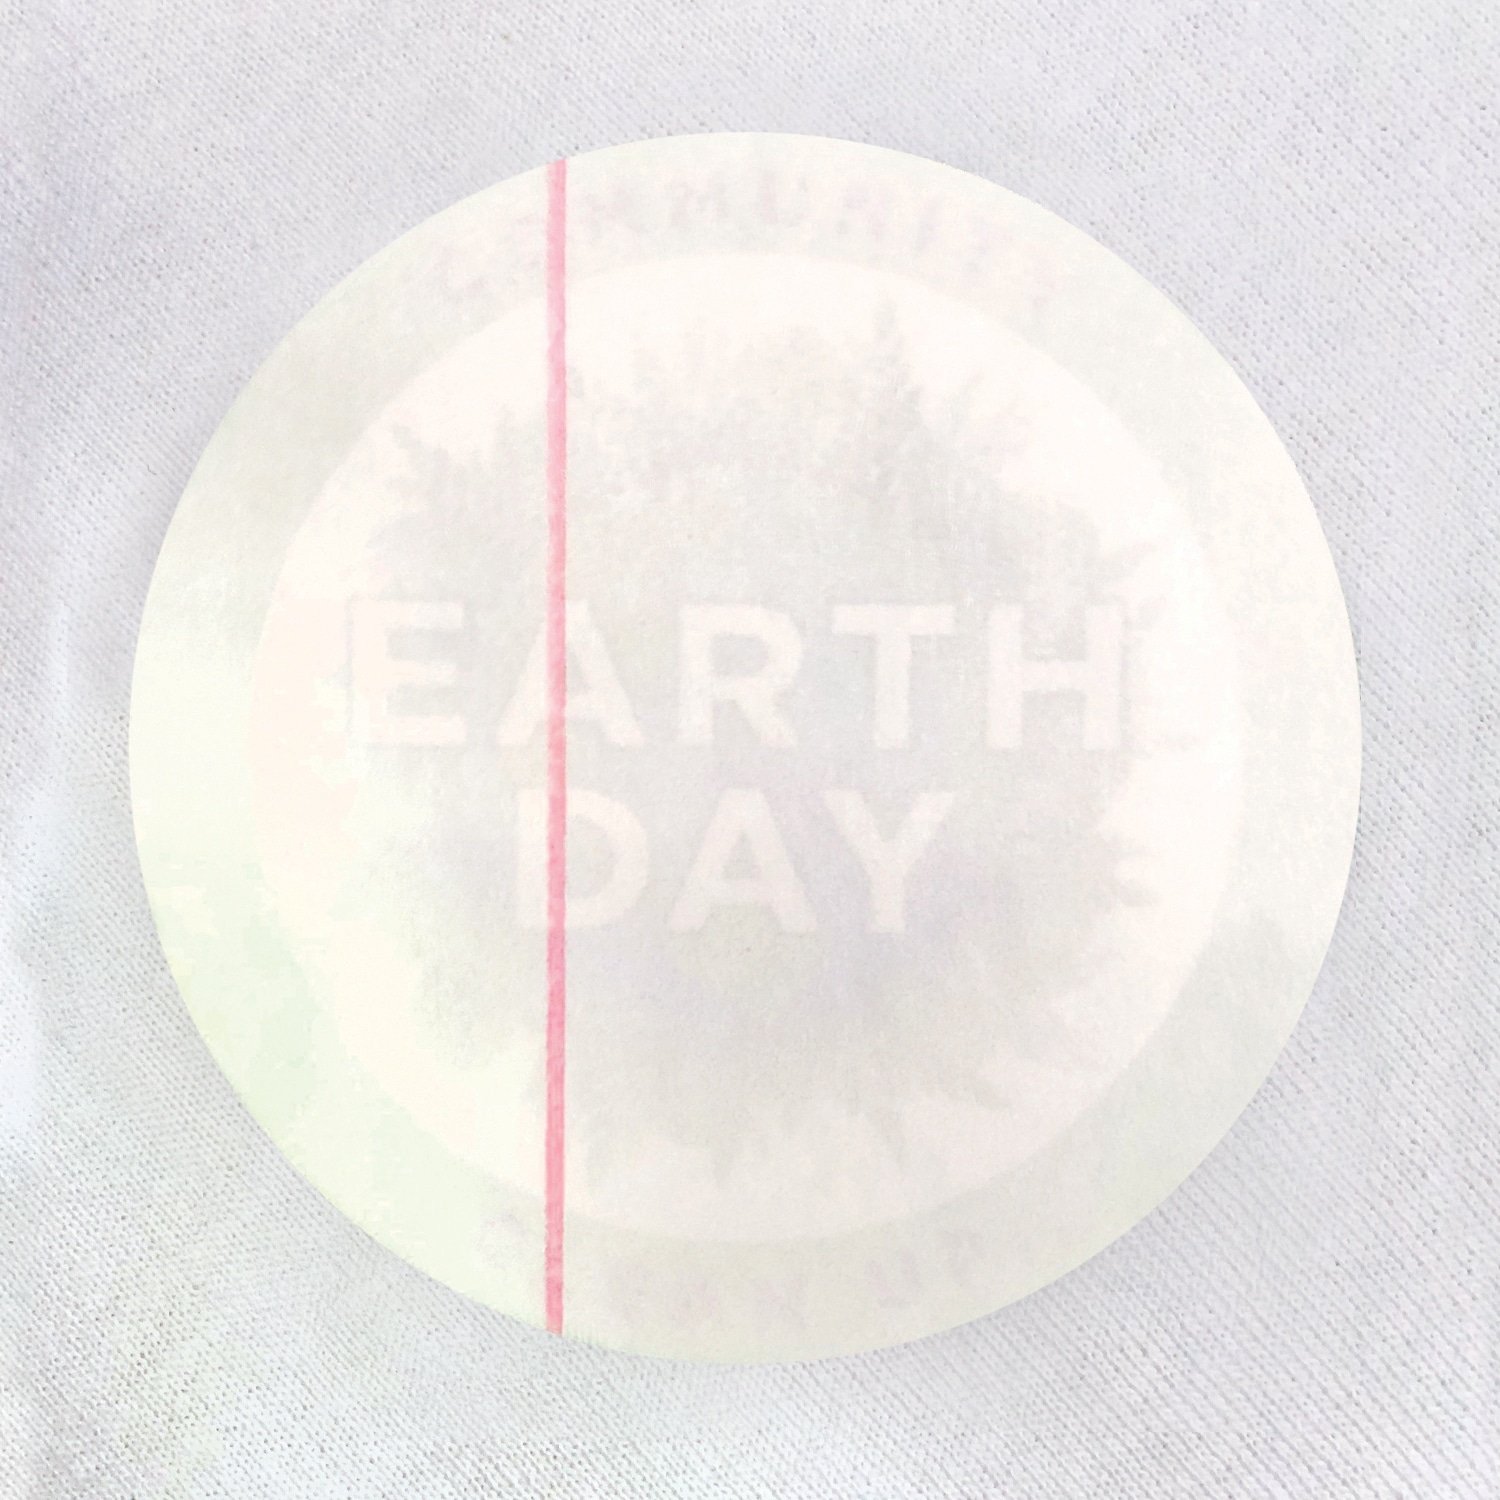
Note: DO NOT remove backing paper first on a Light Transfer. This will result in the image scratching/flaking. And even if you were able to remove the backing paper cleanly, the transfer would stick to the overlay paper during the ironing process.
Process Videos
Now that you know the differences between these two types of transfers, you can easily choose the right one for your project. Happy crafting!



If you have any more questions about using our Fabric Transfers, visit our FAQs page.
Follow us @printworksdiy on social media for more craft inspiration, and visit our Store to check out the rest of our product line.

