PrintWorks – Smart Cutting Fabric Transfers

PrintWorks Fabric Transfers are perfect for creating customized clothing, accessories, gifts, and more! And they really only require a few simple tools like a printer, an iron, and a pair of scissors. But did you know our Fabric Transfers are also compatible with smart cutting machines? This is perfect for designs that have a more complex shape, or if you are creating multiples and want to save time instead of cutting each by hand.
Read below and watch our video to learn how you can use our transfers in your smart cutting machine.

1.
Import your design as a “print then cut” image in your cutting machine software.
You can import a JPG, PNG, or PDF file. If there is a background in your image, you may need to remove it first (these can be done in the machine’s design software). If the background is transparent, you can move on to the next step.
2.
Once imported, adjust the size of your design as needed.
3.
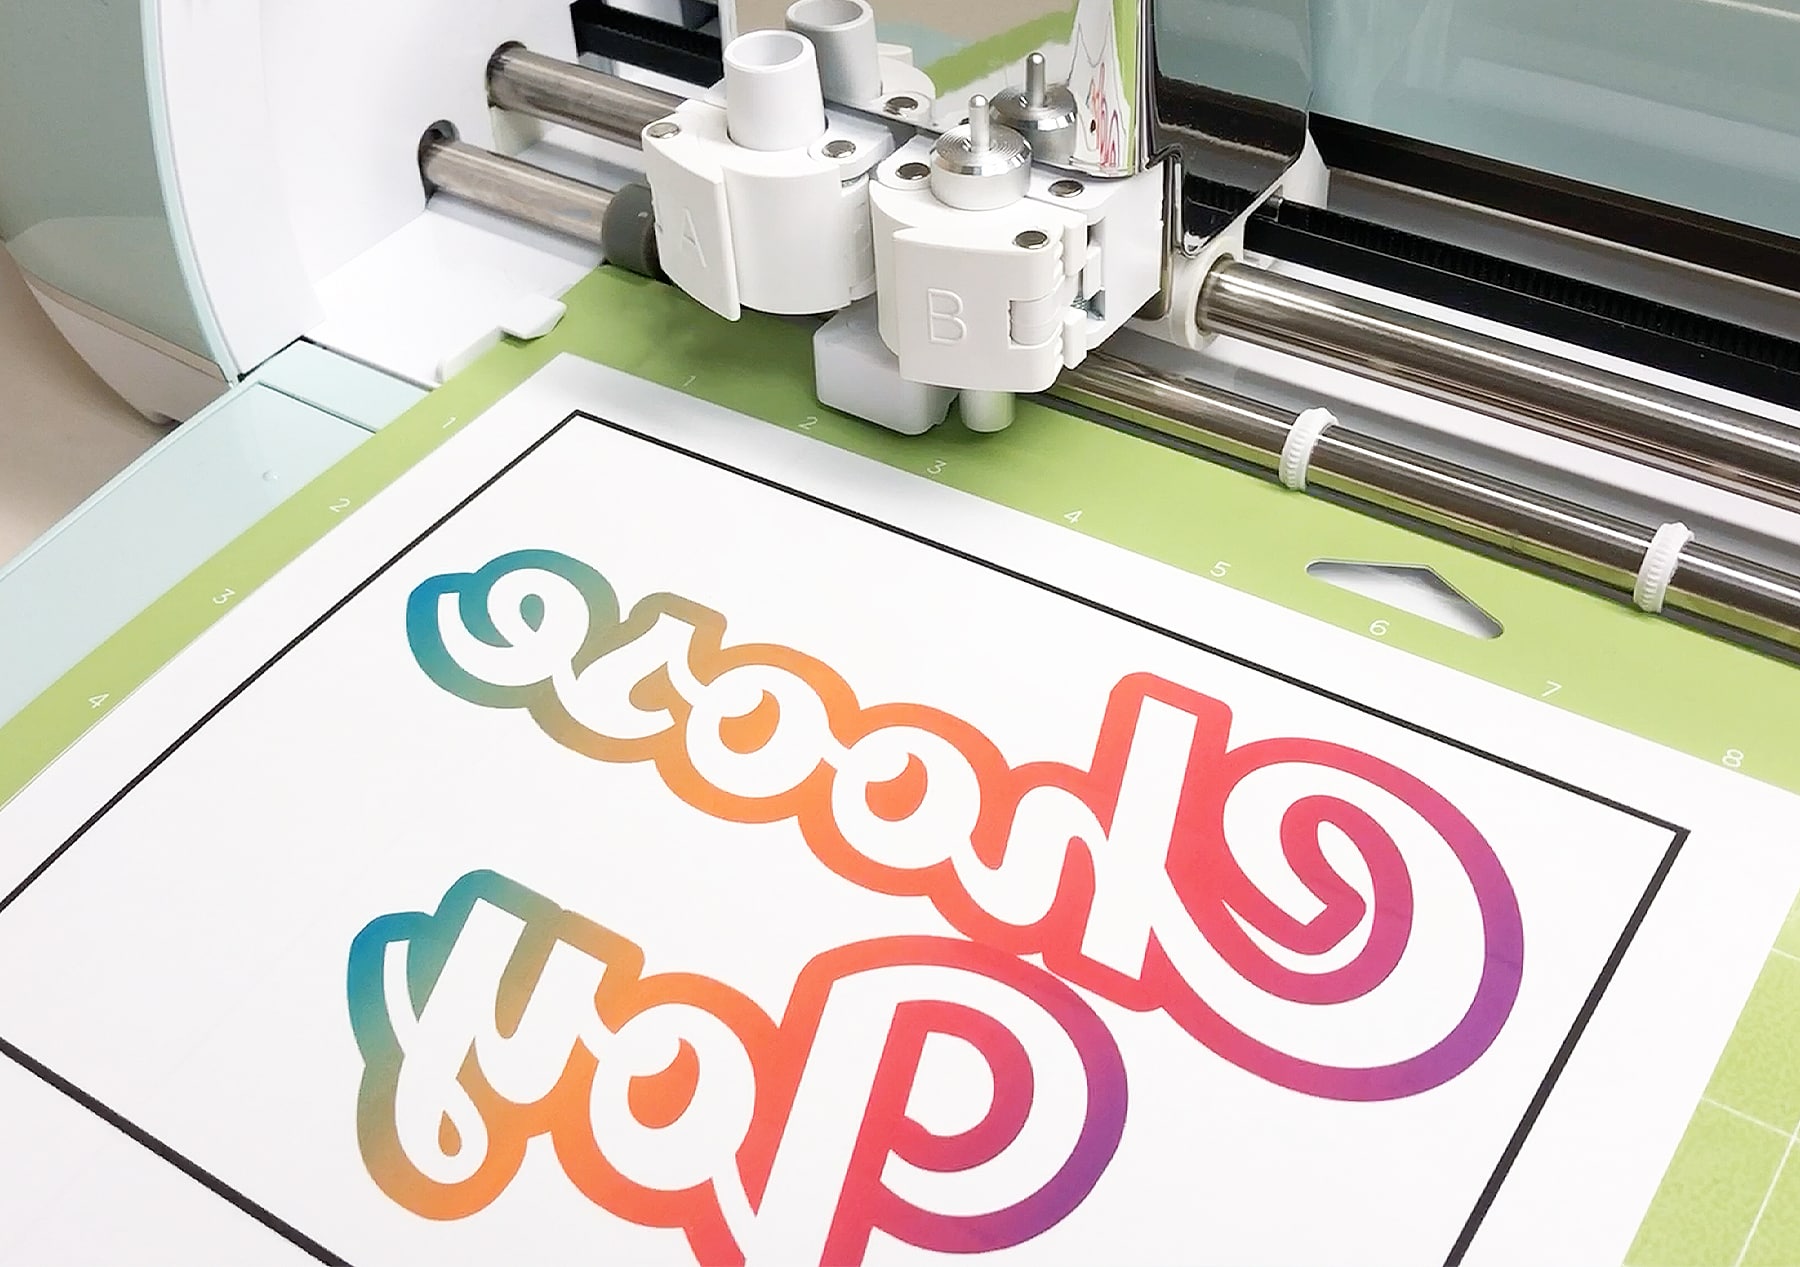
Now you are ready to cut it out! The machine will show you a preview of your design on the cutting mat.
Note: If you are using Light Fabric Transfers, be sure to select “mirror” before printing! (This is not necessary for Dark transfers.)
4.
Load the transfer paper into your printer so that it will print on the blank, unlined side. Then print your design onto the transfer. Depending on the cutting machine you have, it will print marks around your design so the machine knows where to cut.
5.
Place the transfer on the cutting mat with the printed side facing up.
6.
Select the “cardstock” setting from the material options. This will ensure the transfer cuts cleanly all the way through.
Note: Some types of heat transfer vinyl involve the use of “transfer tape”. We do not recommend using this with our transfers, because the tape can rip the transfers or peel away some of the printed ink from your design.
7.
Load the mat and press go. The machine will start scanning the marks to make sure it is cutting in the correct location on the page.
8.
Next the machine will start to cut out your design!
9.
Once cut, peel away the excess transfer paper and carefully remove your design from the mat.
10.
Now you are ready to apply your transfer.
Note: The process of ironing Light and Dark transfers are very different (learn more by visiting our blog). Be sure to follow the instructions that came with your Fabric Transfers (find instruction sheets here).
Watch our video to see the process! Note: in this video we are using Light Fabric Transfers. This process will vary slightly with our Dark Fabric Transfers. Be sure to follow the instructions that came with your transfers (or find them here).
Shop Our Fabric Transfers Now!
Follow us @printworksdiy on social media for more craft inspiration, and visit our Store to check out the rest of our product line.


