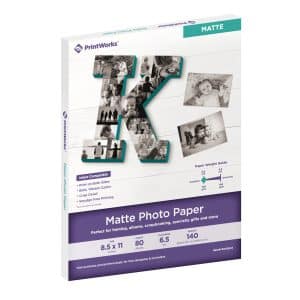
PrintWorks – Tips for Printing Photos at Home

Are you printing photos at home and need some help getting started? We’ve collected some tips to help you understand more about the process so you can create high quality prints for any project!
Sizing
Common Print Sizes:
In the table below, you will find some common print sizes. Our Photo Papers come in 4″ x 6″ and 8.5″ x 11″ so they can easily run through your printer and be cut down to some of these smaller sizes that are common for framing or photo albums.
| Print Size (in inches) | Image Size (in pixels) | Aspect Ratio |
|---|---|---|
| 2.5 x 3.5 | 750 x 1050 | 5:7 |
| 4 x 6 | 1200 x 1800 | 2:3 |
| 5 x 7 | 1500 x 2100 | 5:7 |
| 8 x 8 | 2400 x 2400 | 1:1 |
| 8 x 10 | 2400 x 3000 | 4:5 |
| 8.5 x 11 | 2550 x 3300 | * |
* 8.5 x 11 is commonly referred to as “Letter” size. It does not have an exact aspect ratio.
Pixels:
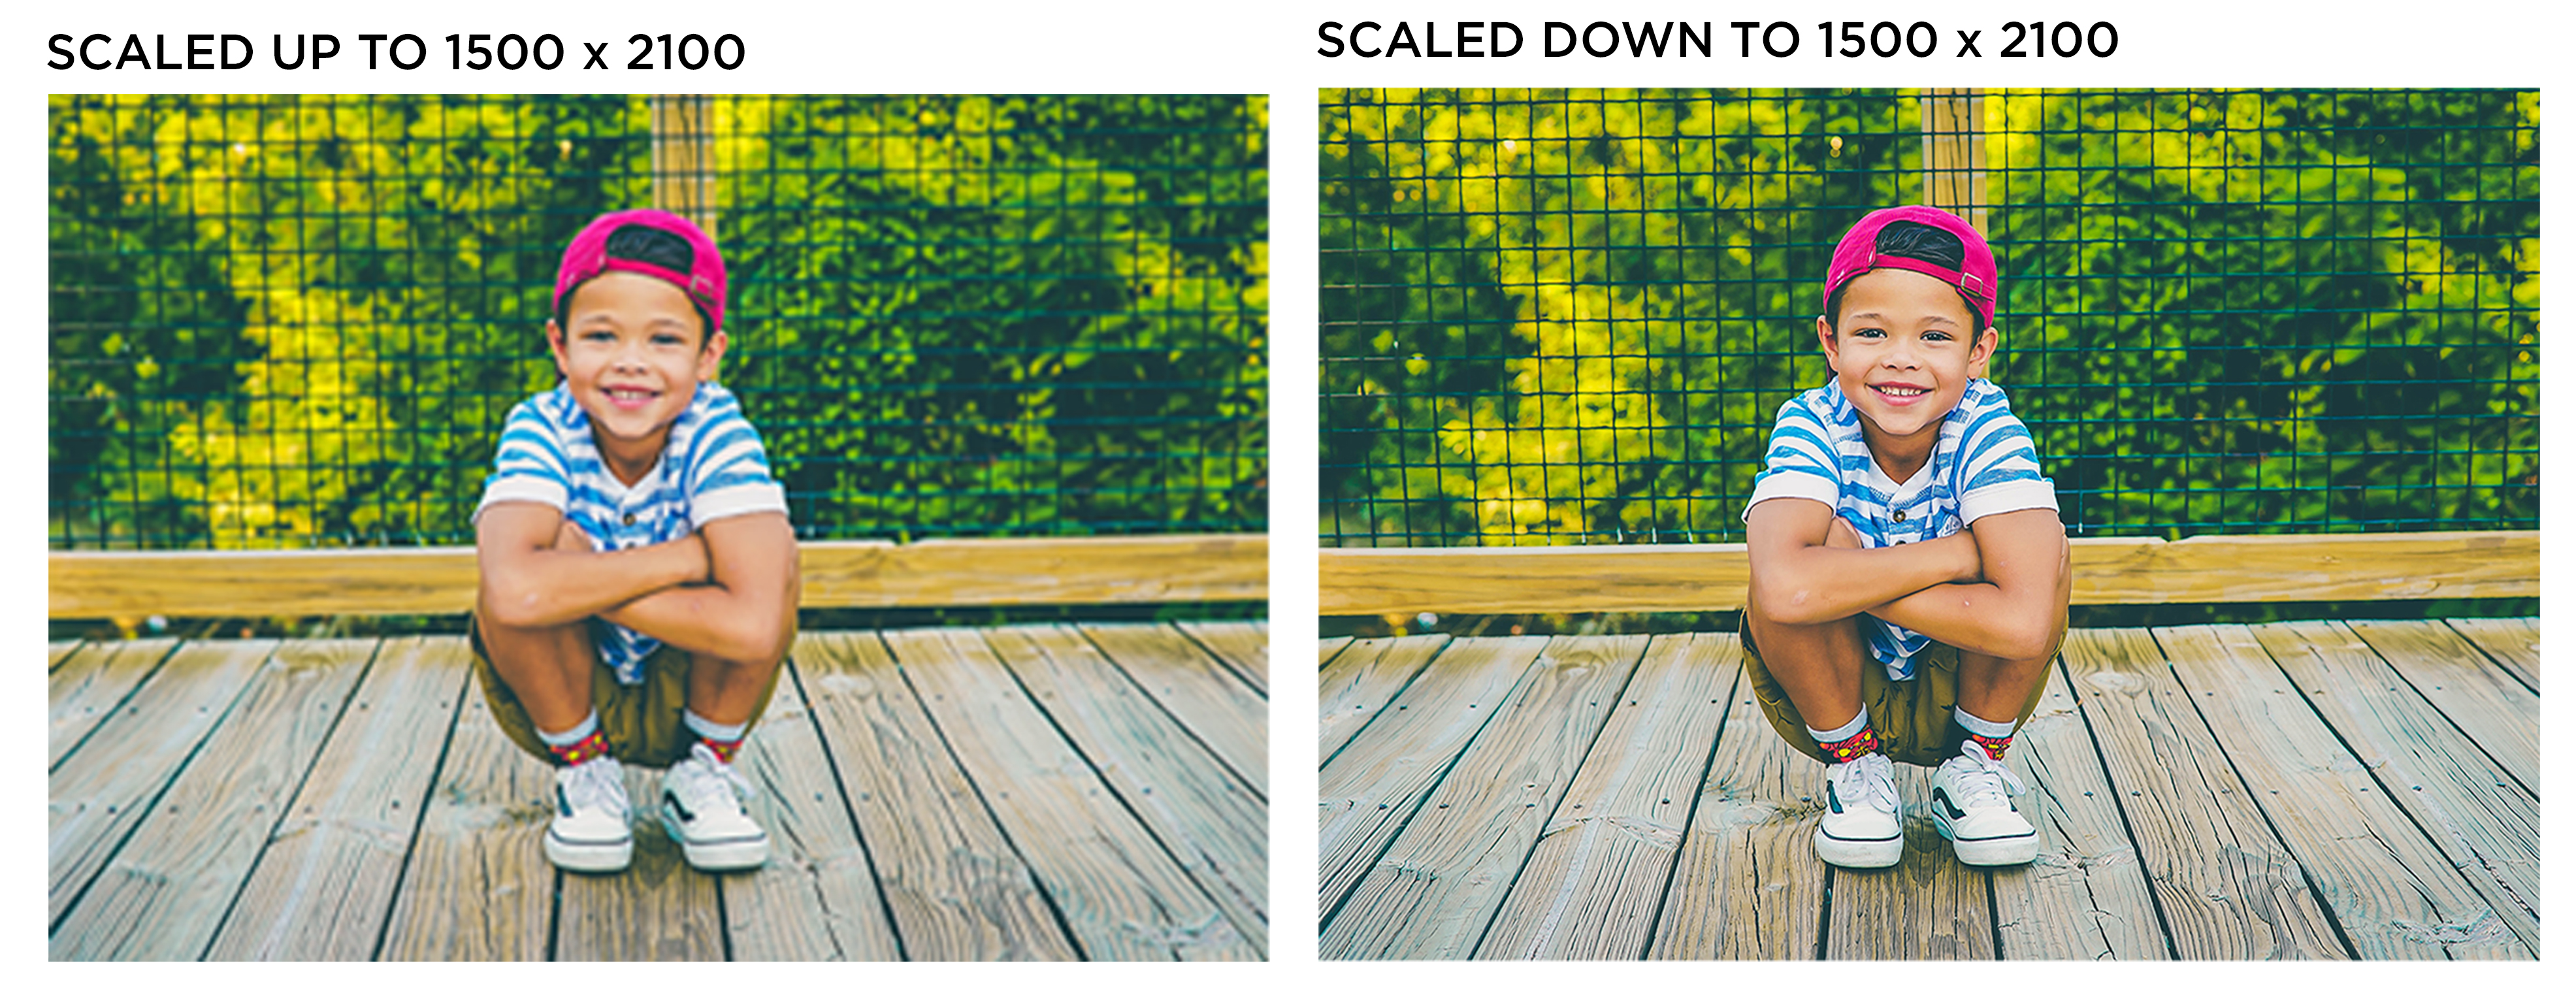
It’s important to make sure the pixel dimensions of your image match up to the size of the print you want to make.
Tip: Always scale down your images, never scale up.
If the pixel dimensions of your image are smaller than the size you want to print, scaling the image up will result in a blurry/pixelated image. However, if the pixel dimensions are larger than the size you want to print, scaling the image down to that size will maintain clear resolution.
Aspect Ratios:
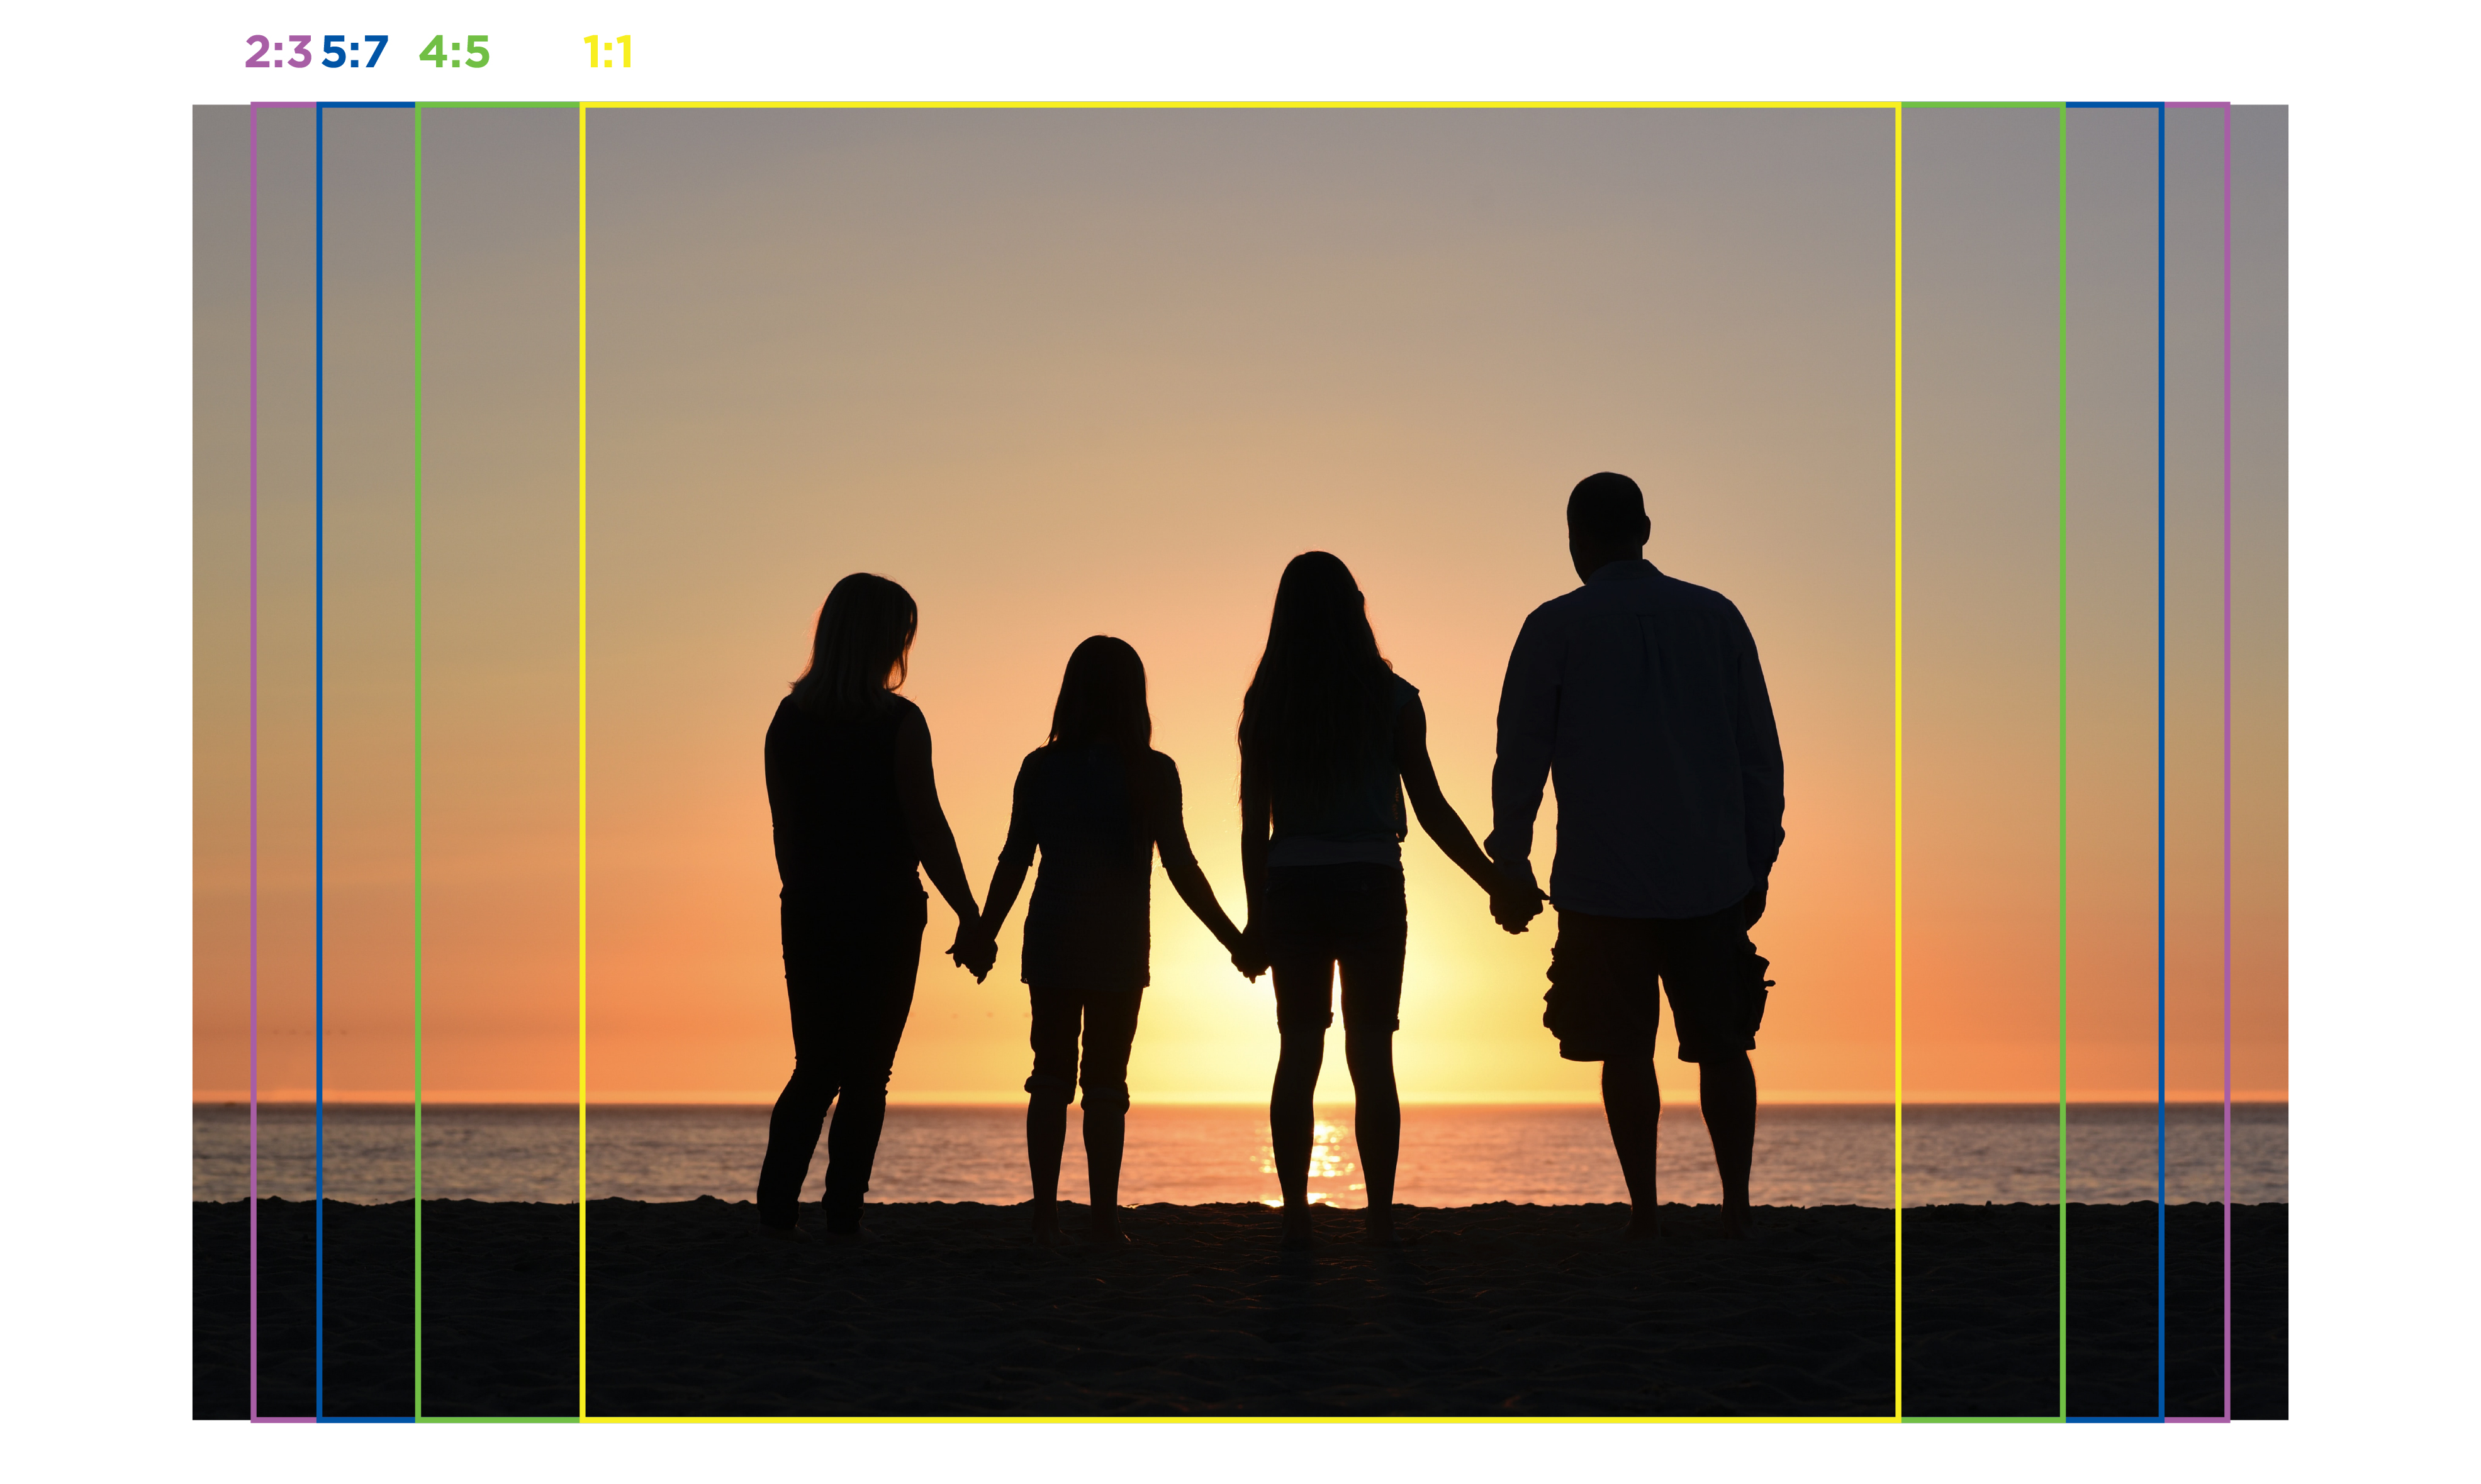
To avoid unwanted cropping when you print, you should try to match the aspect ratio of your image to the print. You can do this by manually cropping your image before printing. See the image below for examples of how an image can be cropped at different aspect ratios.
Tip: Here is a great guide for understanding more about aspect ratios!
How to crop an image:
There are many different ways to crop your images, depending on the program you are using (there are also some free online tools like this one from Adobe Photoshop).
Another simple way is to use Microsoft Word. After you insert your image, you can go to “Picture Format” and select “Crop”. Then in the drop-down menu, select “Aspect Ratio” and choose the one that matches your intended print size.
Paper Type
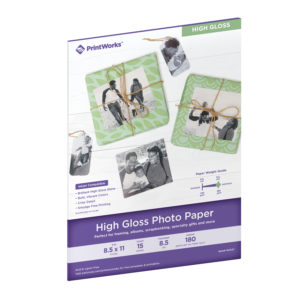
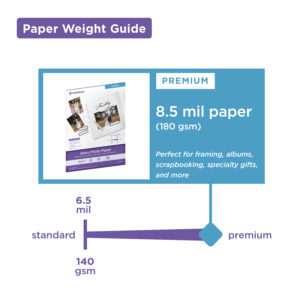
Framing, scrapbooking, cards or gifts – there are many different uses for photo papers, so you will want to pick the type that best suits your project. PrintWorks offers a few options to help you get the look you want.
High Gloss
Brilliant, high quality shine that enhances the colors in your print.
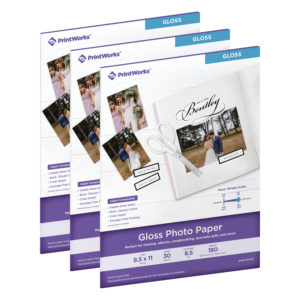
Gloss
Subtle, gloss shine perfect for everyday prints, framing, and albums.
Matte
Smooth, no-gloss finish produces rich detail and color.
Colors on screen vs. the final print
Have you ever noticed that the colors in your print look different than what you see on your screen? This is because your screen mixes red, green, and blue (RGB) to create the range of colors you see on your monitor. On the other hand, printers mix cyan, magenta, yellow, and black ink (CMYK) to create the range of colors you see in your prints. Because of these two different methods of creating colors, the colors will vary from your screen to your print.
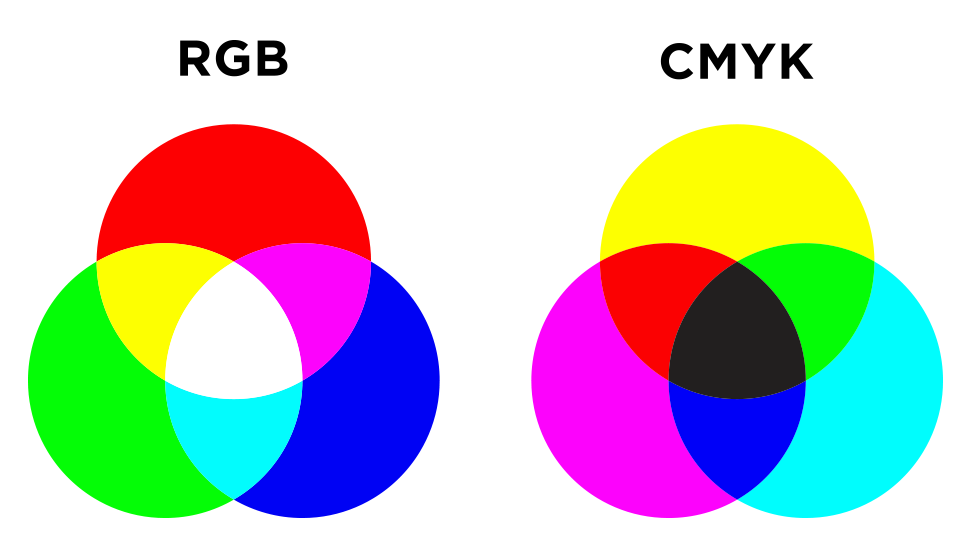
It is possible to calibrate your monitor to get the colors closer to what you will see in the final print. This process is basically eye-balling the colors, so it probably won’t be 100% perfect. But it may be worth it to you if you notice a drastic difference between your screen and the print. You can usually find the calibration settings in the system preferences of your computer. Read this blog for more info.
Note: Try checking your printer ink levels first, the change of color could also just be low ink.
Printing
Printer Type:
Only print using an Inkjet printer. Our Photo Papers are not compatible with Laser printers (the heat that is released when printing in a laser printer can cause quality issues with the coating on the photo paper).
Printer Settings:
When ready to print, set your printer to “Best” or “High” quality.
Also be sure to specify the type of Photo Paper you are using. All printers have different settings, so refer to your manual. Usually you will find this option under “Media & Quality”, “Media Type” or “Paper Type”. Next, choose the Photo Papers settings that best match the type of paper you are using: Glossy, Semi-Gloss, Matte (sometimes it might just say Photo Papers and not have specific settings).
Properly selecting these two settings will ensure the best ink coverage, which makes a big difference in the quality of the final print.
Tips: Before printing – check your ink levels to avoid uneven ink coverage. If you are doing a test print, use regular paper and choose “Draft” or “Fast” mode to conserve ink.
We hope you found these tips helpful!
If you have any more questions about using our Photo Papers, visit our FAQs page.
Follow us @printworksdiy on social media for more craft inspiration, and visit our Store to check out the rest of our product line.
