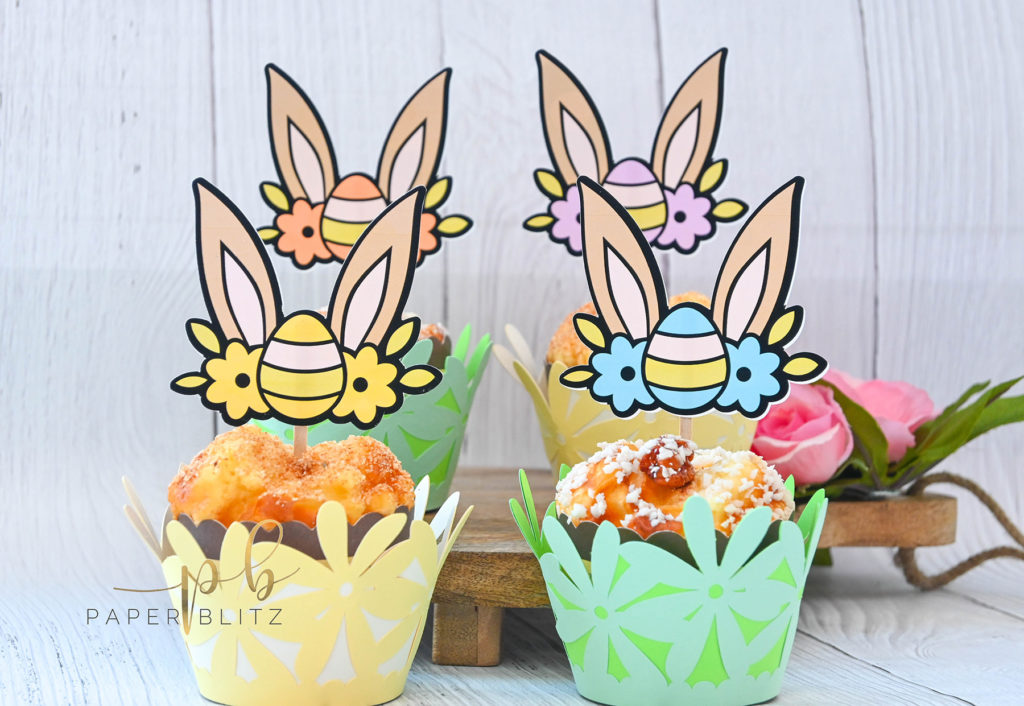
8 Eggciting Crafts for Easter

Who’s ready for some crafting fun? With Easter only a few days away, here are some eggciting crafts that you can make for this occasion. All you need are some basic craft supplies and a whole lot of creativity!
1. DIY Cupcake Wrappers
Jazz up your cupcake with some cute and colorful patterns to add to your sweets for them to stand out. It will only take a couple of minutes and a few materials to do it.
Supplies:
Directions:
- Grab a piece of cardstock to your liking and cut them using your smart cutting machine (I got my wrapper template from Cricut Design Space).
- Glue the two layers together.
- Assemble the wrapper by bending the cardstock to form a circle and insert the tab into the slot on the other end.
- Place the cupcake into the wrapper, snap some pics, dig in and enjoy!
2. Printable Easter Cupcake Toppers
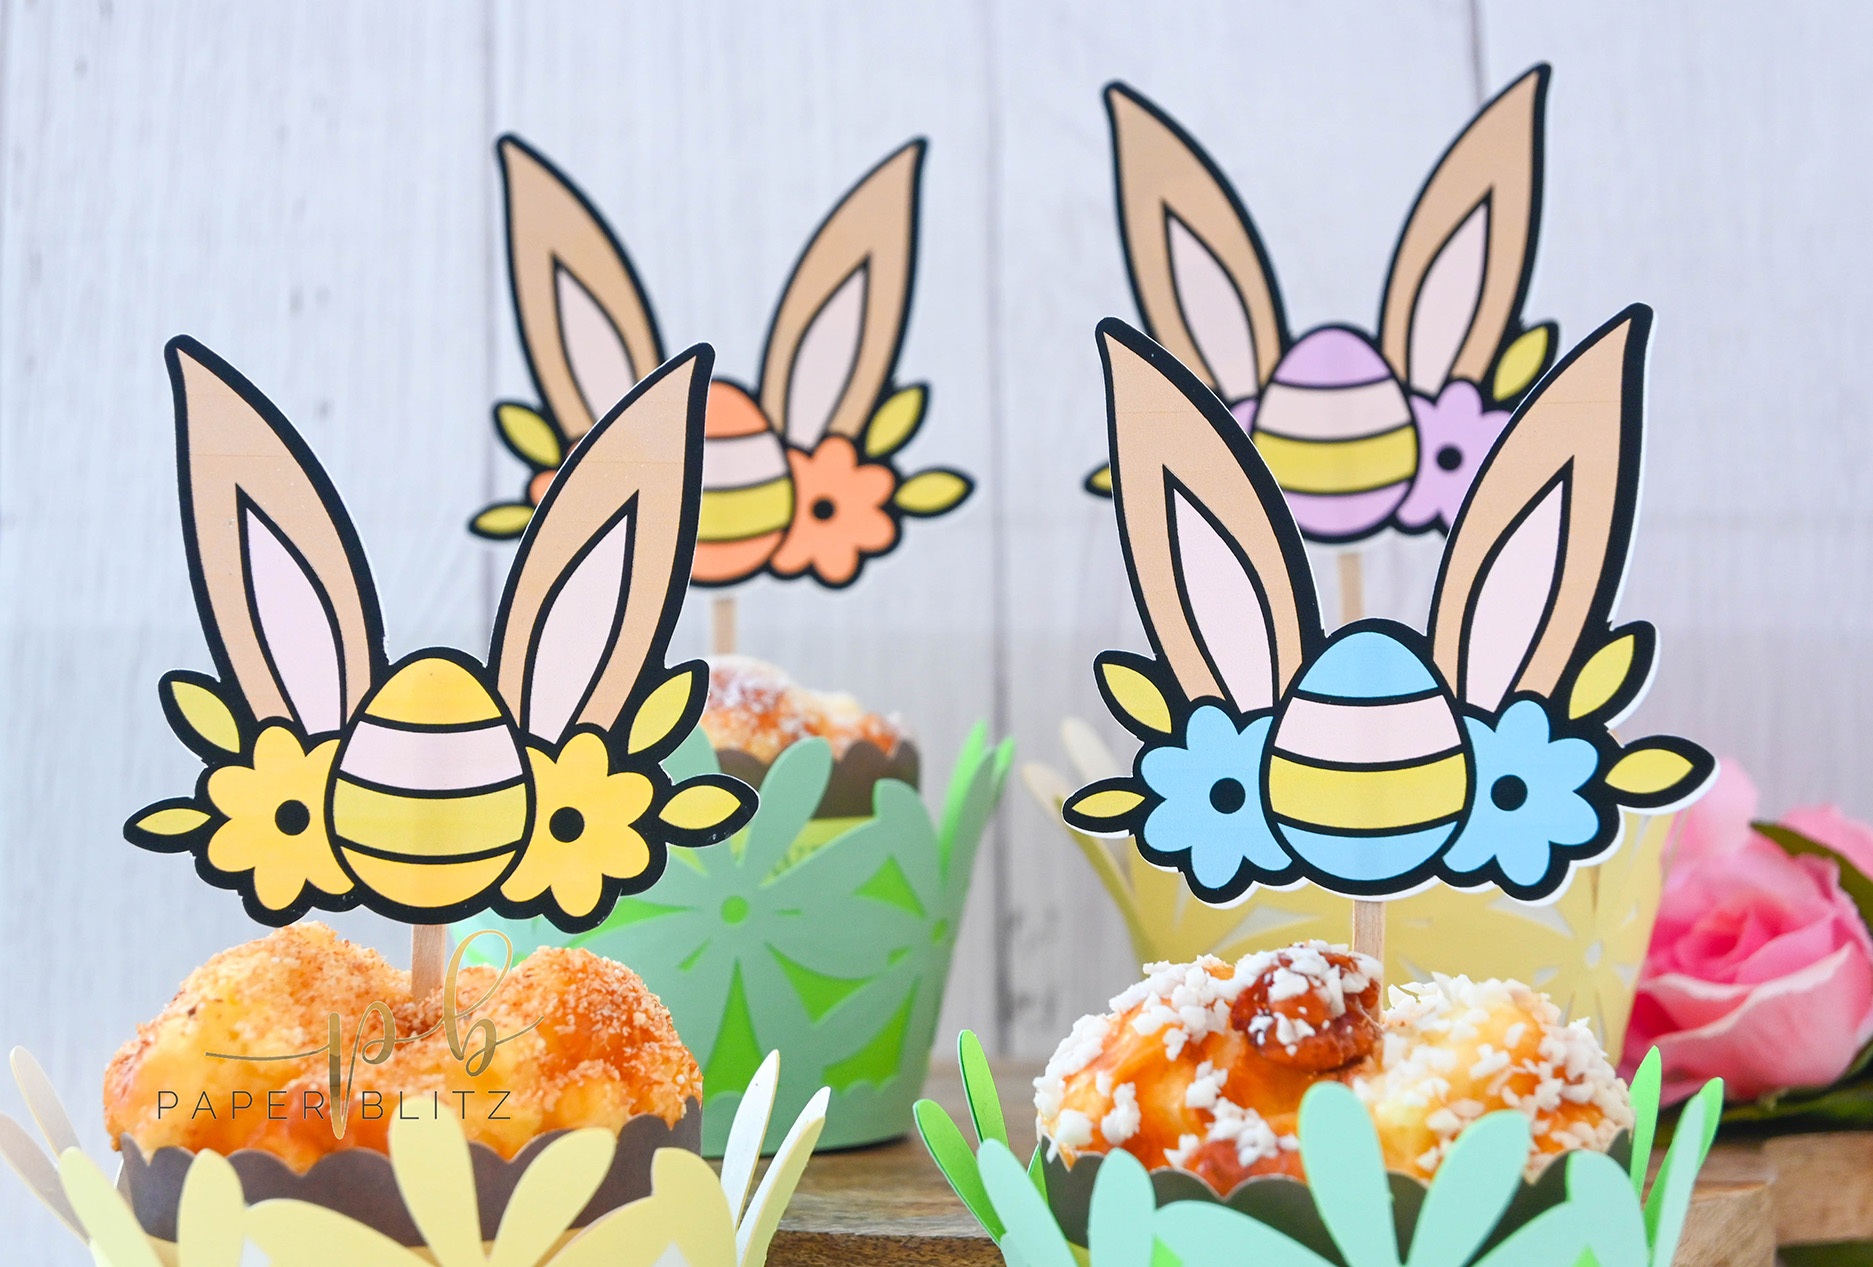
Match your DIY cupcake wrappers with these cute printable cupcake toppers!
Supplies:
- Matte Photo Paper
- Color printer
- Toothpicks
- Hot glue
Directions:
- Select your Easter images. I got mine from Cricut Design Space software.
- Once you’ve chosen your images print them in a matte photo paper for better quality.
- Hand cut the images if you don’t have any electronic cutting machine.
- With hot glue, attach each of them to a toothpick.
3. Printable Placemat
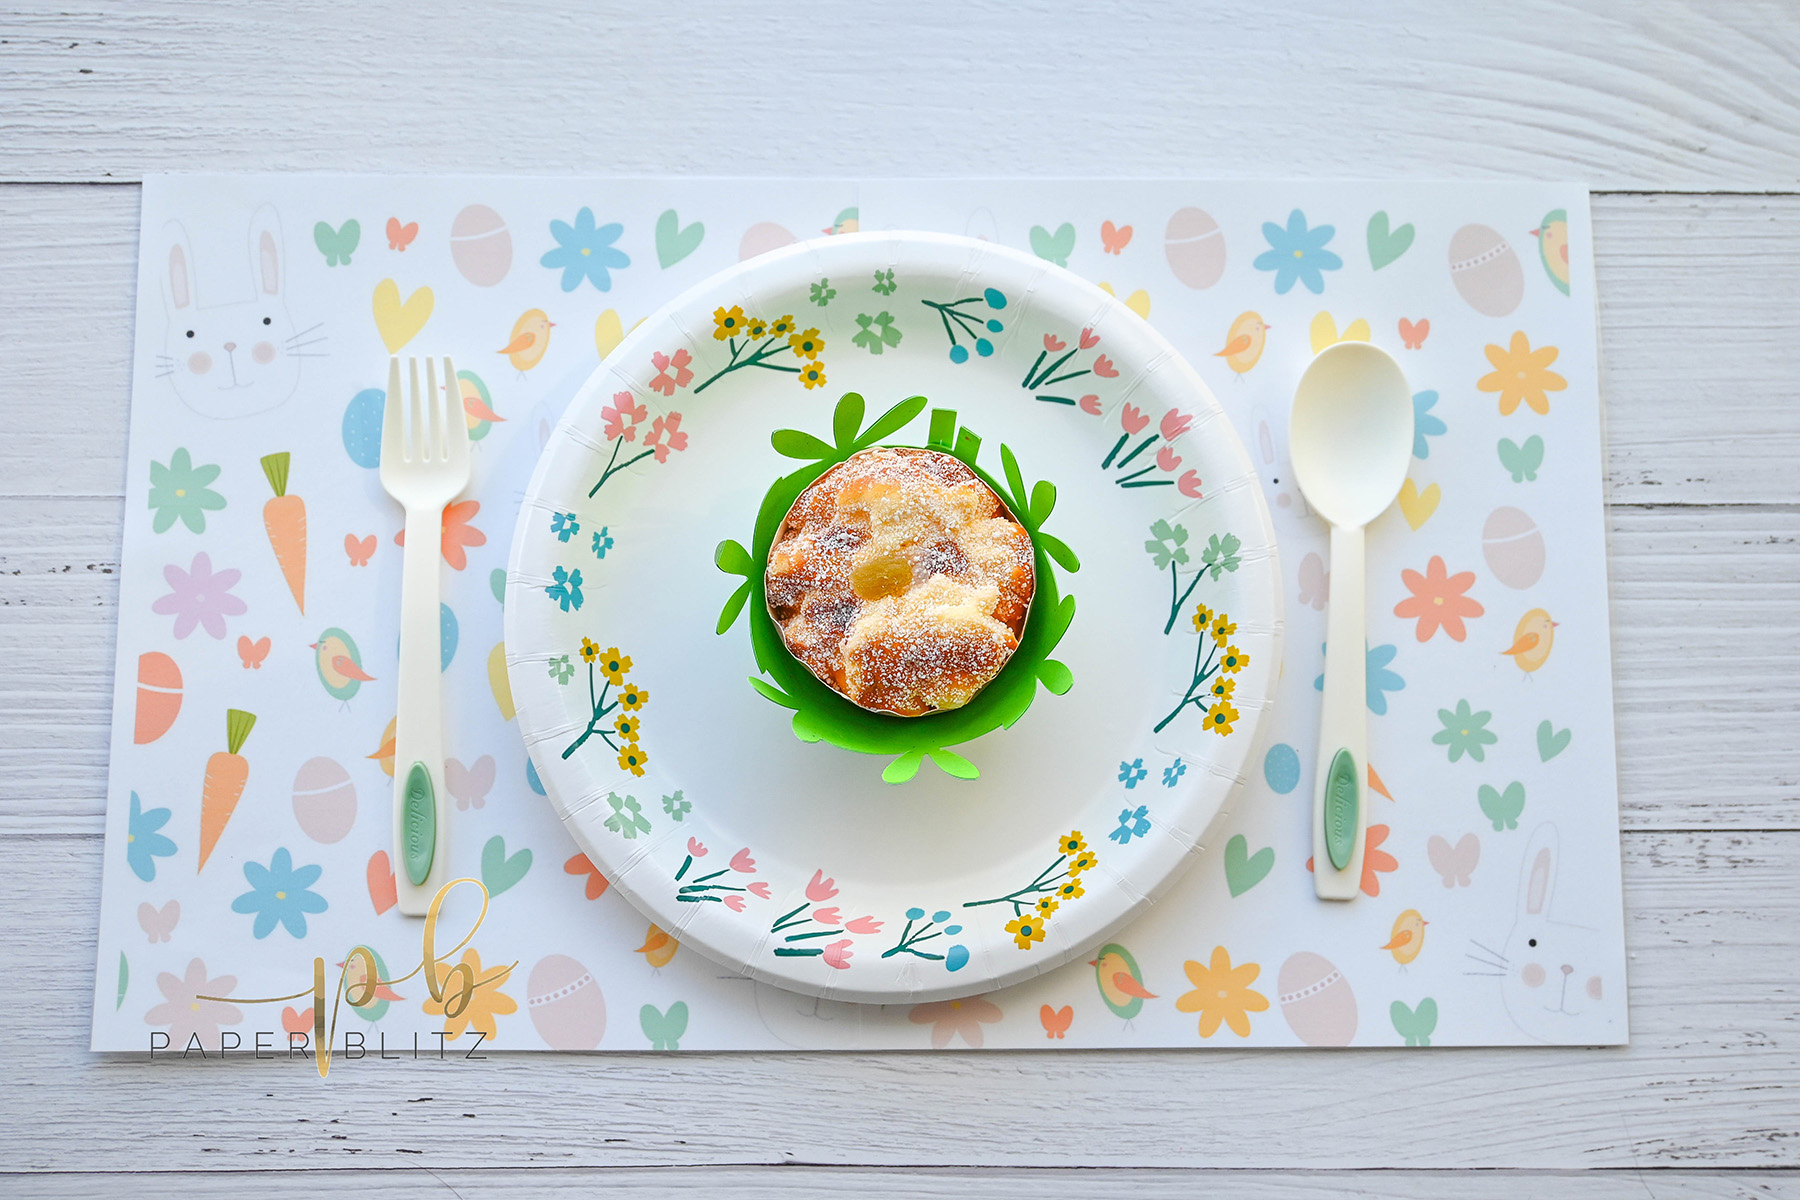
This is the easiest craft project to make, trust me! All you need to do is to print some artful images using PrintWorks Matte Photo Paper or draw some cute doodles of your choice on a piece of PrintWorks White Cardstock. Peel off the backing of your contact paper, smooth it out with a scrapper tool or just by your hands and cut out any excess contact paper as you go along! Easy-peasy, right?
If you want a larger placemat like I did here, just print or draw another piece of your artful image. Adhere both ends of the paper with double-sided tape and seal the back with a clear tape.
4. Snack Box
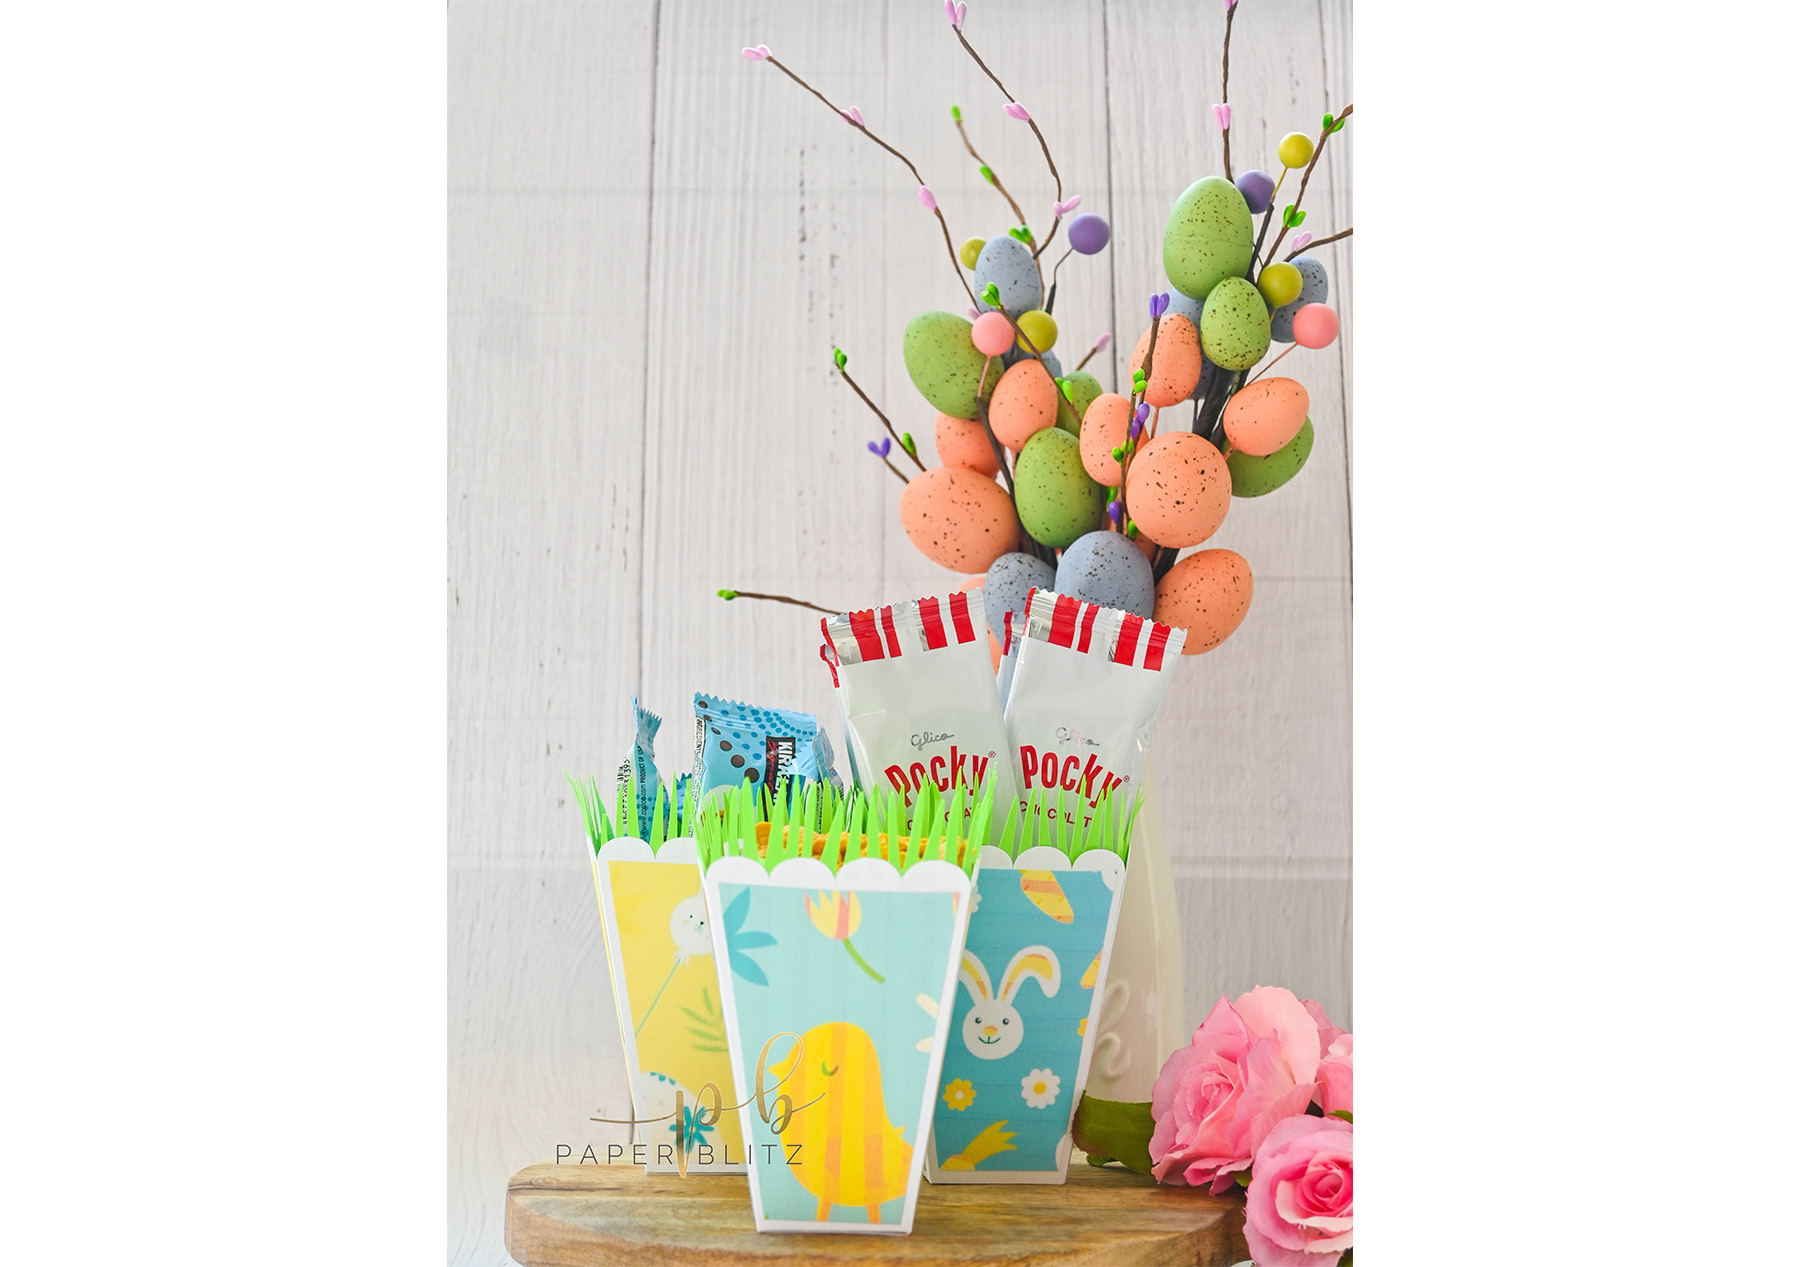
Make a snazzy snack box when you host your next party/event!
Supplies:
- PrintWorks Standard 67lb White Cardstock
- Lime cardstock from PrintWorks Succulent Cardstock pack
- PrintWorks Matte Photo Paper
- Adhesive glue
- Hot glue
Directions:
- Print and cut the snack/popcorn box pattern you found online (I got my template from Cricut Design Space software). *Crafty tip: Use 80lb. cardstock for sturdiness.
- Score the inside portions of the template line and fold.
- Glue all the bottom flaps and let it dry.
Optional: Print out some colorful patterns to make your snack box cuter. Cut it and adhere it into the snack box. For extra, add some cut out grass and glue it on each side (top portion of the box).
5. 3D Box Card
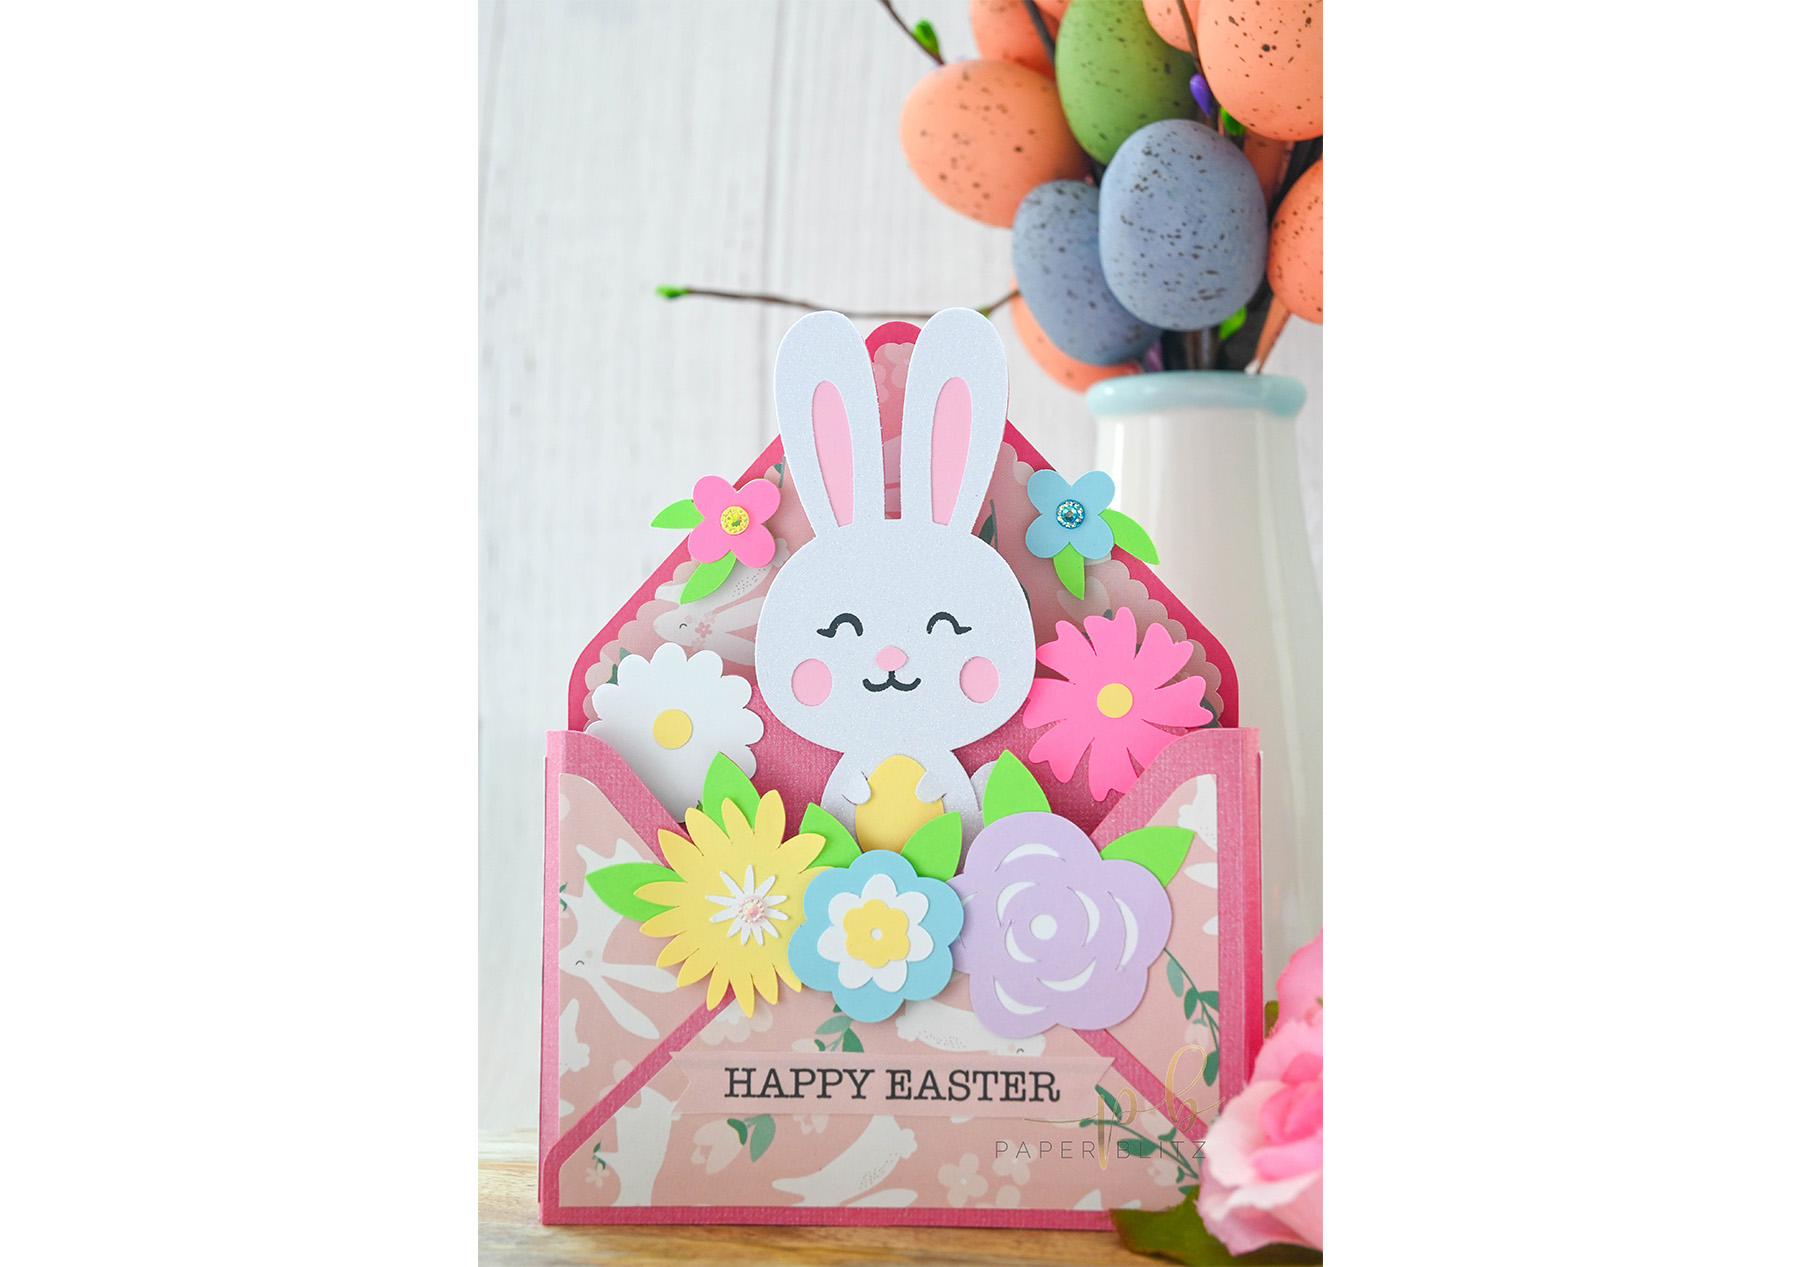
I love creating cards to give to my family and friends on their special day. And to make them extra special, I’ve decided to make them into a 3D box card.
Supplies:
- 12×12 cardstock for the base
- Patterned paper
- PrintWorks White Glitter Cardstock
- Buttercream, pink, baby blue from PrintWorks Pastel Cardstock pack
- Lime and lavender cardstock from PrintWorks Succulent Cardstock pack
- Pink cardstock from PrintWorks Neon Cardstock pack
- Black Cardstock and White Cardstock
Directions:
- Cut out all the images with your electronic cutting machine (I got this cute box card template from Lori Whitlock).
- Glue the images together: the card base, bunny, flowers, leaves etc.
This project is really fun, you can play around with the different color combinations of the flowers, and you can adorn the flowers with some embellishments to make them stand out a little.

6. Carrot Treat Box
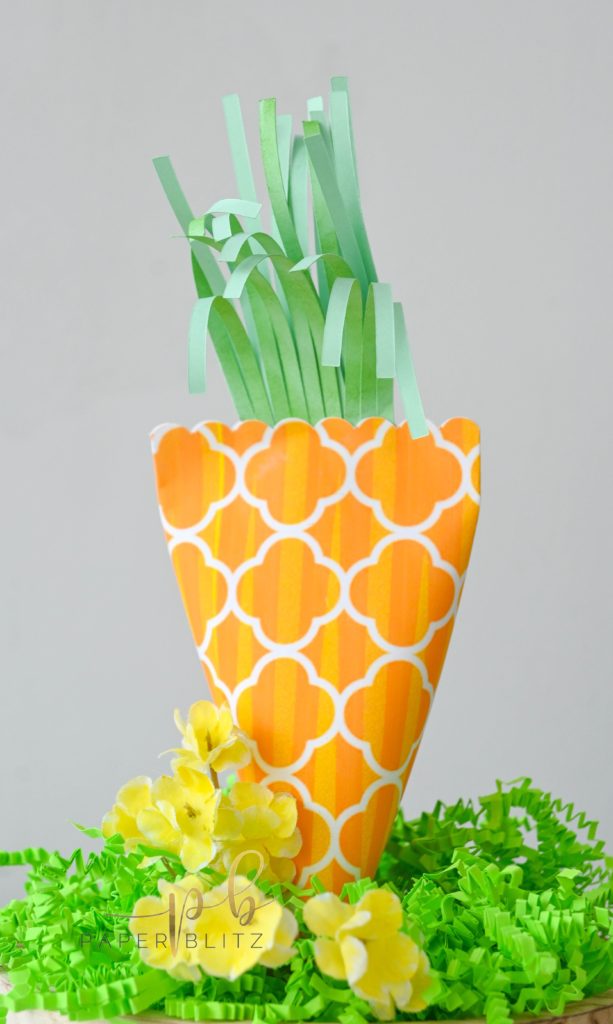
This Carrot Treat Box is an adorable addition to your Easter basket and a great way to package those little gifts. Fill them up with mini chocolate eggs, stickers or some small toys. Did you know that this is also very easy to make? Let’s get started!
Supplies:
- Mint cardstock from PrintWorks Pastel Cardstock pack
- PrintWorks Matte Photo Paper
- Double sided tape
- Glue
- Scissors
Directions:
- Cut a piece of orange cardstock to 6” x 6”. If you prefer a splash of colors or patterns download some colorful images from the web and print the images onto a matte photo paper for better quality.
- Place a double-sided tape on both the opposite ends of the square.
- Peel the backing of the tape
- Roll and stick the paper to form a tube
- Place another piece of double-sided tape on the other end of the carrot and carefully press the end together to seal shut it.
- Before sealing the other end of the carrot, fill the treat box with some treats.
- Cut a piece of green cardstock and cut along the strip of green paper to make the carrot top. *Do not cut all the way to the bottom, otherwise your paper fringe will fall apart.
- Glue the carrot top to the inside of the treat box.
- Pinch the top close in the opposite direction. Seal it with a glue, and you’re done!
7. Easter Egg Topiaries
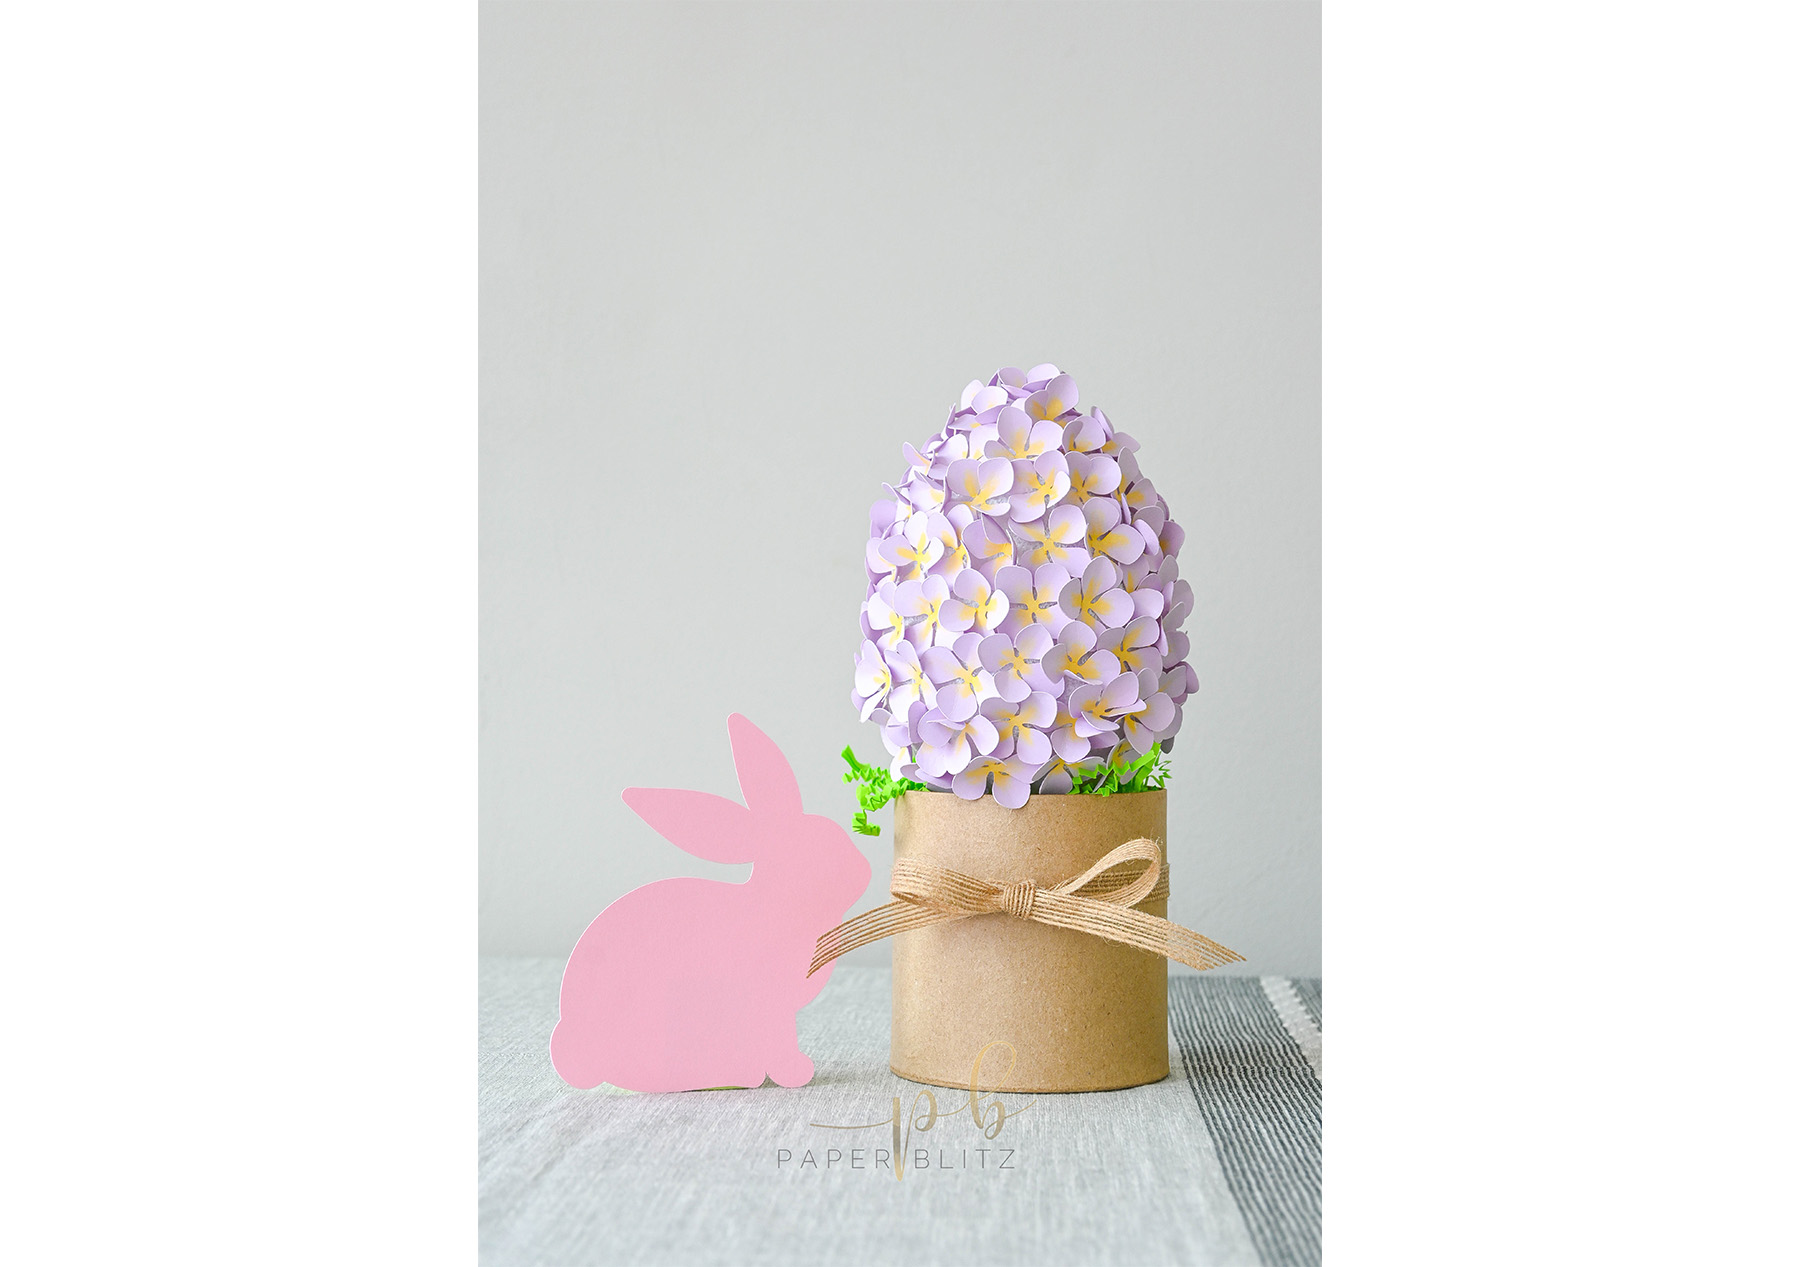
This Easter egg topiary will be perfect addition to your table centerpiece or a great decoration for your dessert table.
Supplies:
- Foam egg
- Lavender cardstock from PrintWorks Succulent Cardstock pack
- Yellow ink pad (optional)
- Cotton swab (optional)
- Hot glue
- Dowel
- Planter pot or Kraft box
- Crinkle cut paper filler
Directions:
- Cut out some small flowers—enough to cover the foam egg completely.
- Dab, using a cotton swab, a small amount of yellow ink into the center of each of the cut flowers to give them a different look—completely optional.
- Curl the petals into your liking with a dowel.
- Glue each of the flowers onto the foam egg one by one until the foam egg is completely covered.
- Fill the planter pot/kraft box with a crinkle cut paper fillers and carefully place the egg. DONE!
8. Paper Flowers
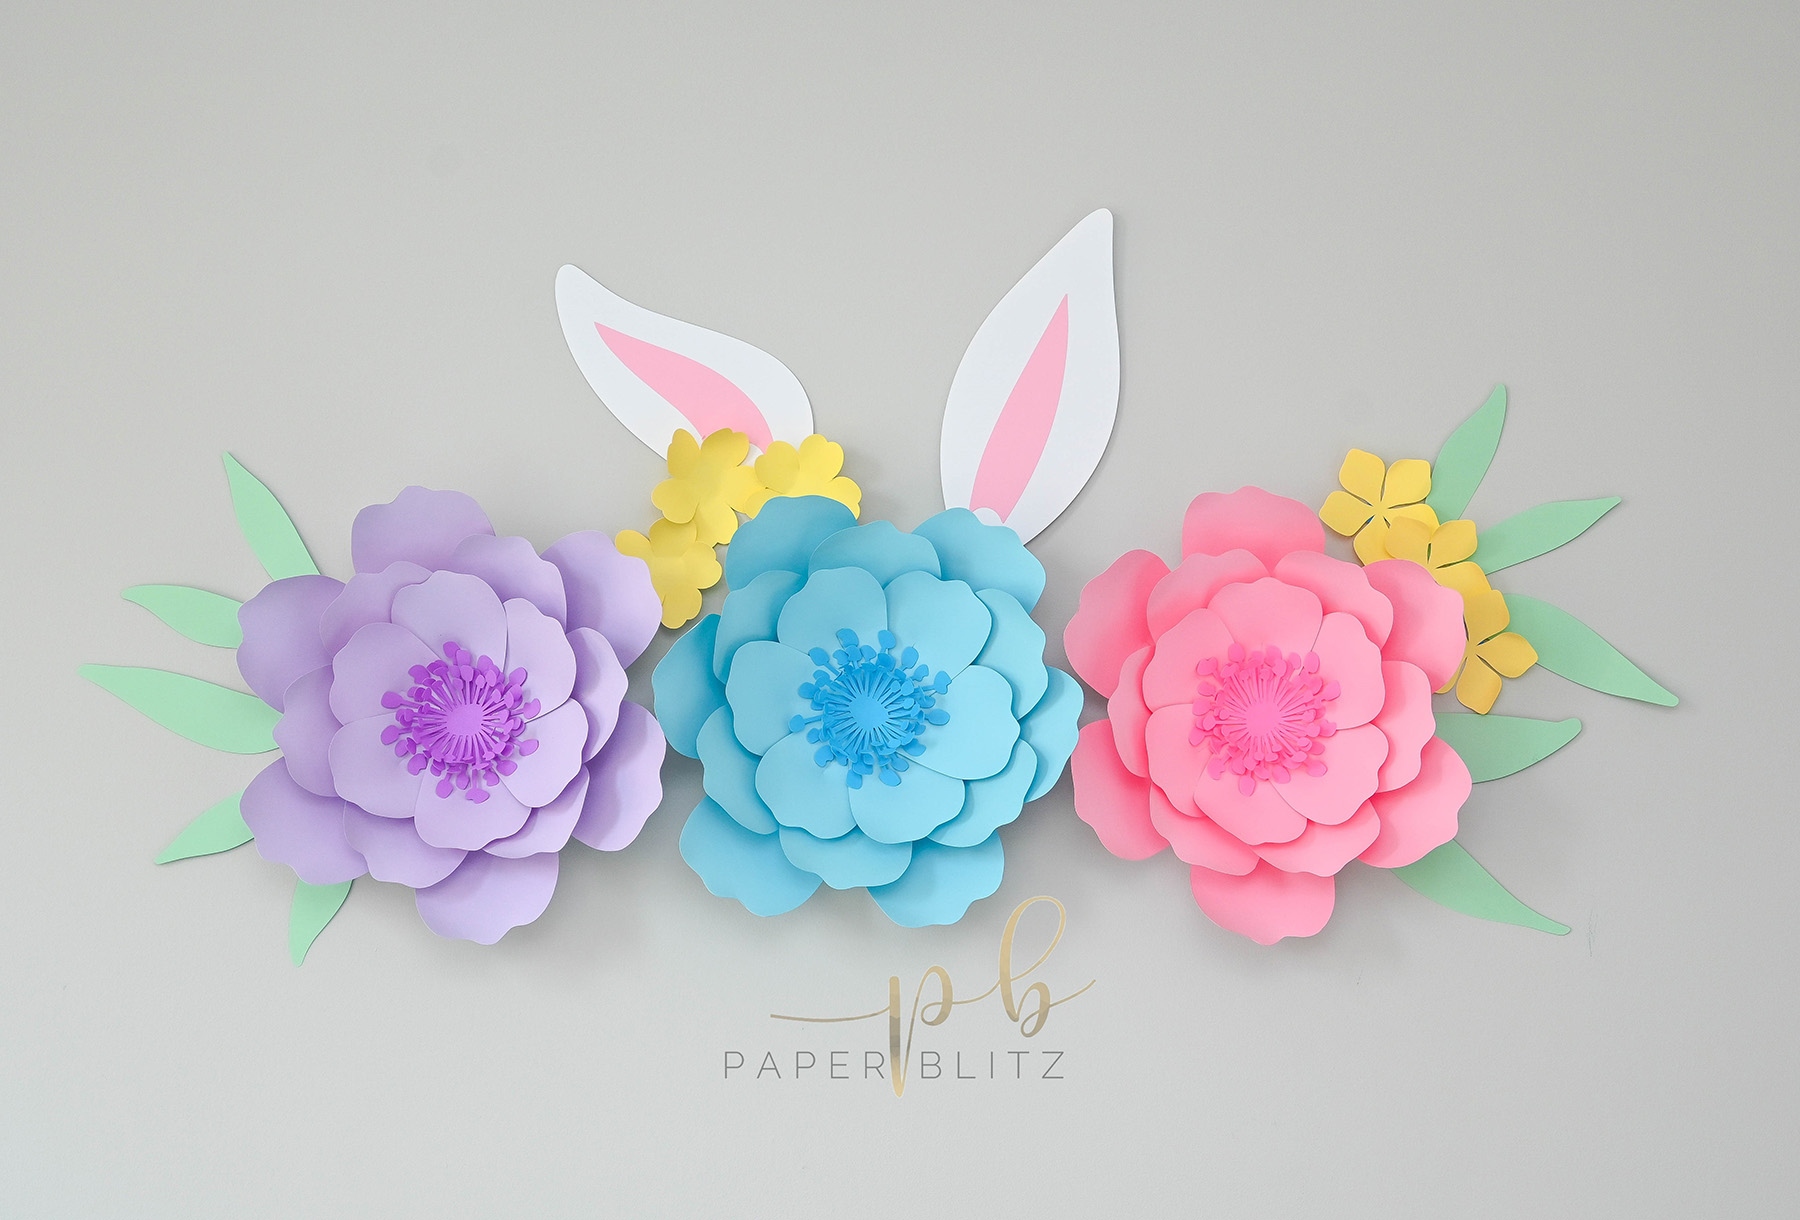
These giant paper flowers can be used in so many ways: perfect for photo backdrops, a great decorative accent to your nursery or party! So, grab your choice of colored cardstock paper, scissors, a pencil, hot glue and let’s get started.
Supplies:
- PrintWorks Pastel Cardstock
- Lavender cardstock from PrintWorks Succulent Cardstock pack
- Blue and Pink cardstock from PrintWorks Neon Cardstock pack
- Purple cardstock from PrintWorks Halloween Cardstock pack
Directions:
- Download a paper flower template (you can find a lot of free templates in the web). In my case, I just doodled some random looking flower/petal shape.
- Lay your template onto your cardstock of choice and start tracing each petal. I use three sizes of petals: Large approximately 6.5” in height, Medium approximately 4.5” in height, Small approximately 3.5” in height.
- Once done tracing, cut all your petals with your scissors. Note: You should have a total of 18 petals (S,M,L) in order to make one giant paper flower.
- Cut a slit at the bottom center of each petal about 2” deep.
- Curl the edges of the flower petals to your liking (you can use a dowel, a pencil or a lollipop stick for curling) to give it a realistic shape.
- Add a drop of hot glue to one side and overlap the slits. Do this to all of the petals.
- Add a small amount of glue at the bottom backside of the petals and adhere it around the edge of your hexagon base. Make sure to overlap the edges of your petals to fill some gaps and for a slightly for a better look.
- Grab your medium petal, squeeze some hot glue at the bottom backside of the petal and stick in between two petals on the back row. Continue to glue the rest of the medium size petals, be sure to overlap them again like what we did with the large ones.
- Repeat the process for the small petals.
- Glue the center in, (I got my center template from Cricut design space) and your flower/s are ready to hang! *Use a double-sided wall mounting tape.
Thanks for stopping by and I hope these gives you some crafting inspiration for your Easter celebration. ‘Till next time!
Xoxo,
Angelica
Try one of these crafts and tag @printworksdiy on Instagram to be featured on our page!
Follow us @printworksdiy on social media for more craft inspiration, and visit our Store to check out the rest of our product line.
