Punch Needle with PrintWorks Vanishing Fabric Transfers
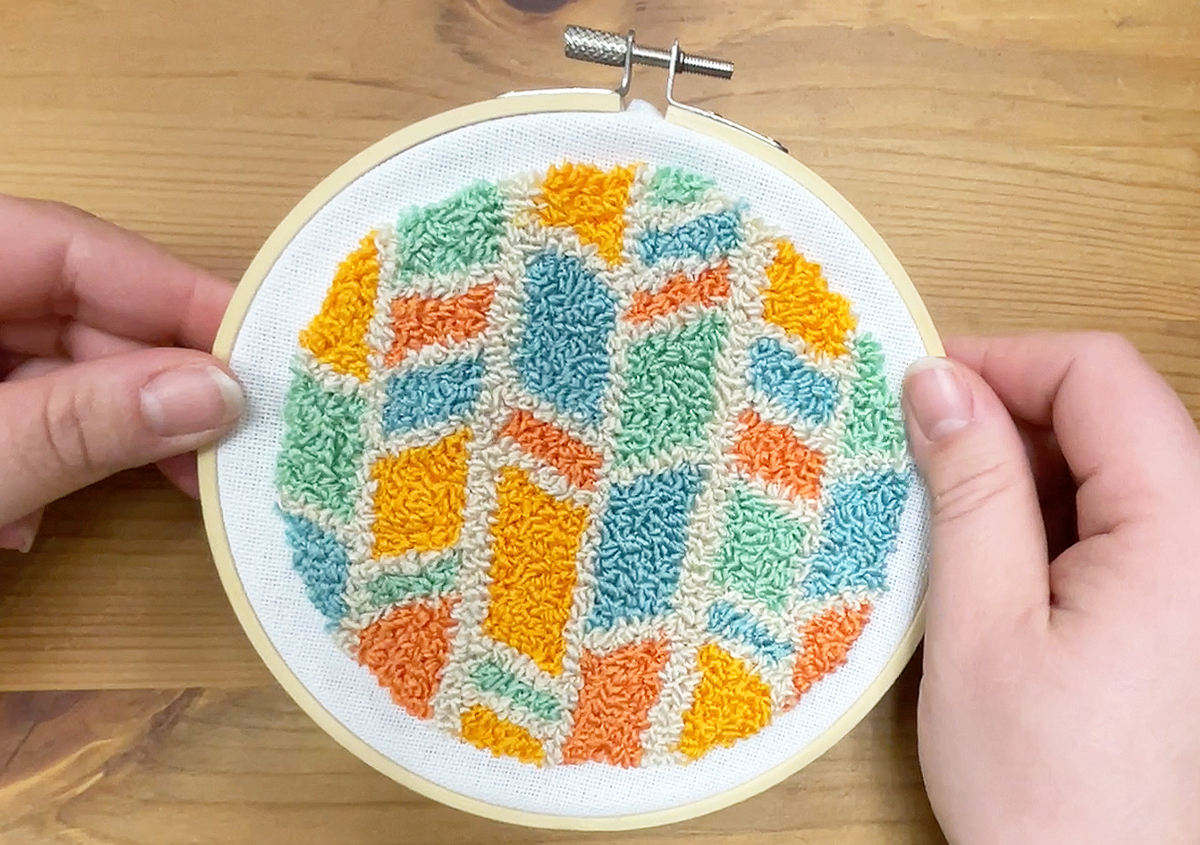
Want to learn an easy method for creating Punch Needle projects? Try our Vanishing Fabric Transfers! They allow you to easily print and iron designs directly onto your fabric in a matter of minutes – no more hand drawing or tracing your patterns! Once you have that part down, now you can get to the fun part of creating your project. The possibilities are endless!
Scroll to the bottom of this post to watch a tutorial video, and read our tips to learn how to Punch Needle with PrintWorks Vanishing Fabric Transfers!
1.
Start by selecting a pattern. Line art works best!
Note: Typically you need to mirror your image before printing on our Vanishing Fabric Transfers, but for punch needle you have two options.
If you want the front of your finished design to be the flat, stitched side, mirror the image before printing, as you normally would.
If you want the front of your design to be the fuzzy, looped side, you do not need to mirror the image before printing. This is because you will iron onto the back of the fabric. Your image will look backwards, but once you flip the project over to the fluffy front side, it will look correct! This is especially important to note if your design includes letters or numbers.

2.
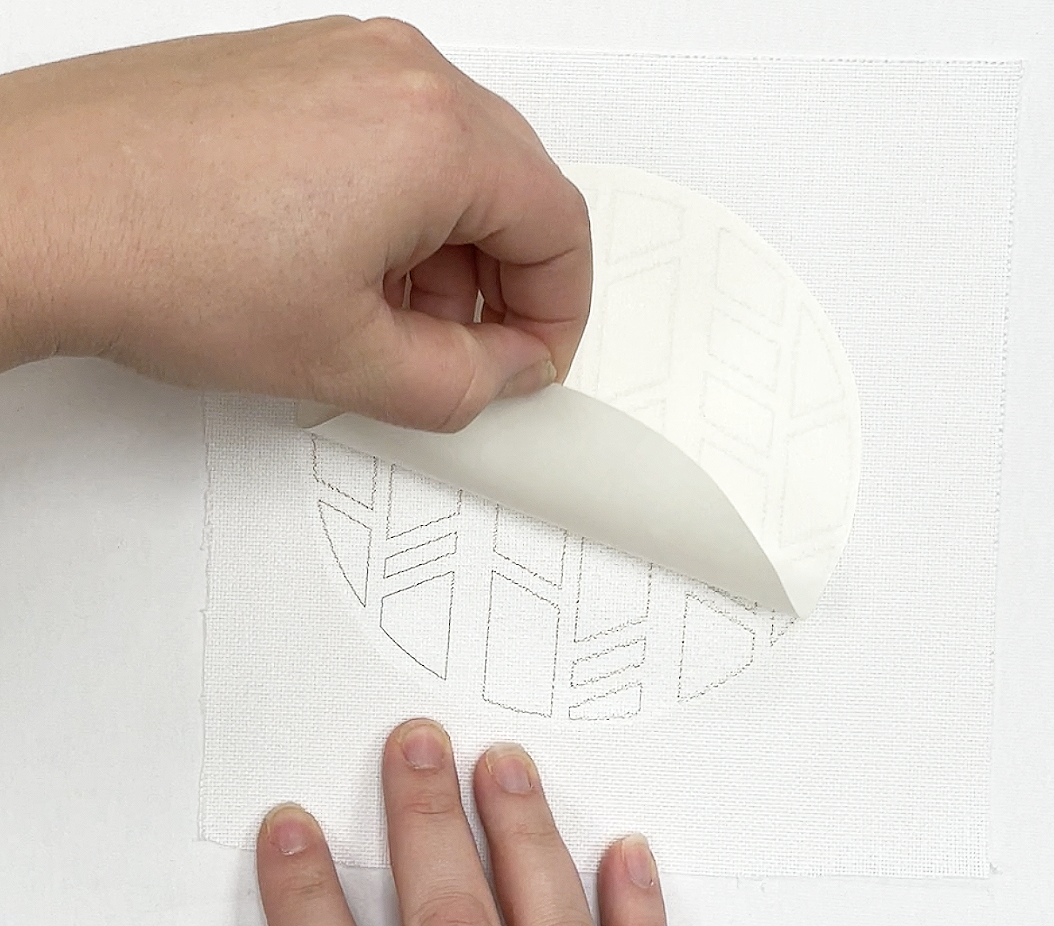
Next, print and iron your design onto the fabric. Wait for the fabric and transfer to completely cool before peeling.
Follow the instructions in our video for more details on using our Vanishing Fabric Transfers. Again, just remember that for this application, you can skip over the part about mirroring.
3.
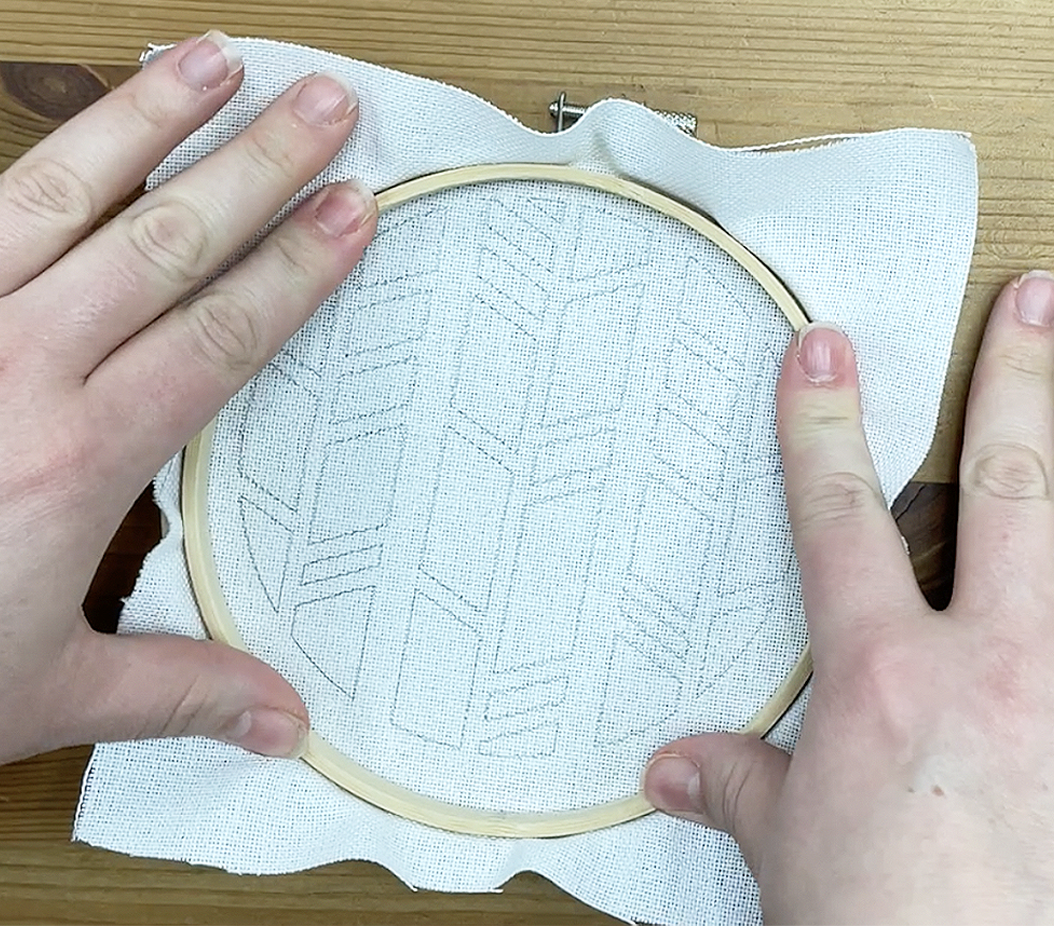
Now place the fabric into your embroidery hoop. If the front of your finished project will be the flat, stitched side, you can put the fabric into the hoop as you normally would.
If the front will be the fluffy, looped side, you will need to put the fabric into the hoop so that the pattern appears on the back side. The easiest way to do this is to lay the smaller hoop on top of the fabric with pattern centered. Now pick up the fabric and hoop together, and lay it on top of the larger hoop. Press the smaller hoop and fabric down into the larger hoop, then tighten to make sure fabric is nice and taught.
4.
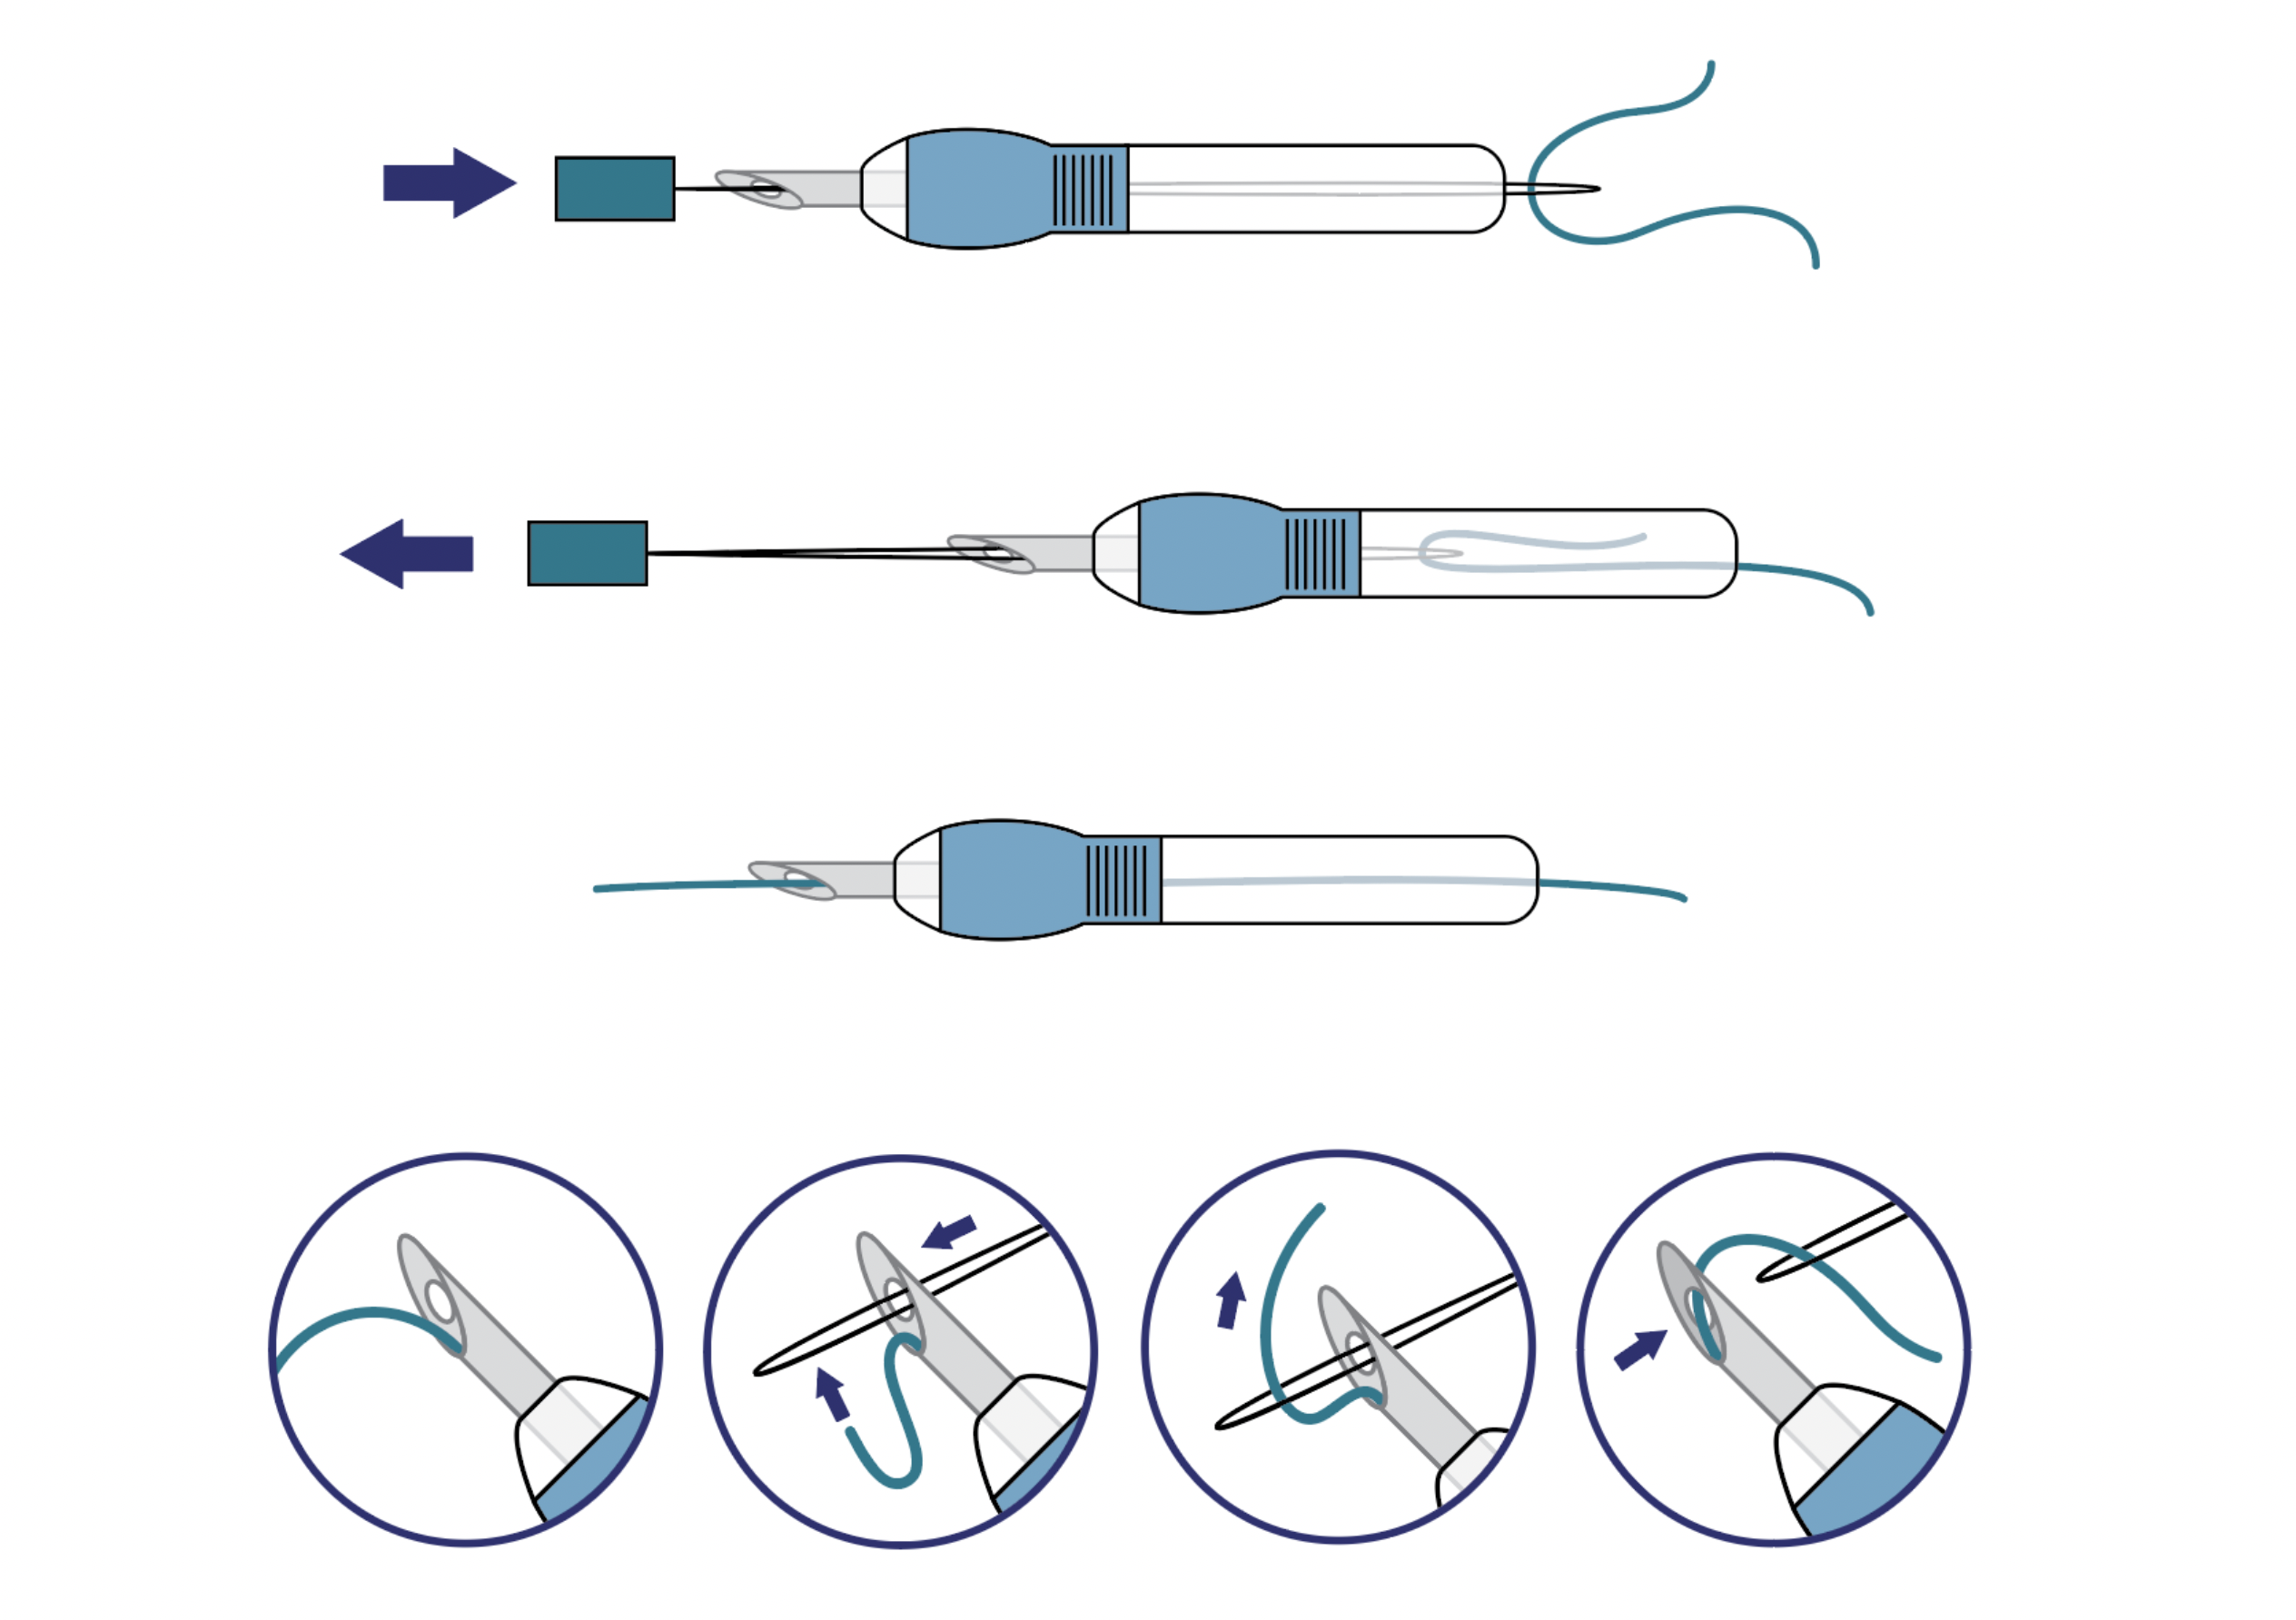
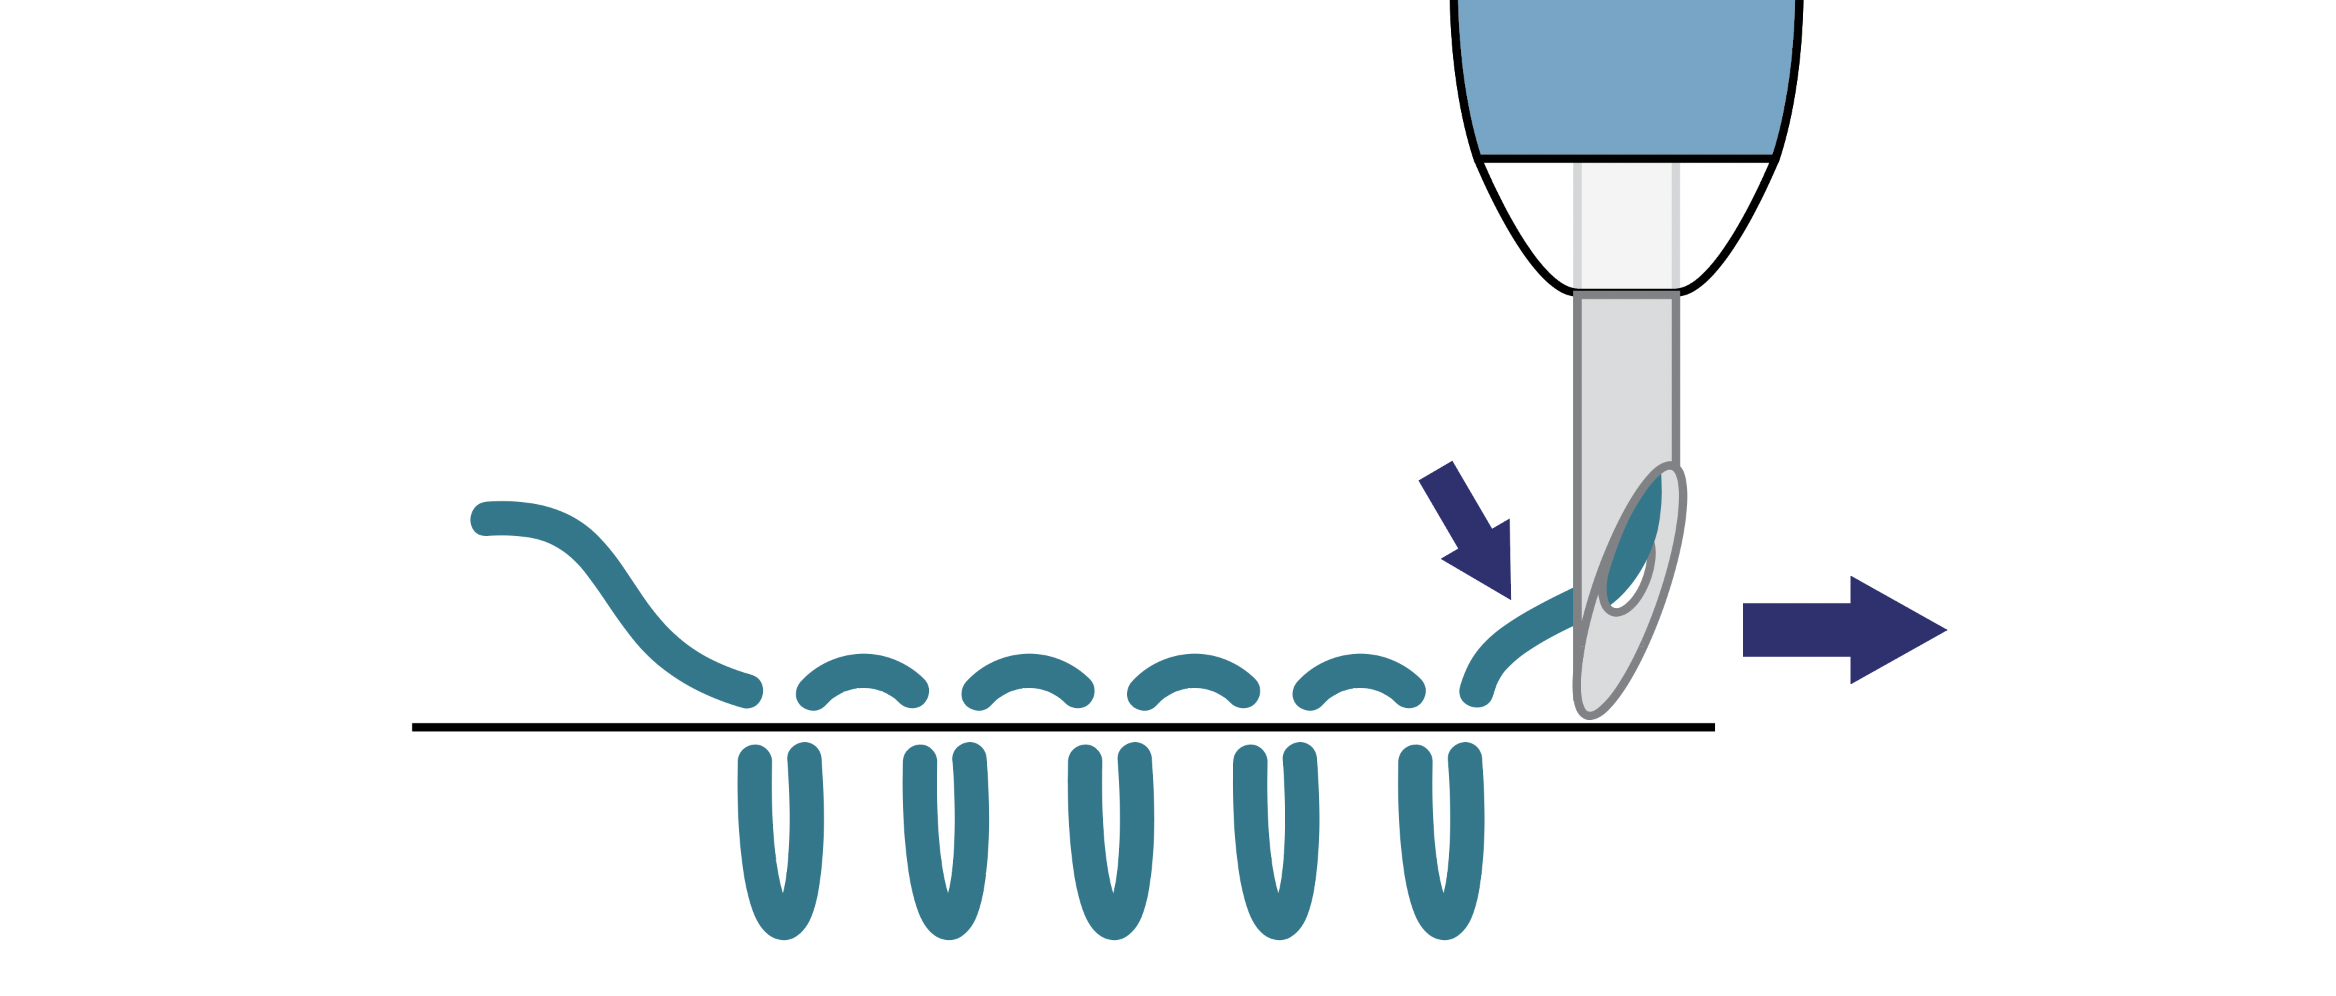
Now it’s time to thread your punch needle! A punch needle is designed differently than your average needle. It is hollow inside and the floss will thread from the back, through the front of the needle. Use the needle threader that comes with your punch needle to do this (see images or the video below).
The next step is to put the threader through the small hole at the end of your punch needle. Use it to pull the floss through this hole to the back of the needle (see images or the video below).
5.
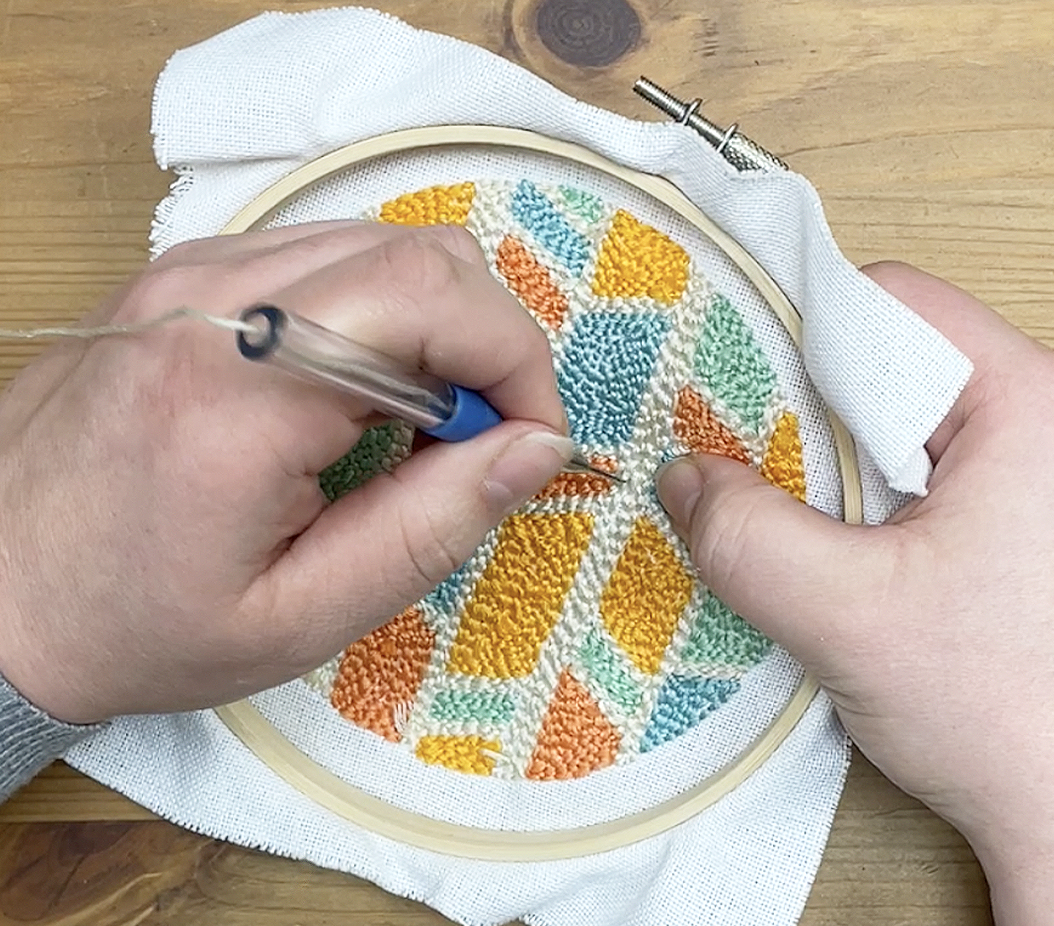
Now you’re ready to start punching! Start wherever you wish by punching through the fabric. The opening of the needle should be facing the direction you are punching in. Be sure that the floss is coming out the back of the needle.
Punch in a straight, forward motion. As you go, try not to lift the needle too far away from the fabric in between punches. This may pull out the loop on the other side resulting in an uneven look.
Tip: When you need to punch in a different direction, try turning the fabric/hoop instead of the needle itself.
6.
Continue following these tips as you work through your design. This is the fun part where you get to play with colors and watch your design slowly come to life!
7.
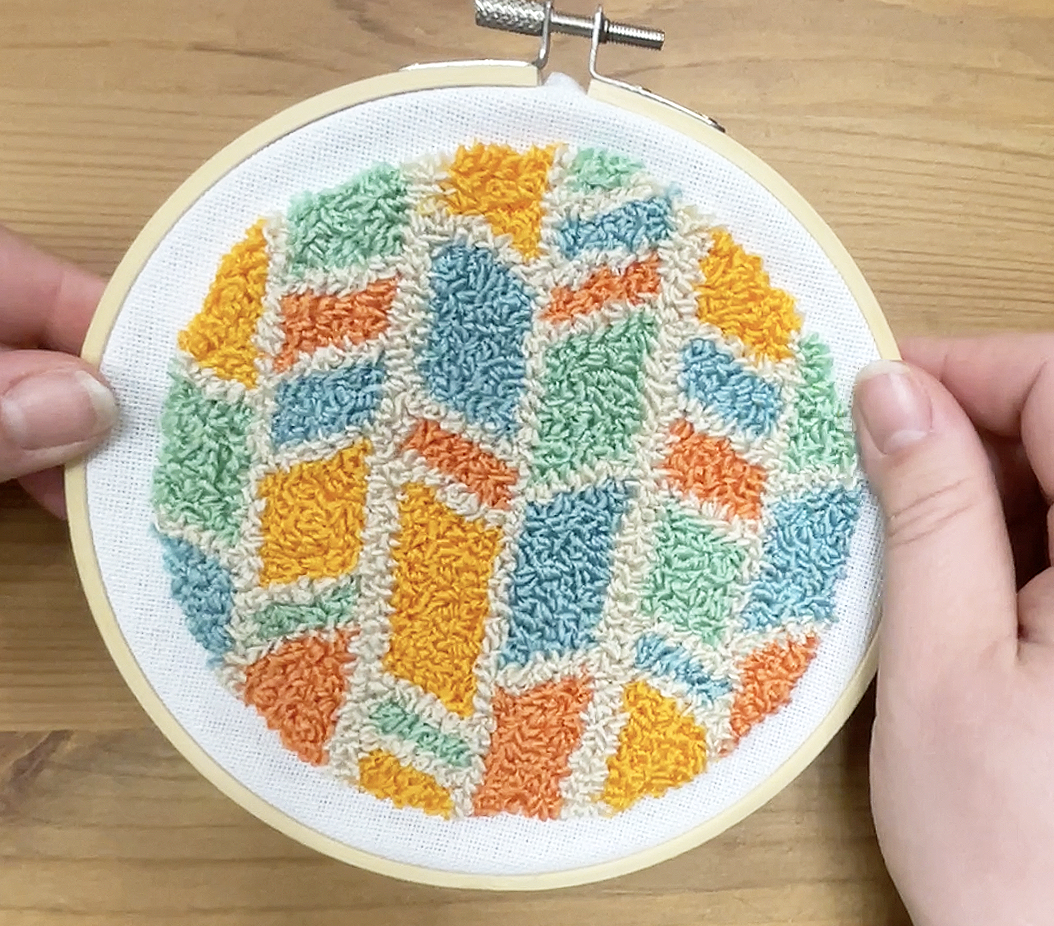
Complete your project by trimming excess fabric and finishing off the back of the hoop. In the end, you will have a fun, textured, handmade work of art!
Tutorial
For more punch needle tips, check out this great resource from Sarah Maker!
Follow us @printworksdiy on social media for more craft inspiration, and visit our Store to check out the rest of our product line.


