13 Days of Halloween Craft Inspiration
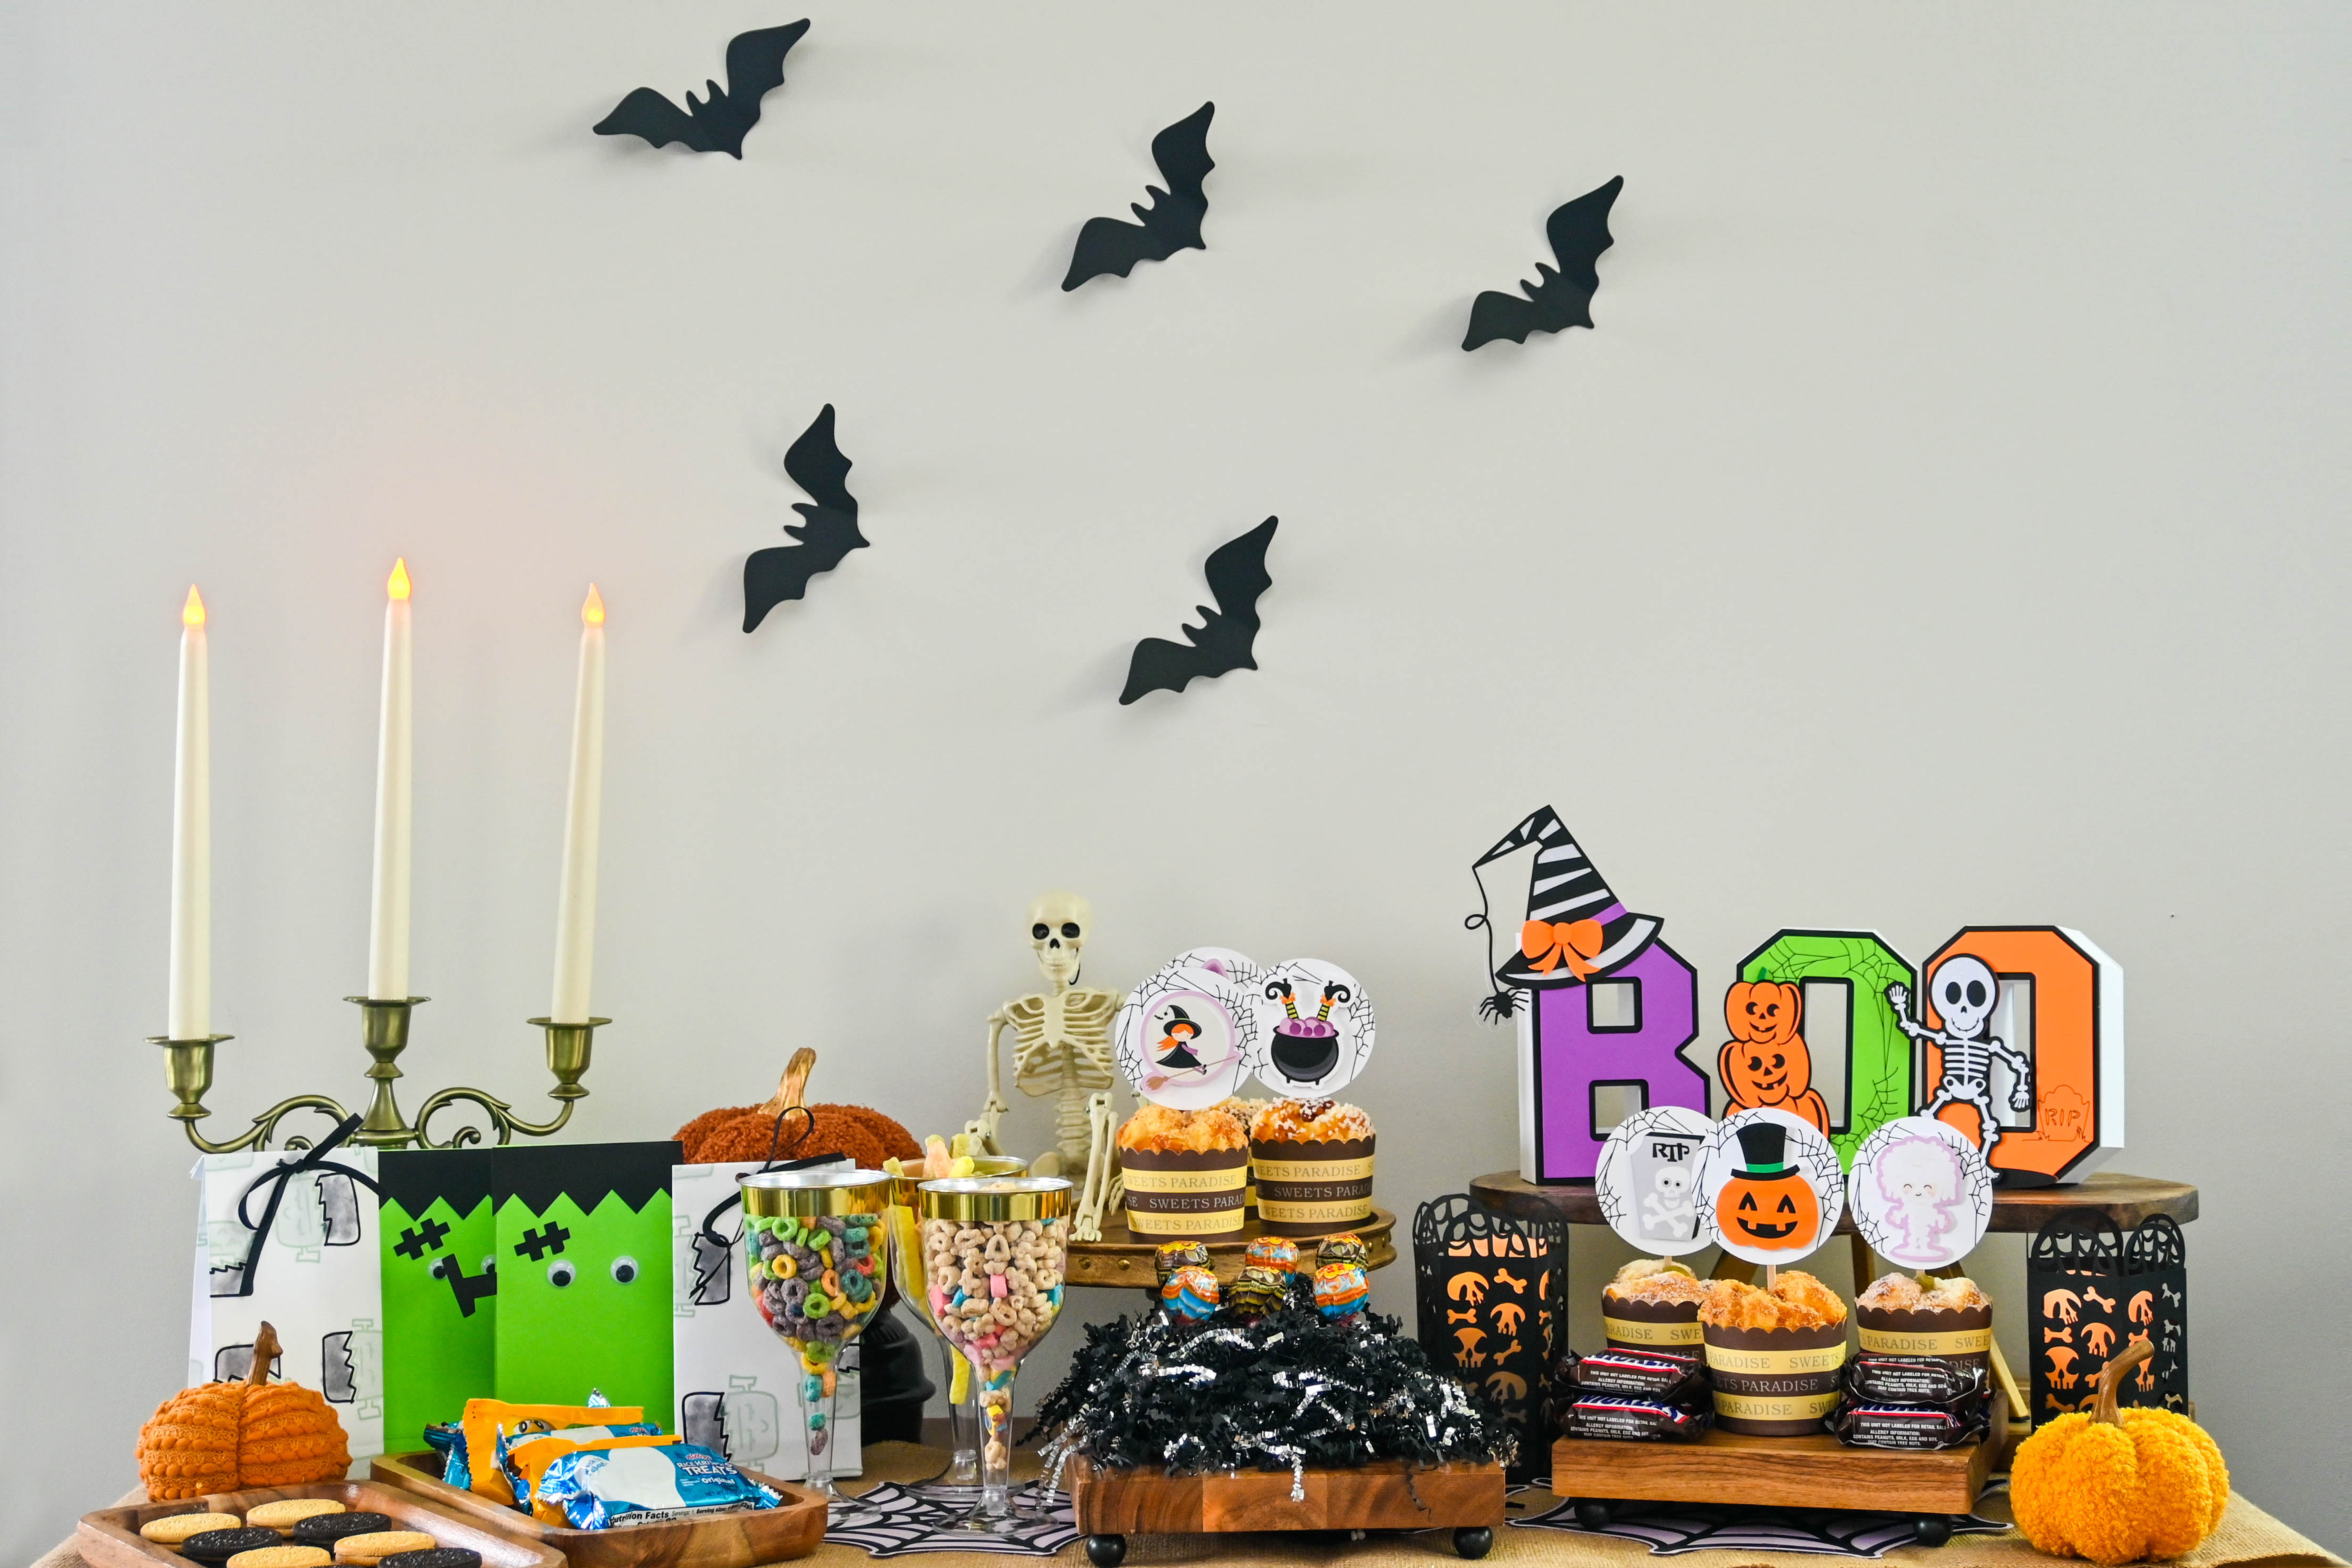
It’s almost the spookiest time of the year! I can’t wait to carve some pumpkins, create cute costumes for my family and eat some Halloween candies! I’m sure some of you are as excited as me and have already started decorating for Halloween.
But if you haven’t started decorating and are looking for some ideas, check out these 13 SPOOKINGLY CUTE Halloween crafts.
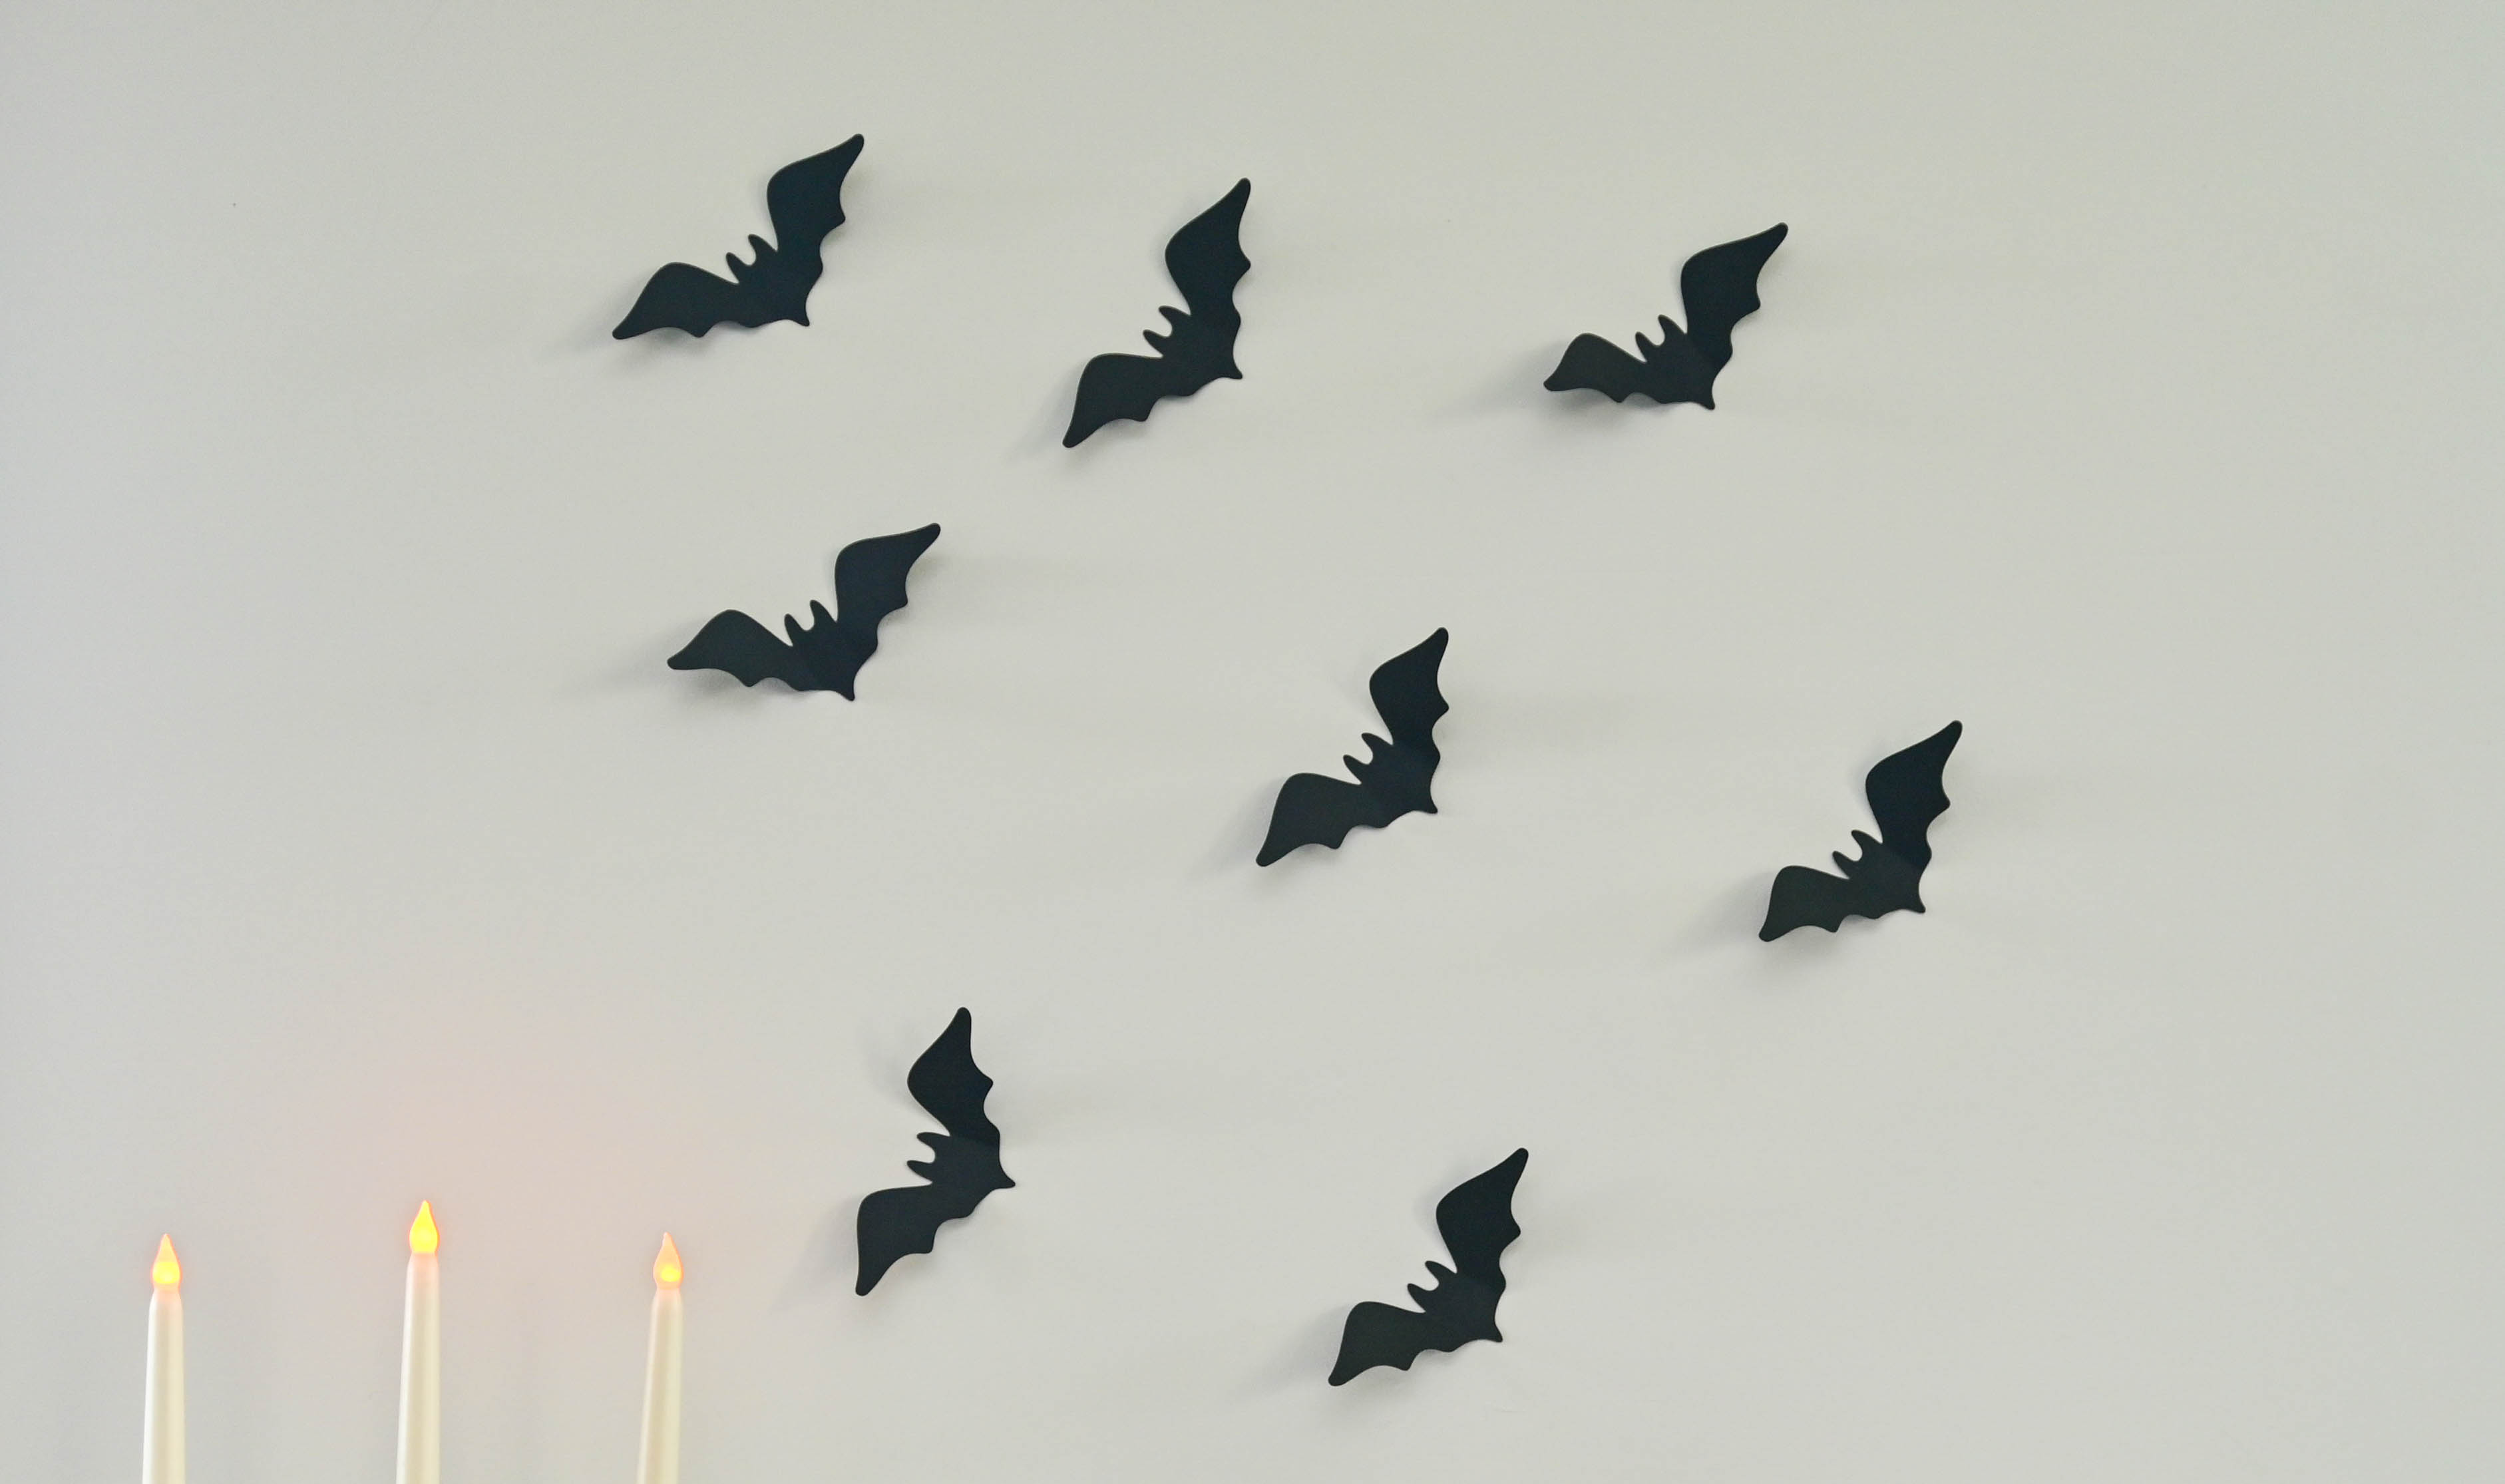
1. Paper Bats
These are probably one of the quickest and easiest Halloween decorations to make. All you need to do is to trace/draw, cut, bend and stick!
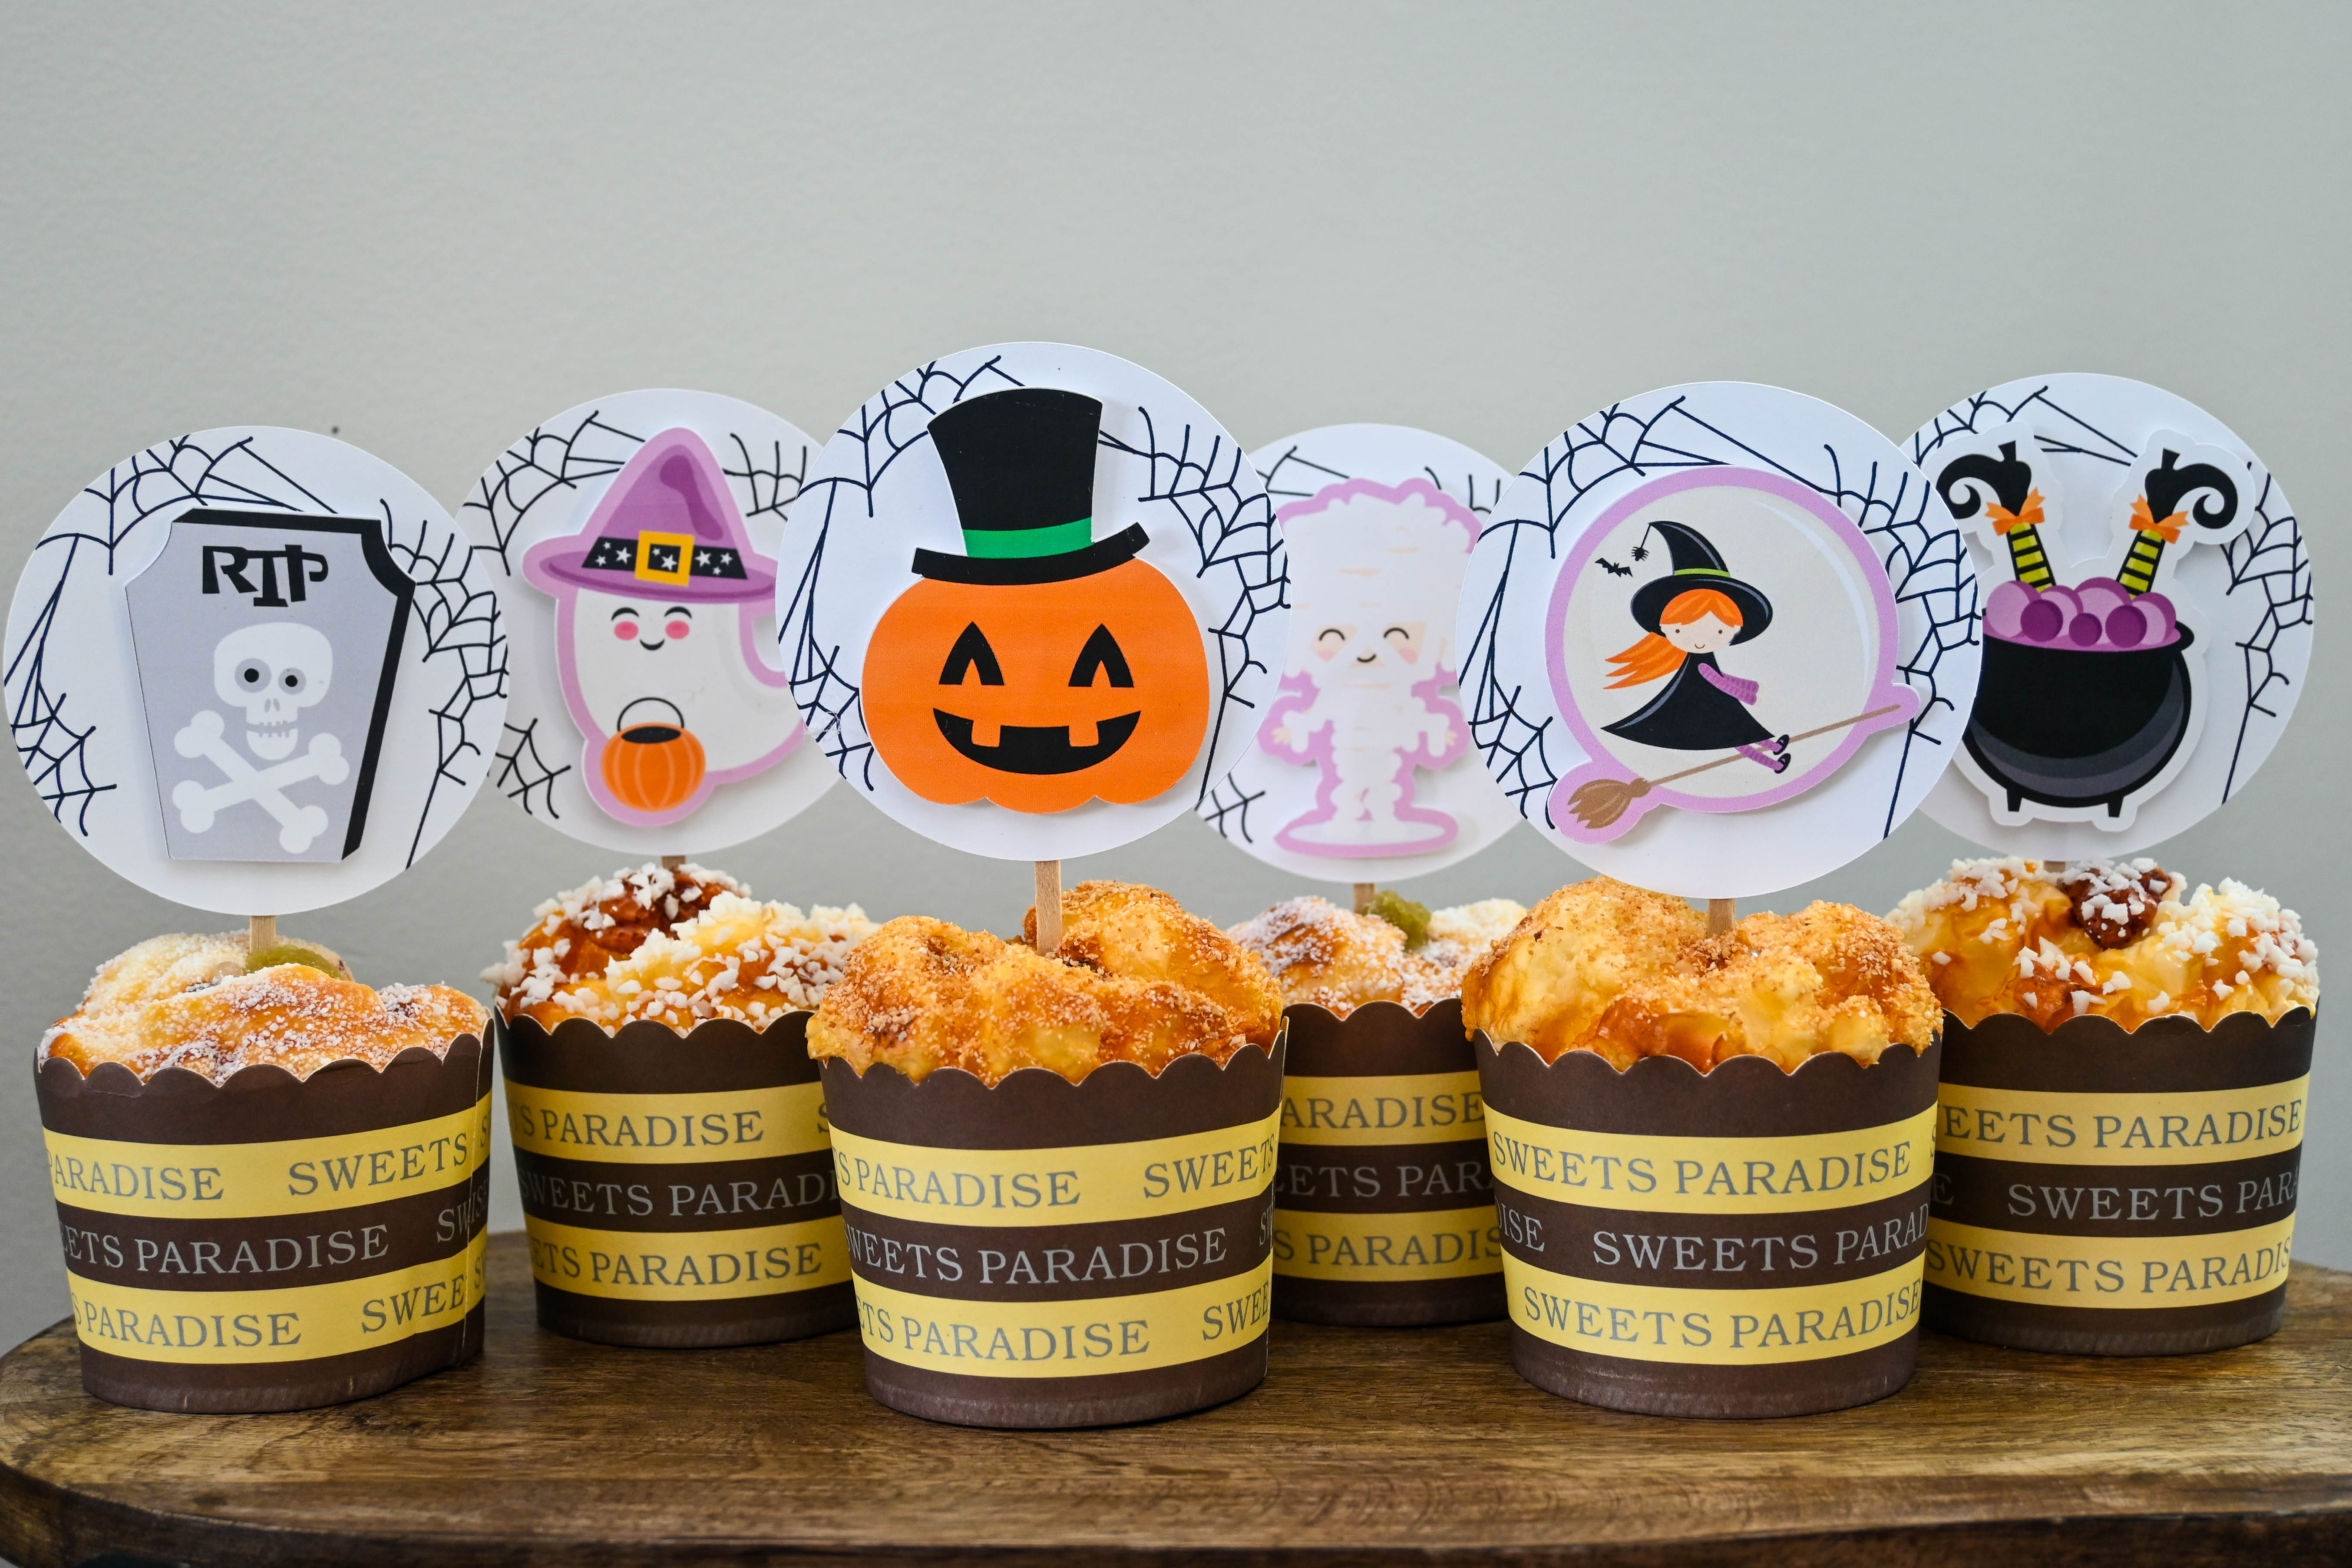
2. Printable Halloween Cupcake Toppers
These Halloween cupcake toppers are perfect for parties, trunk-or-treat giveaways, or even just a simple get-together.
Let’s get started!
Supplies:
- White Cardstock from PrintWorks Halloween Cardstock pack
- Matte Photo Paper from PrintWorks
- Color Printer
- Black Pen
- Toothpicks
- Hot Glue
- Foam Tape
Select your Halloween images. I got mine from Cricut Design Space software, but you can also search on the web. There’s a ton of free printables to choose from.
Once you’ve chosen your images, print them on a White Cardstock. For better quality of the images, PrintWorks has the right paper for you! Their photo papers (matte and glossy) are perfect for artistic looking prints without sacrificing color quality.
Next, cut the images. Cut out some circles and draw spiderwebs on it for the background.
Adhere each of the images onto the circle cutouts. Use foam tapes for dimension.
With hot glue, attach each of them to a toothpick and now you’re party-ready!
3. Spiderweb Table Runner
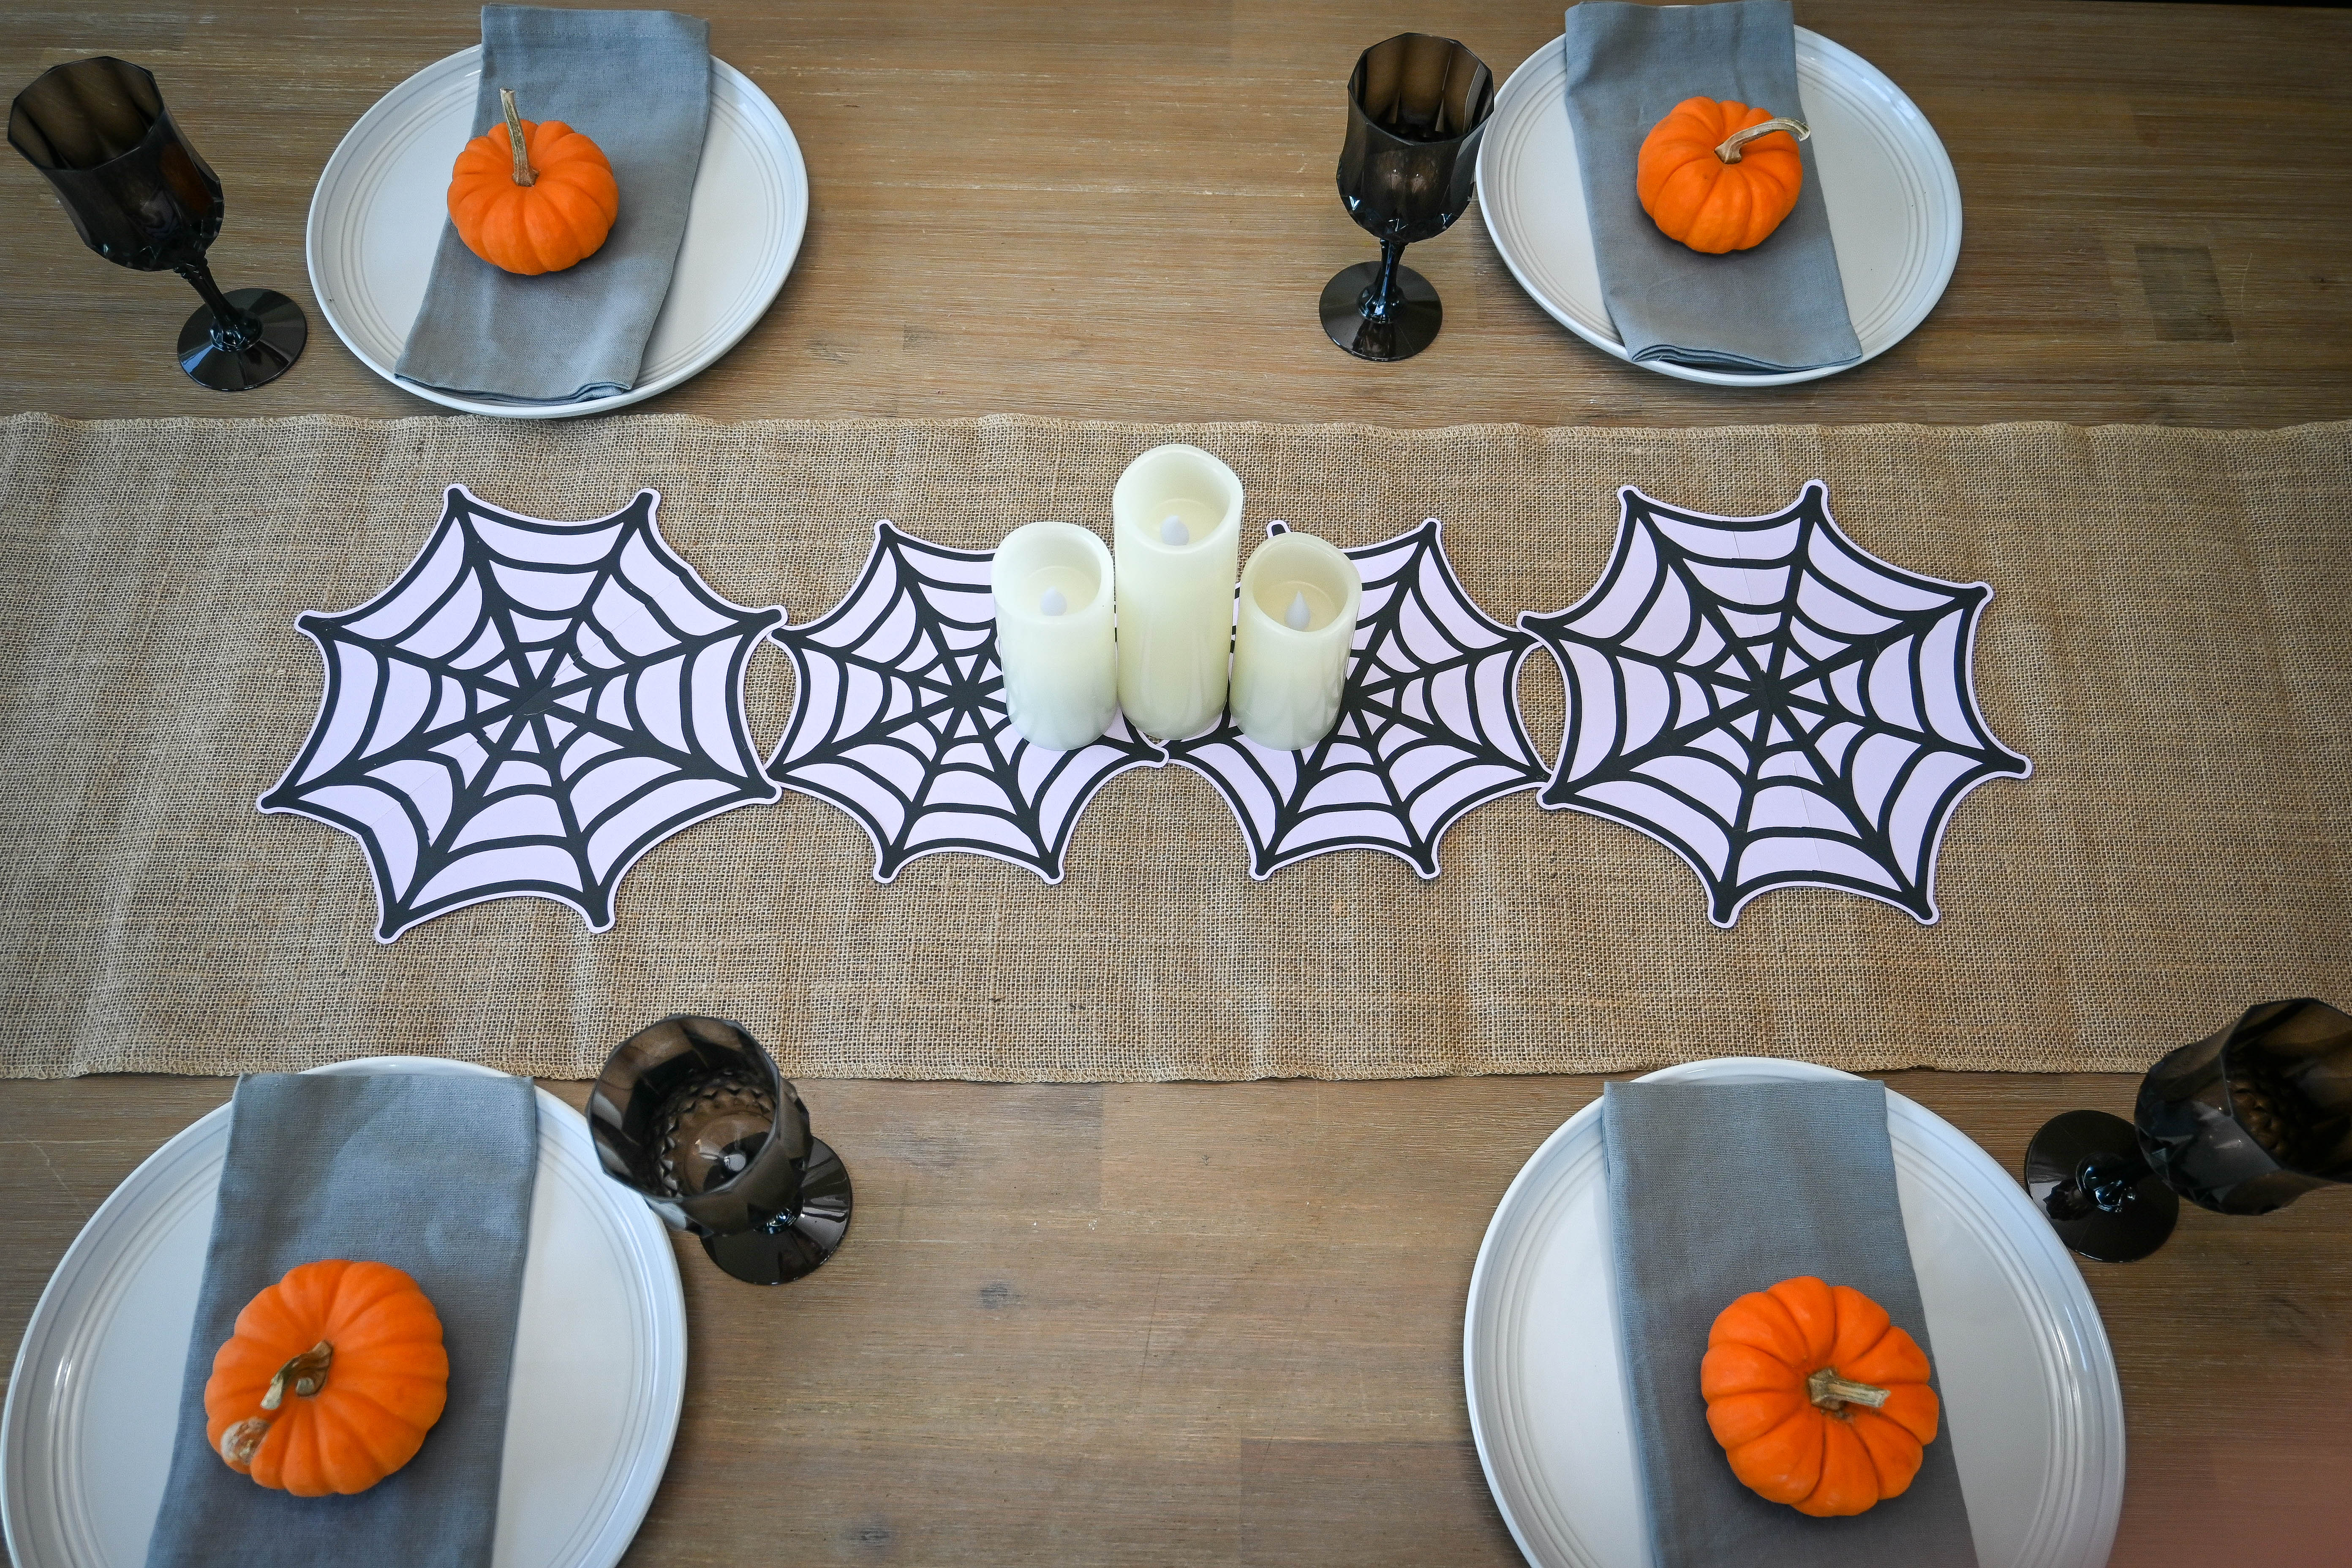
Give your dining table a spookingly-cute makeover this Halloween. And yes, you can make a table runner out of paper!
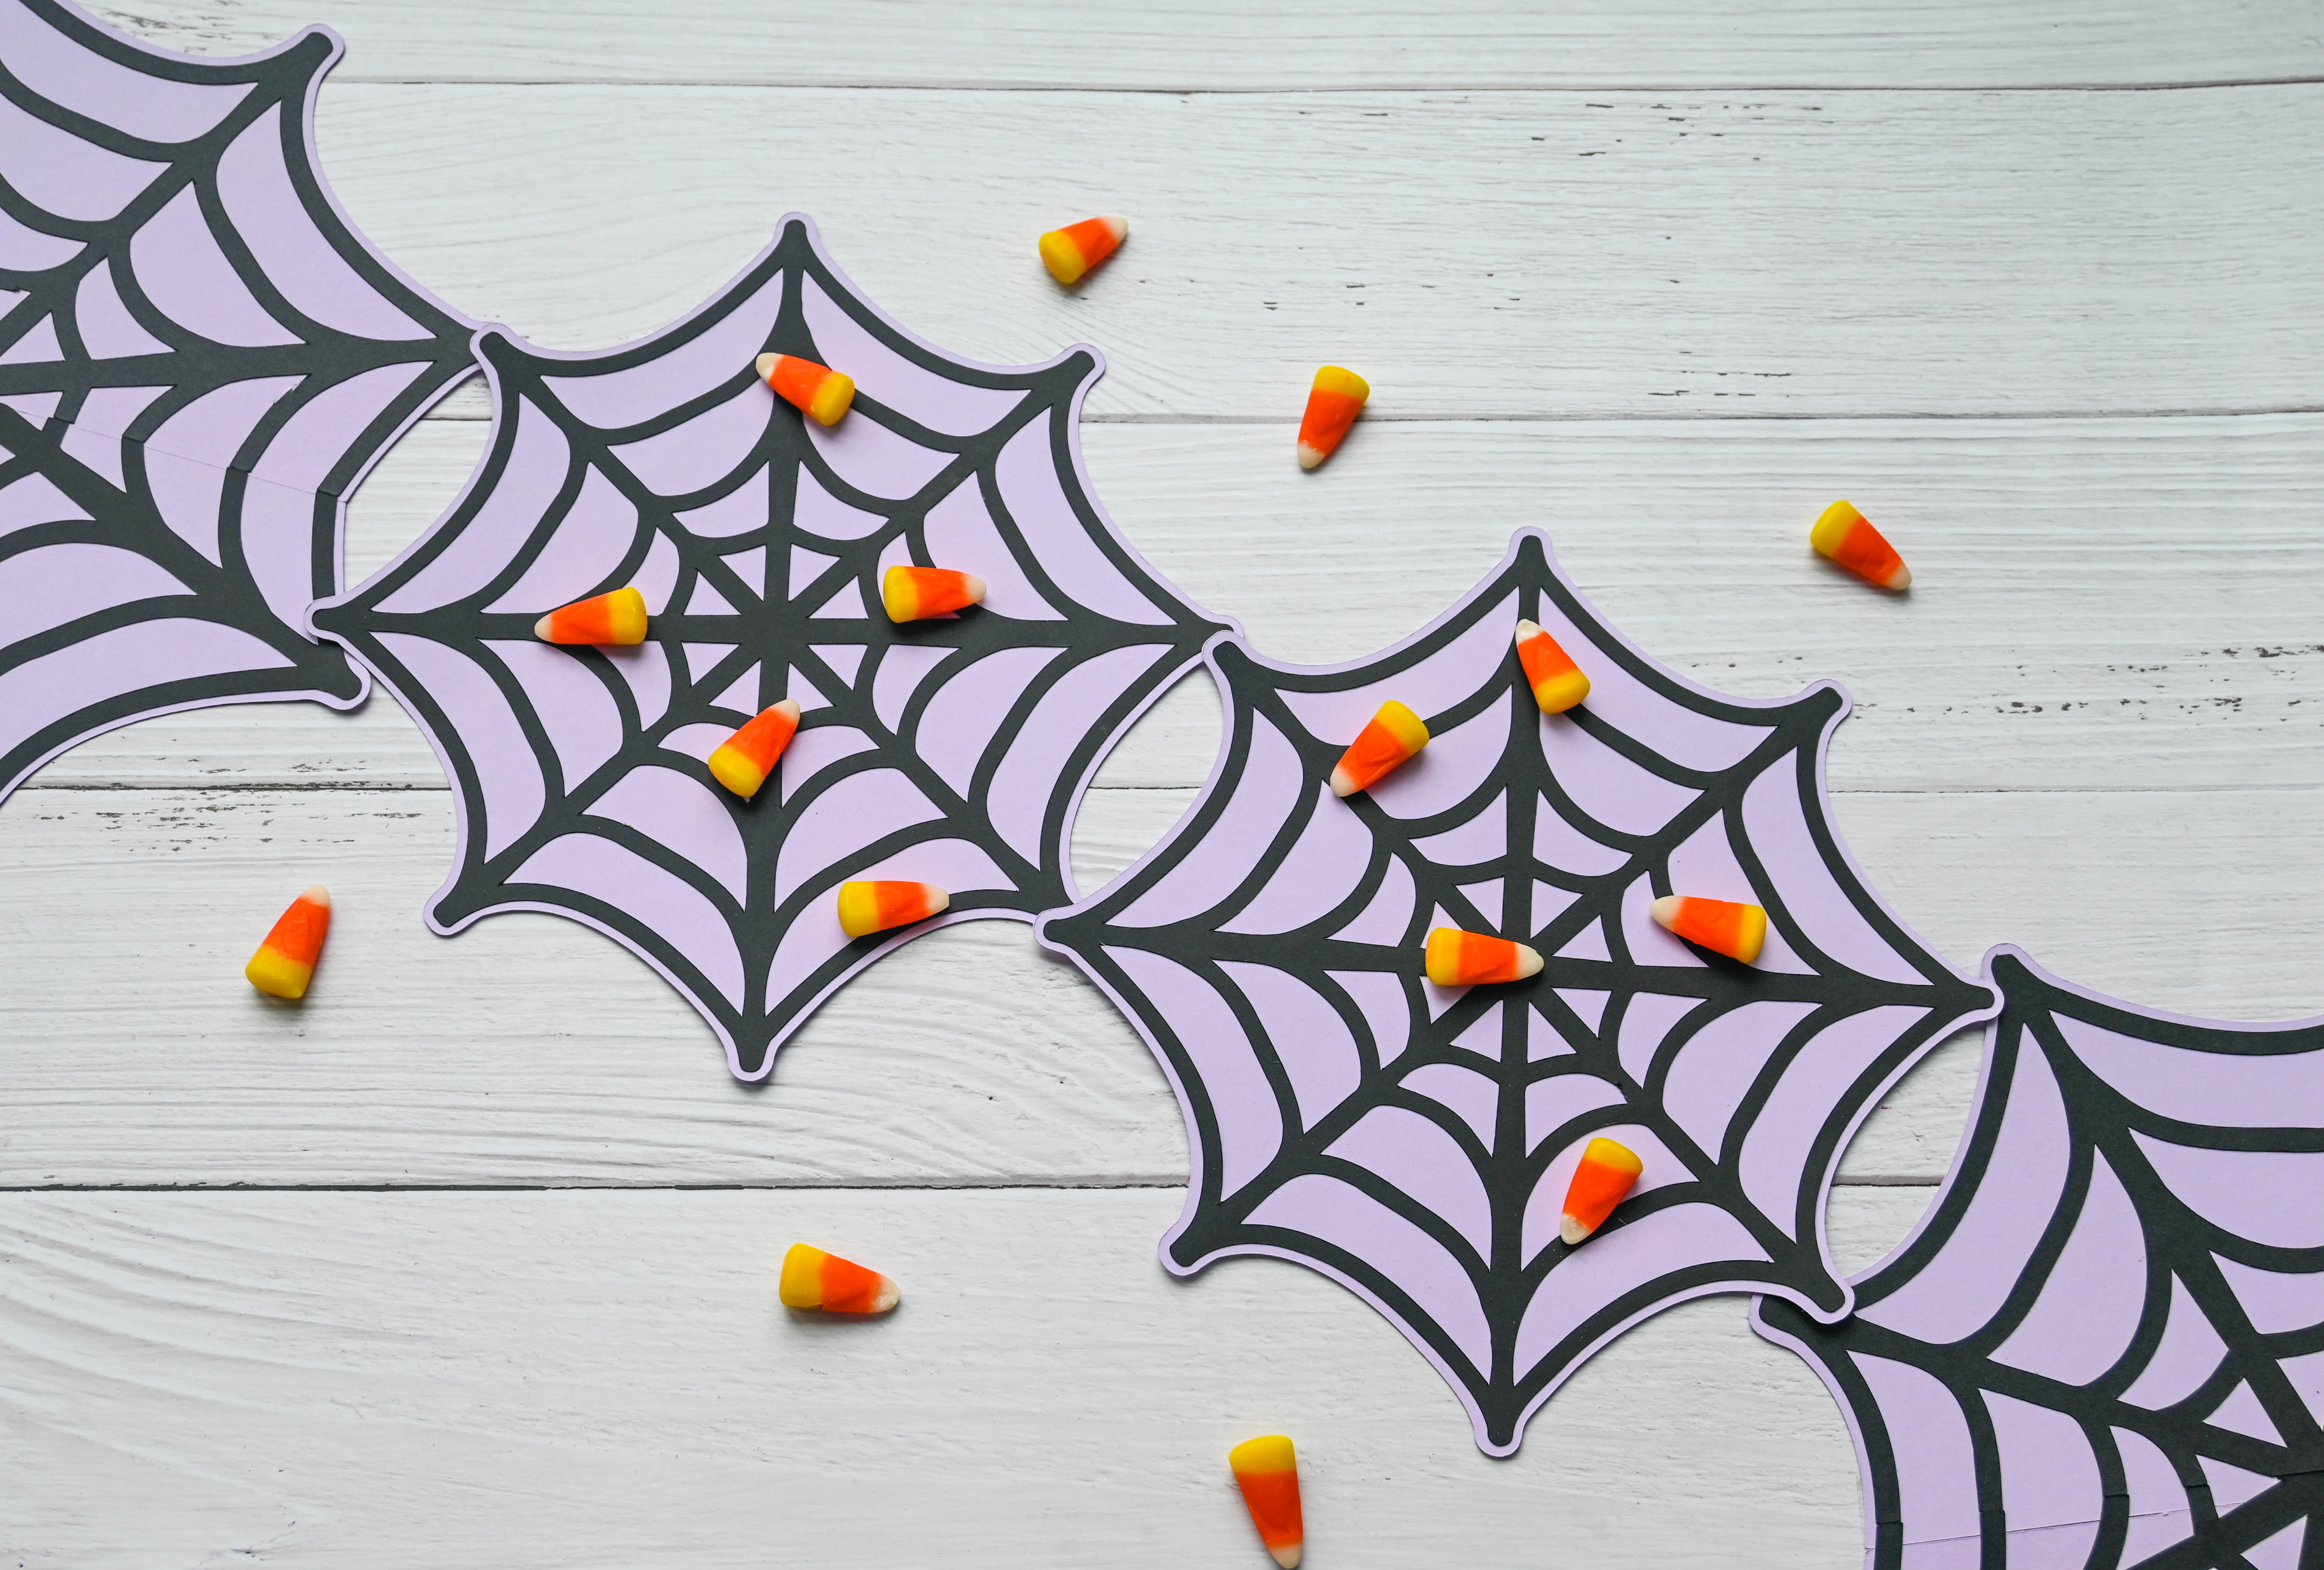
All you need is some Black Cardstock (for the webs), a Pastel Purple Cardstock (for the web outline/base-optional), a pencil, glue and a pair of scissors.
Simply draw spiderwebs, big enough to cover the whole cardstock. Cut it and glue each of it on both ends. Just add some pumpkins or luminaries to get that spooky vibe.
4. Skull Paper Lanterns
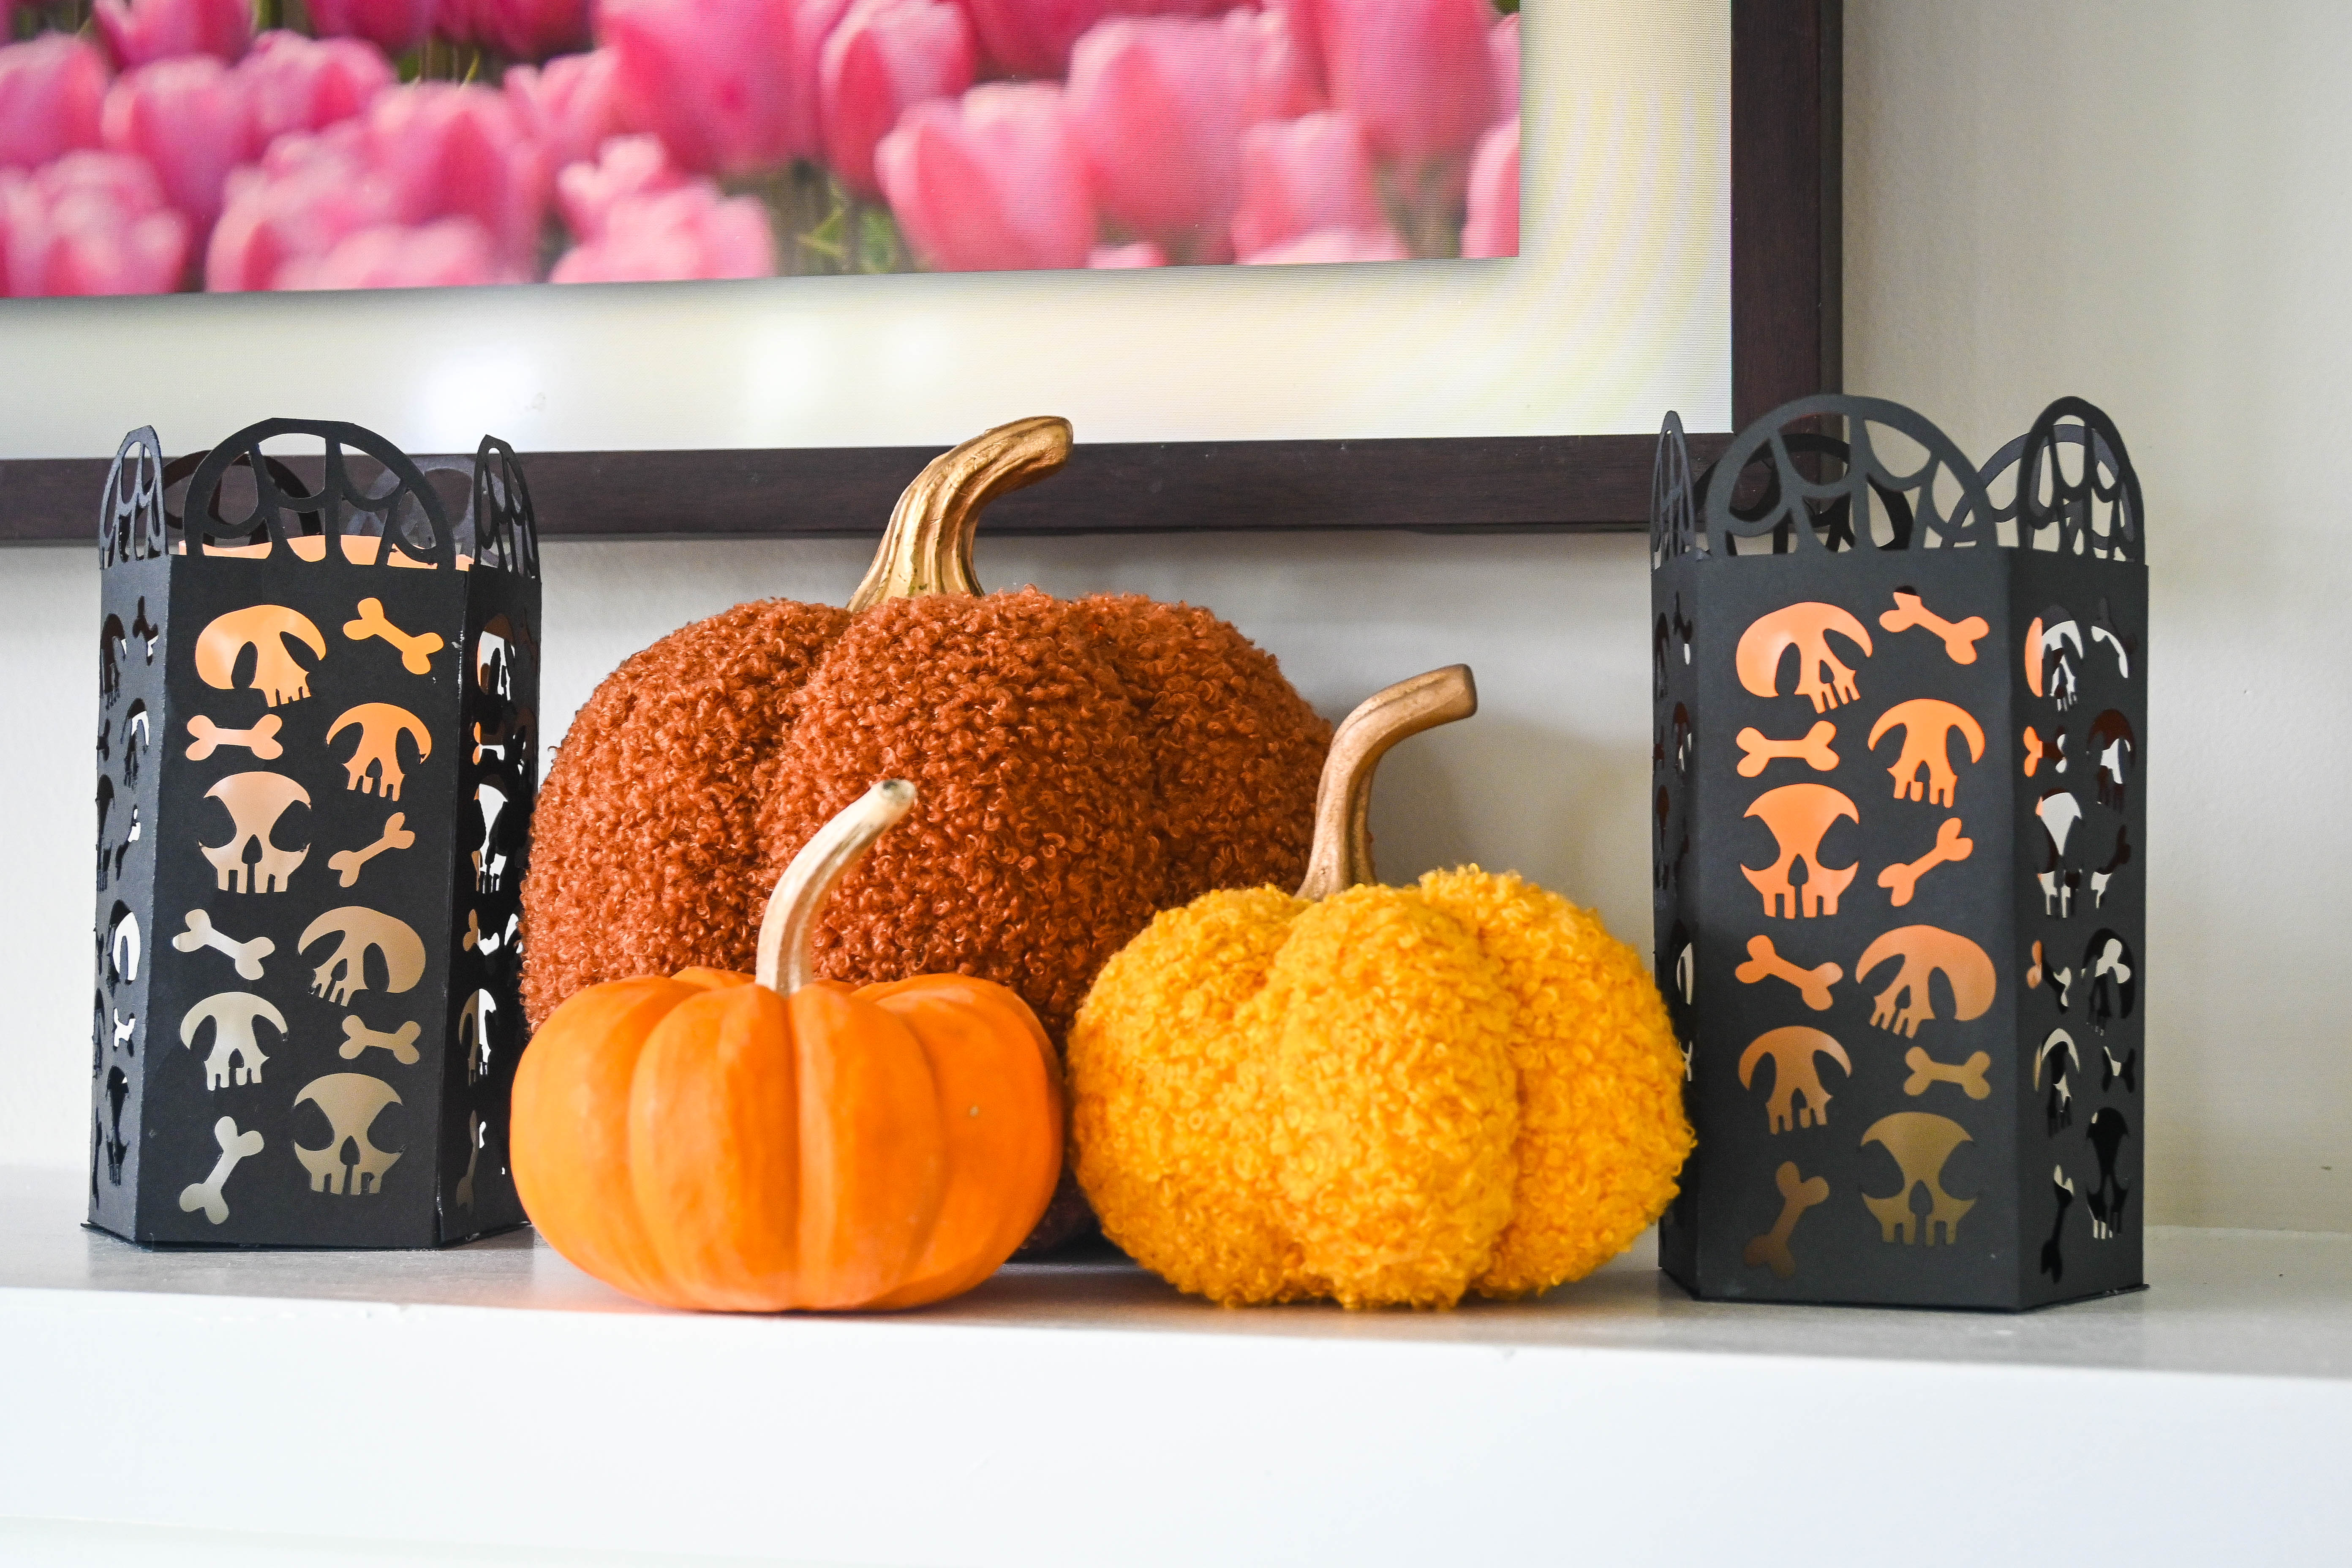
These skull lanterns will be a perfect addition to your table centerpiece or a great decoration for your dessert table.
Supplies:
- 65 lb. Black Cardstock
- Cut Files (I got the skull images from Silhouette’s Design Store)
- Electronic Cutting Machine
- Glue
- Battery Operated Candles (you can also use some fairy lights if you don’t have any battery-operated candles)
Cut the skull lantern template from a sheet of 8.5×11” cardstock. Since it’s an intricate design, I use my Cricut for this project.
Fold along the dotted lines, then glue the tab at the end to create a pentagon shape. Place a battery-operated candle inside your paper lanterns to give it a spooky glow!
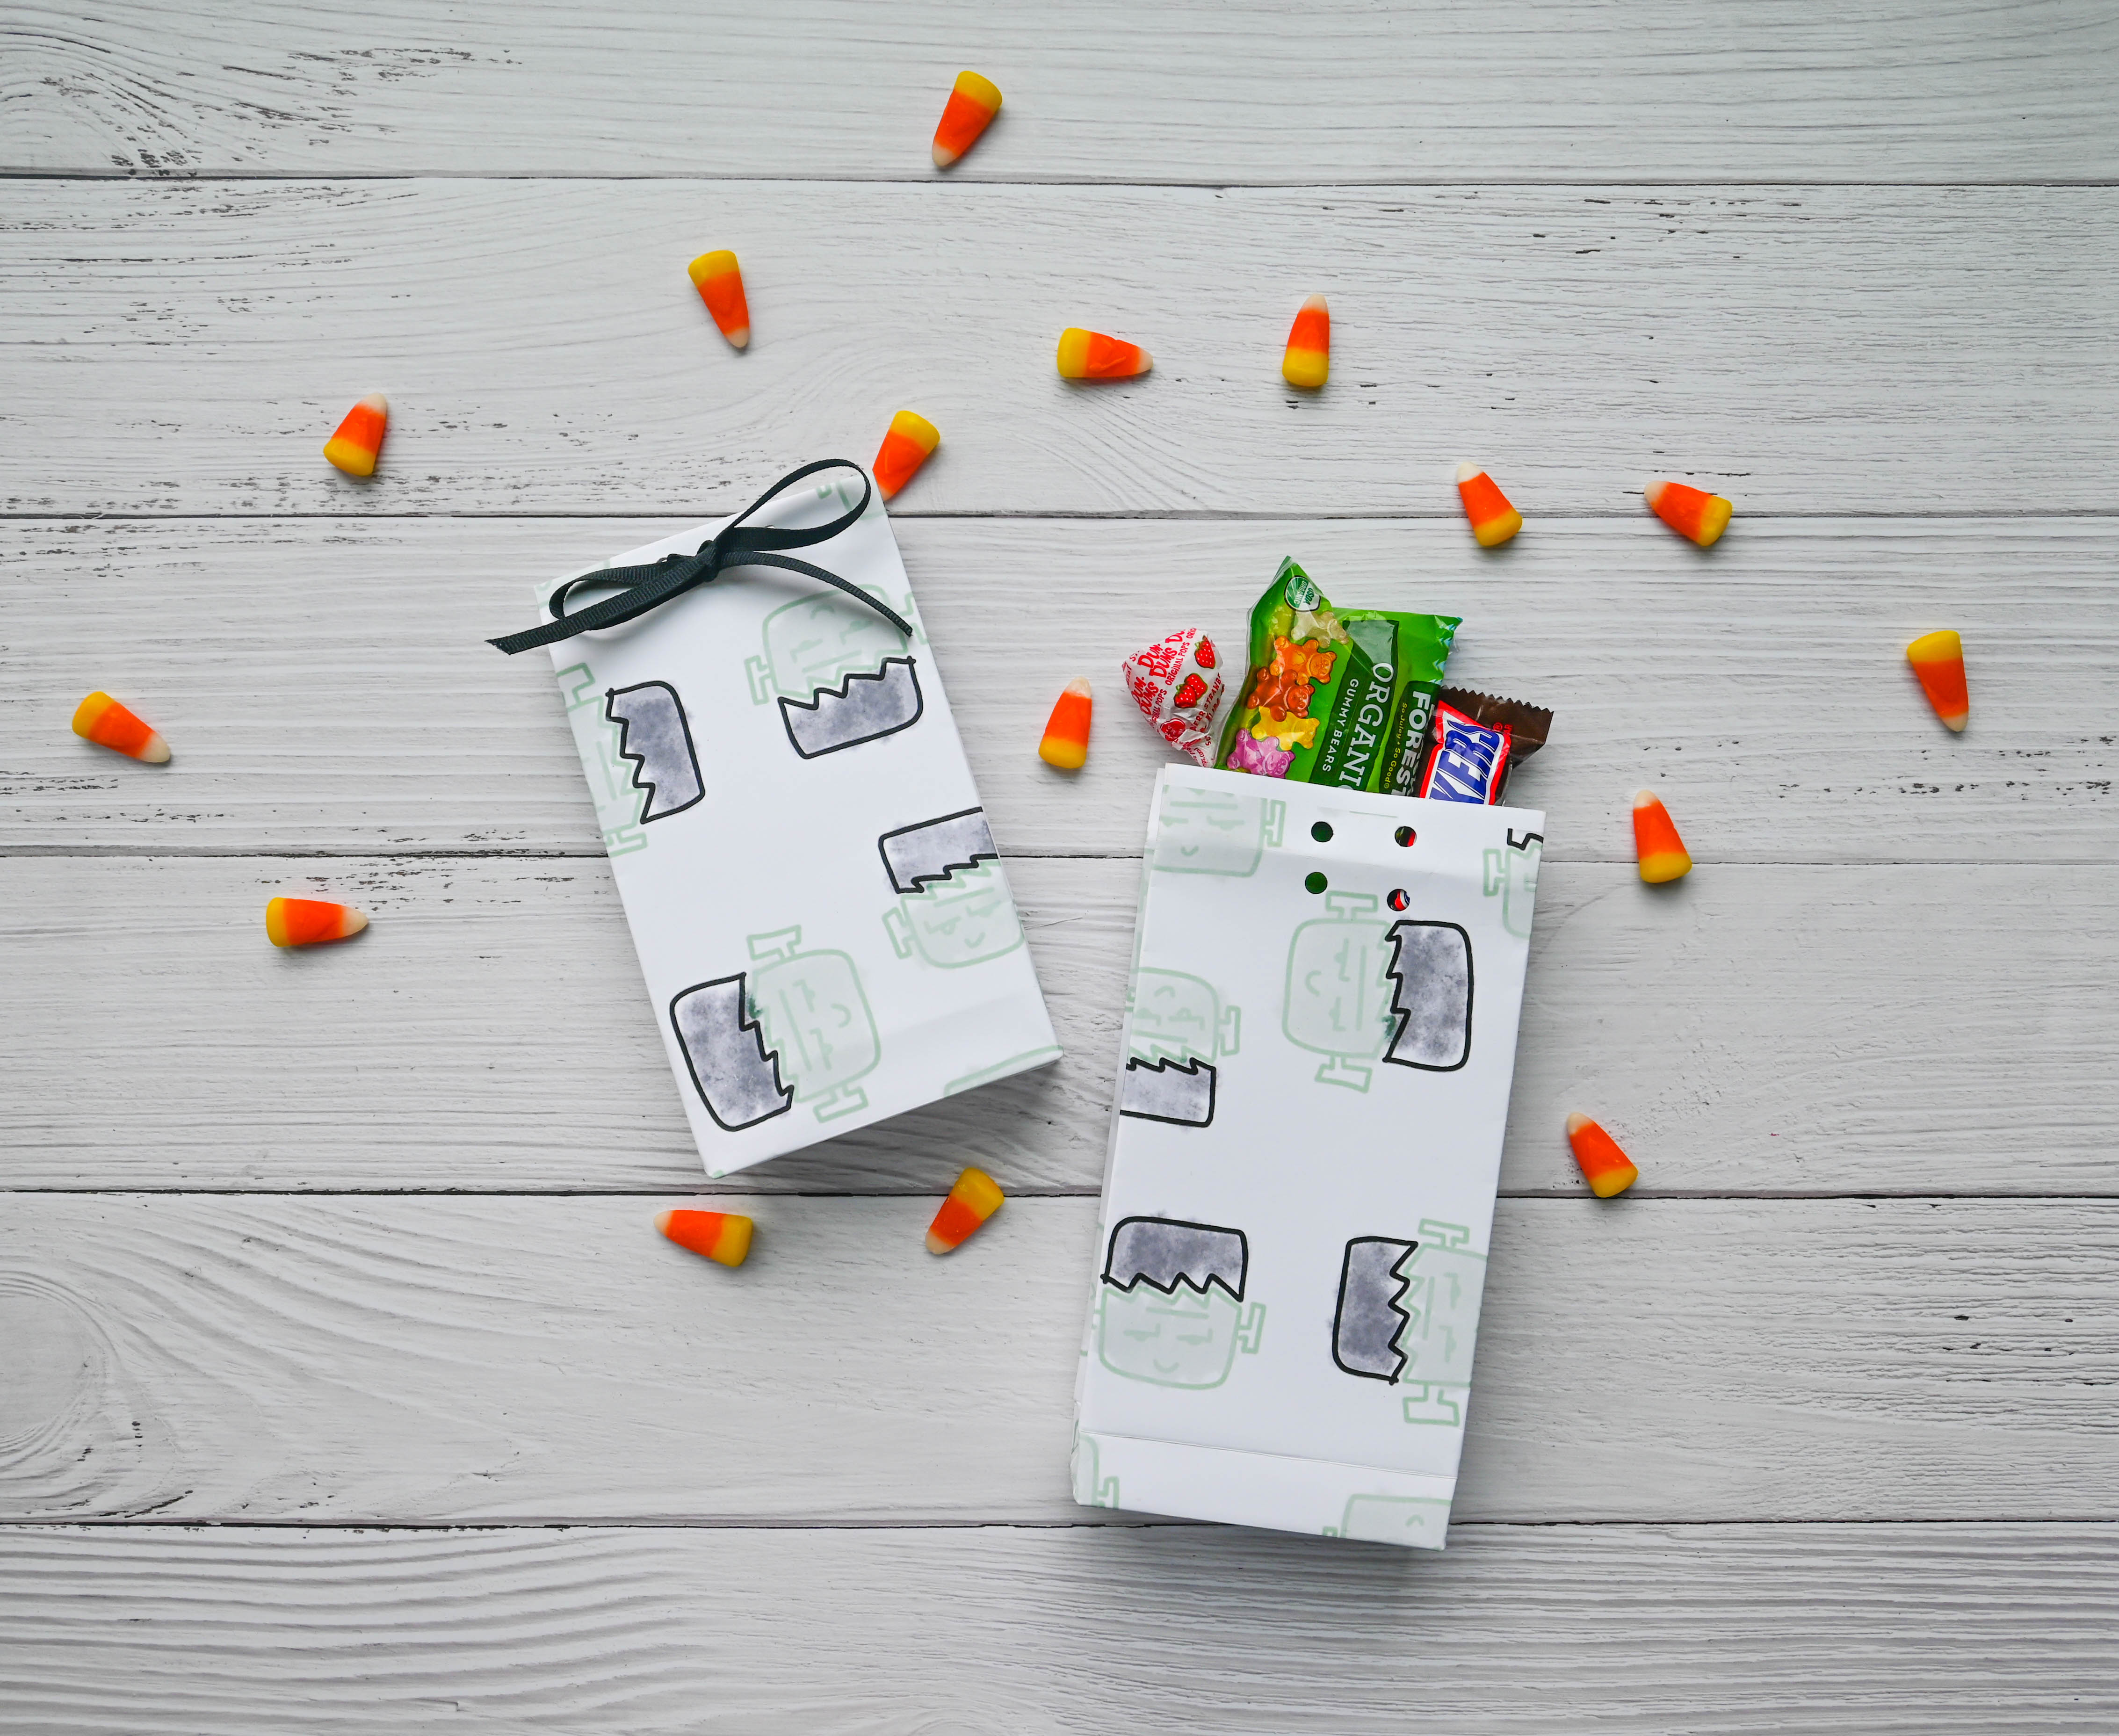
5. Frankenstein Treat Bag
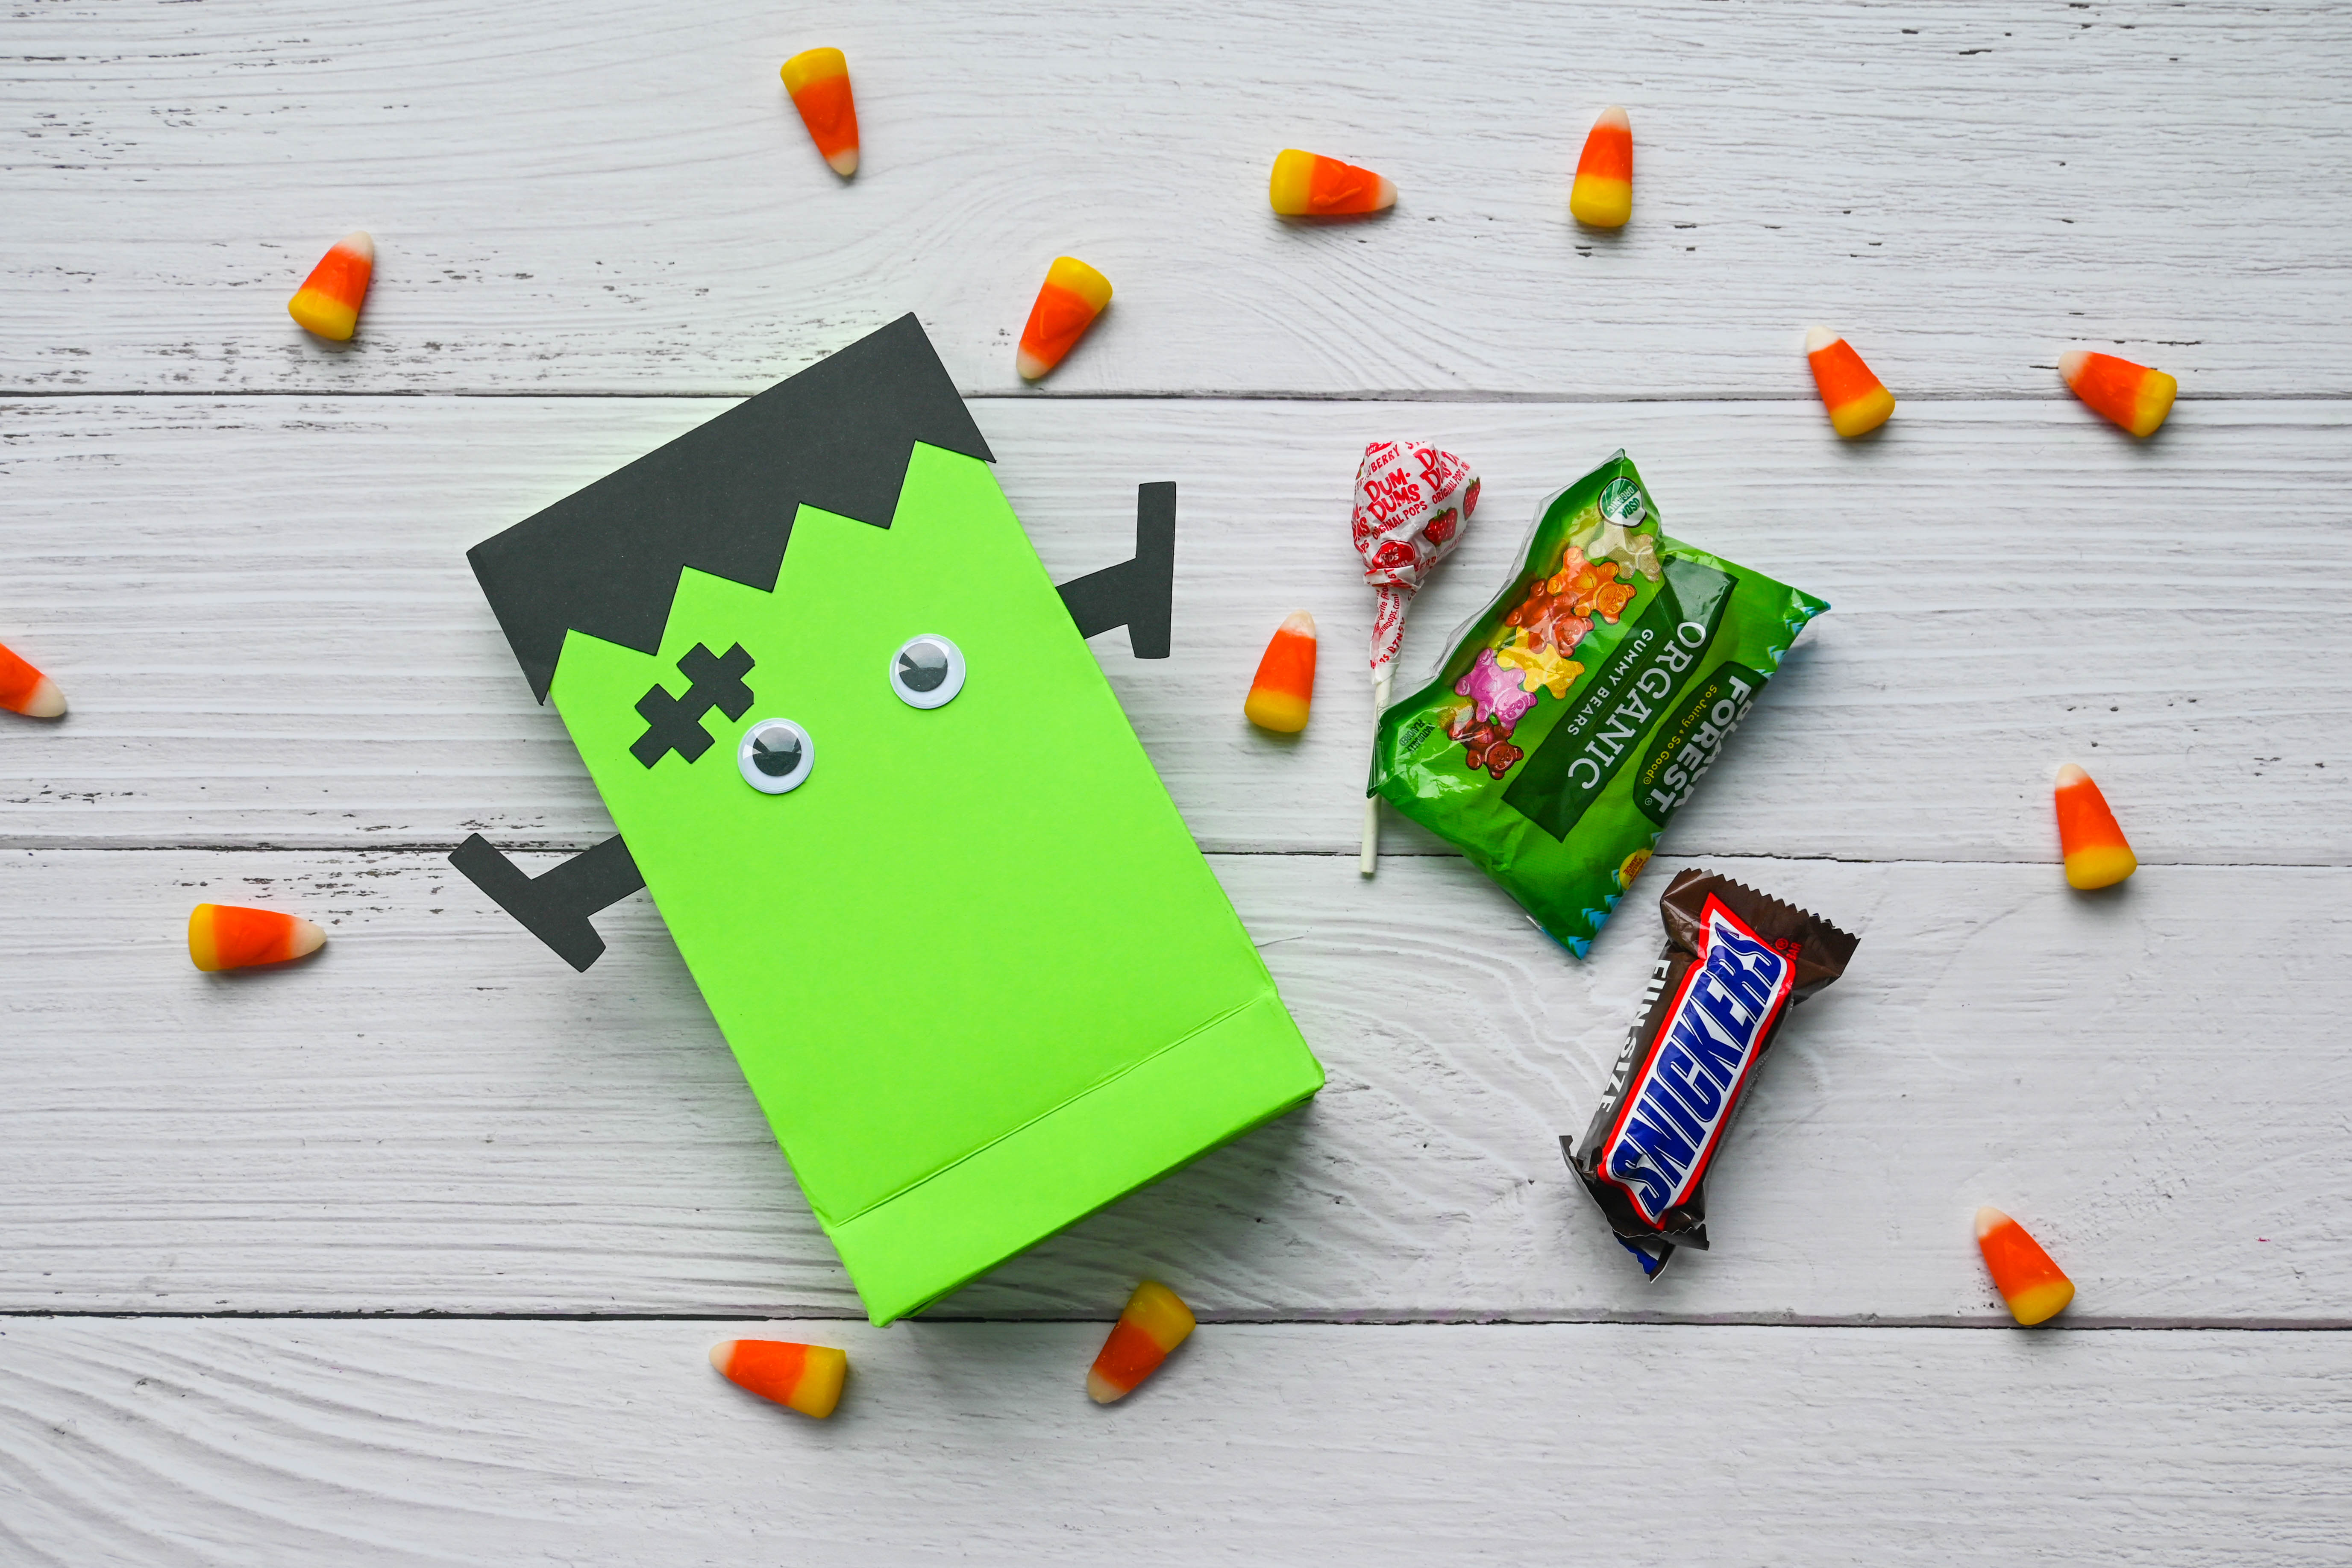
Halloween isn’t complete without some candies – LOTS of candies! Being a crafty momma, I always love to come up with a cute and fun treat packaging for my boys to take to school for their friends. Who wouldn’t want to open a bag-full of treats with a cute packaging, right?
Supplies:
- Green and Black cardstock from PrintWorks Halloween Cardstock pack
- Glue
- Googly Eyes
- Double Sided Tape
- Clear Tape
- Scissors
Place your 8.5×11” cardstock (landscape) on a flat surface.
Fold the right and left sides down the middle until they overlap a little and glue them together. I prefer using double sided tape for this.
Fold the bottom part of your gift bag (approximately 1 ½”, depending how deep or wide you want it). Press and fold.
Open the bottom fold and flatten each corner to make a triangular shape.
Fold each side of the bottom toward the middle (they have to overlap a bit) and tape them in place.
But wait, there’s more! Grab your black cardstock and cut a rectangular shape and snip some small triangles for Frankie’s hair, cut a scar and bolts as well.
Glue the hair, scar, Frankie’s bolts and eyes. I use googly eyes to make it more fun! You may add Frankie’s mouth if you prefer.
6. Printable Halloween Treat Bag
Here’s another version of Frankenstein’s treat bag for you.
Just print out Frankie’s images or any Halloween images that you like. I used PrintWorks Matte Photo Paper, I like it because it is almost as thick as a 65 lb. cardstock. It will not rip easily and your goodies are very secure.
Refer to Frankenstein’s treat bag for the steps on how to fold this treat bag. After, poke some holes, add candies inside and tie it with a matching ribbon and you are done!
7. Gift Tag
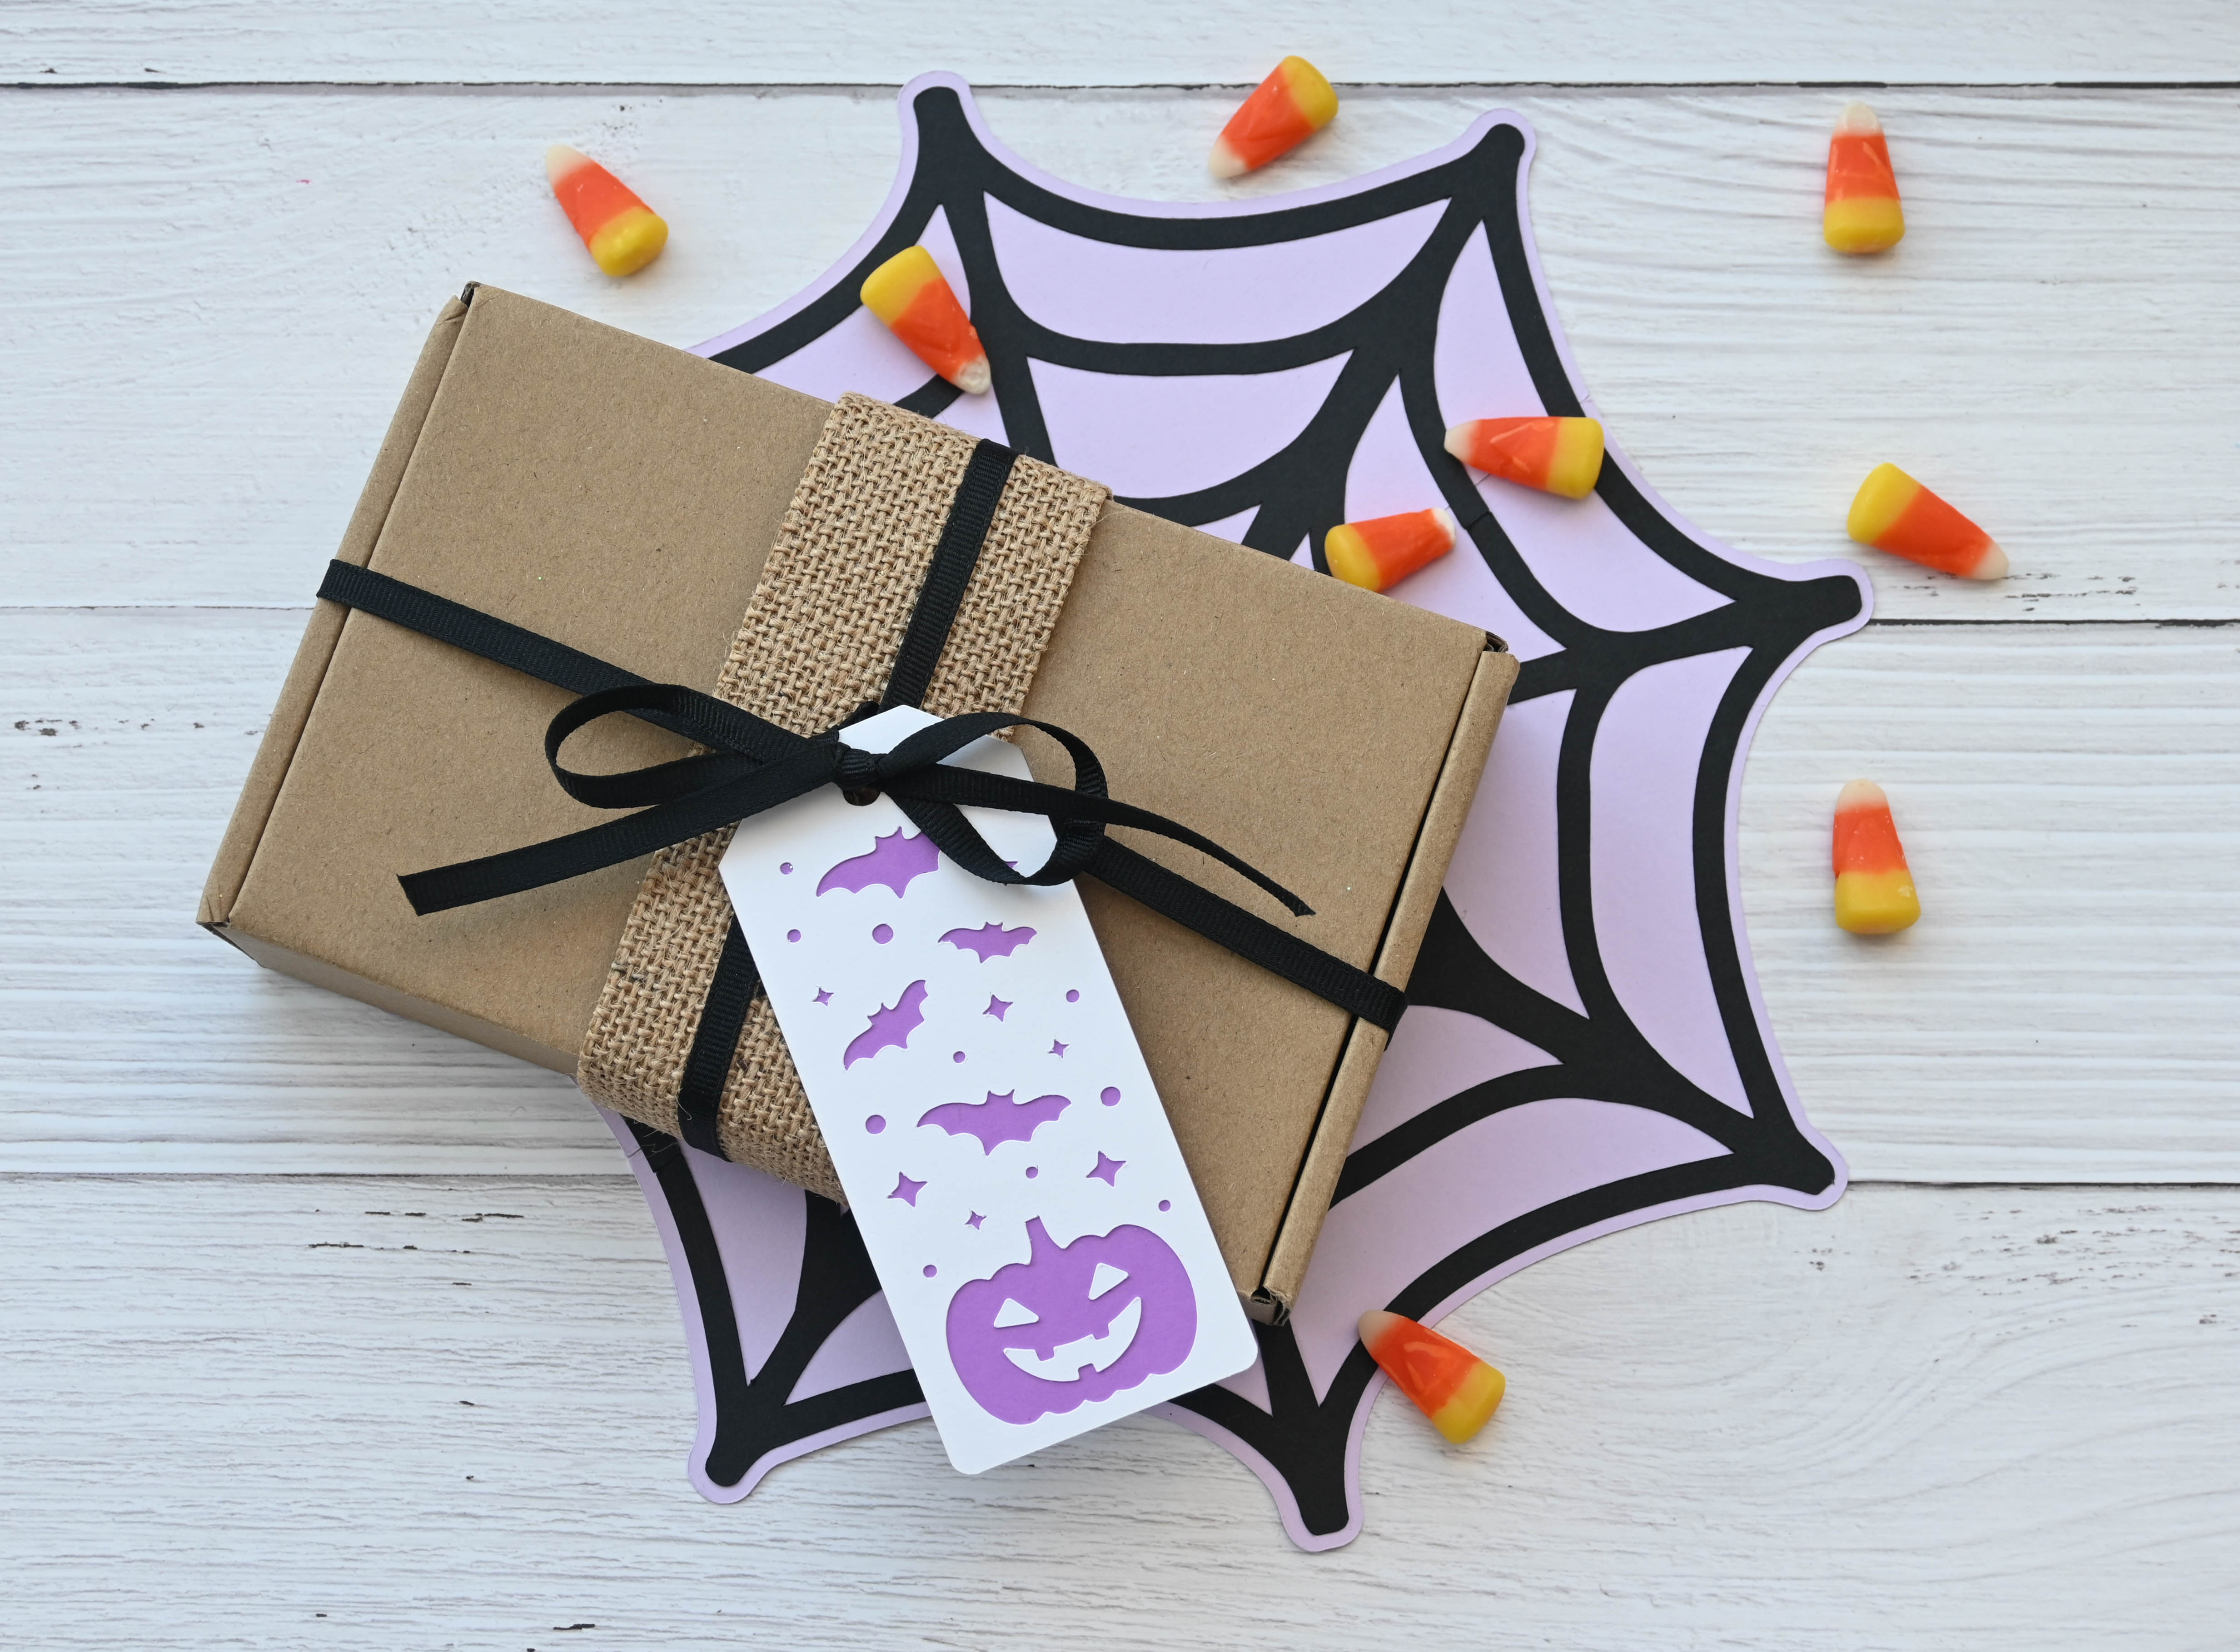
Add a personal touch to your gifts by making your own gift tags. All you need are some cardstocks and a ribbon/twine.
Cut out your preferred designs (I got my images from Cricut Design Space), glue the pieces together, and tie the tag on to the gift.
8. Printable Halloween Activity Sheets
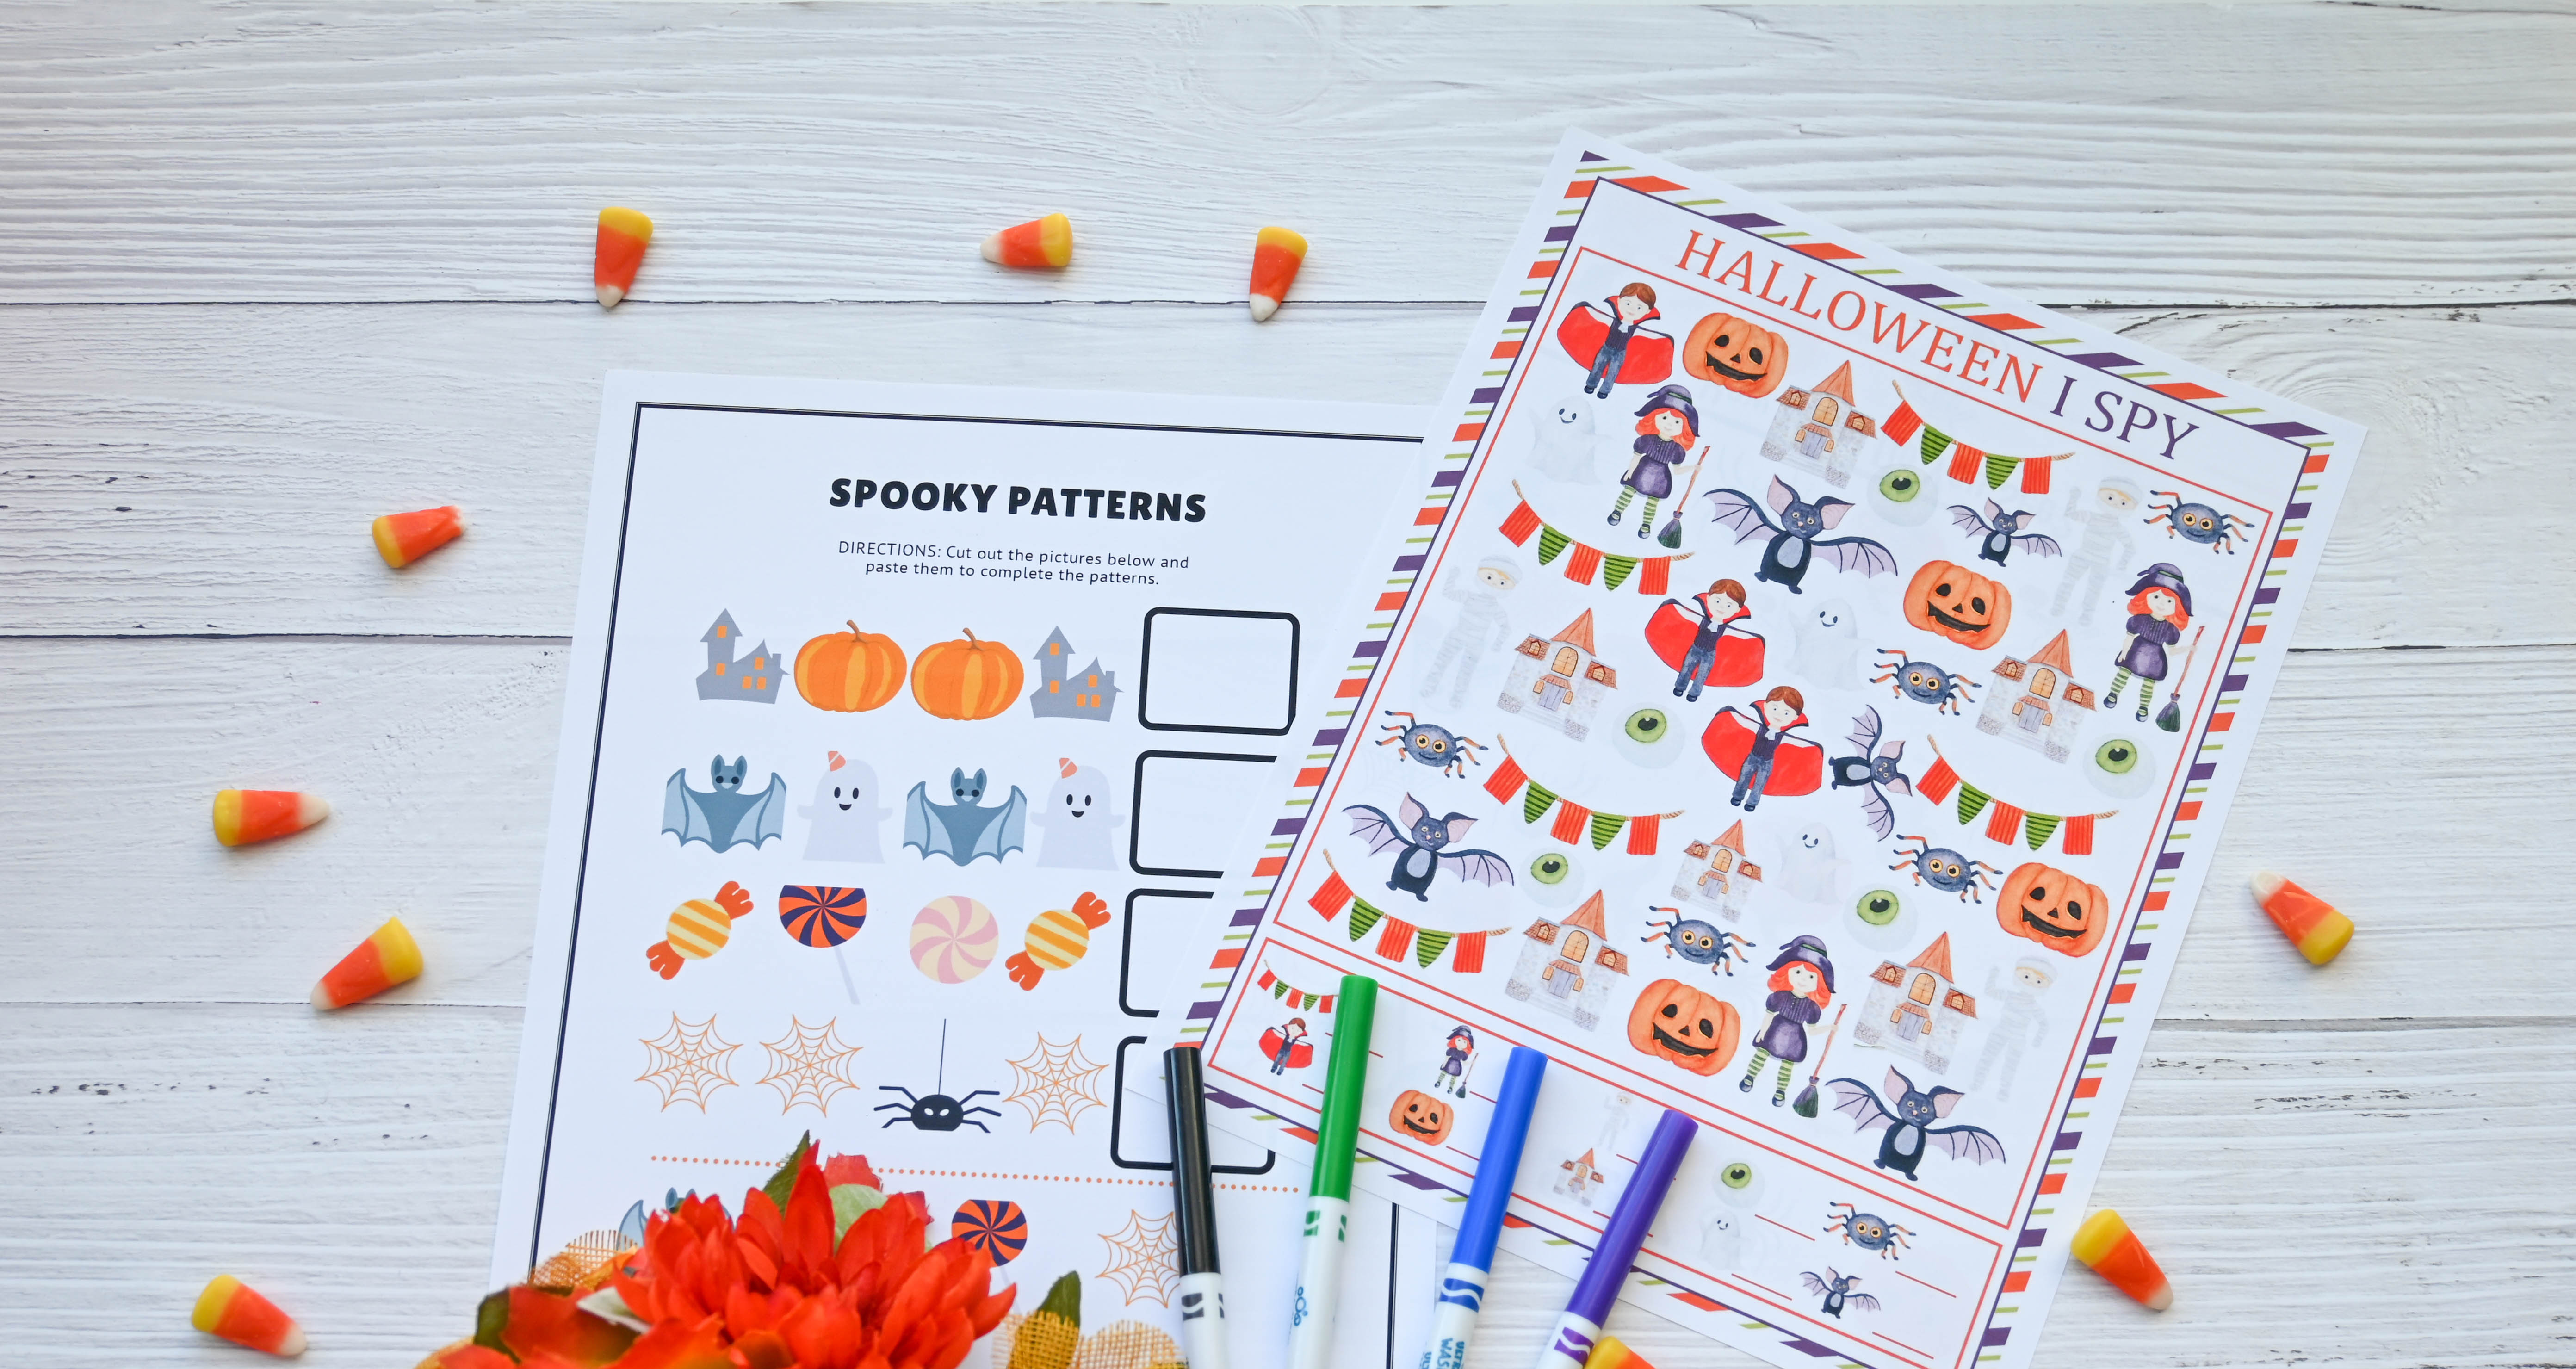
If you’re throwing a Halloween party or just need some fun activities for your children, these printable Halloween activity sheets are so easy to make.
Search for any free downloadable Halloween activity sheets on the web and print it out. I prefer printing it out on a Matte Photo Paper. The images will be crisp and vibrant, it will surely draw more attention or focus to your kids because it’s colorful!
9. Googly Eyes Card
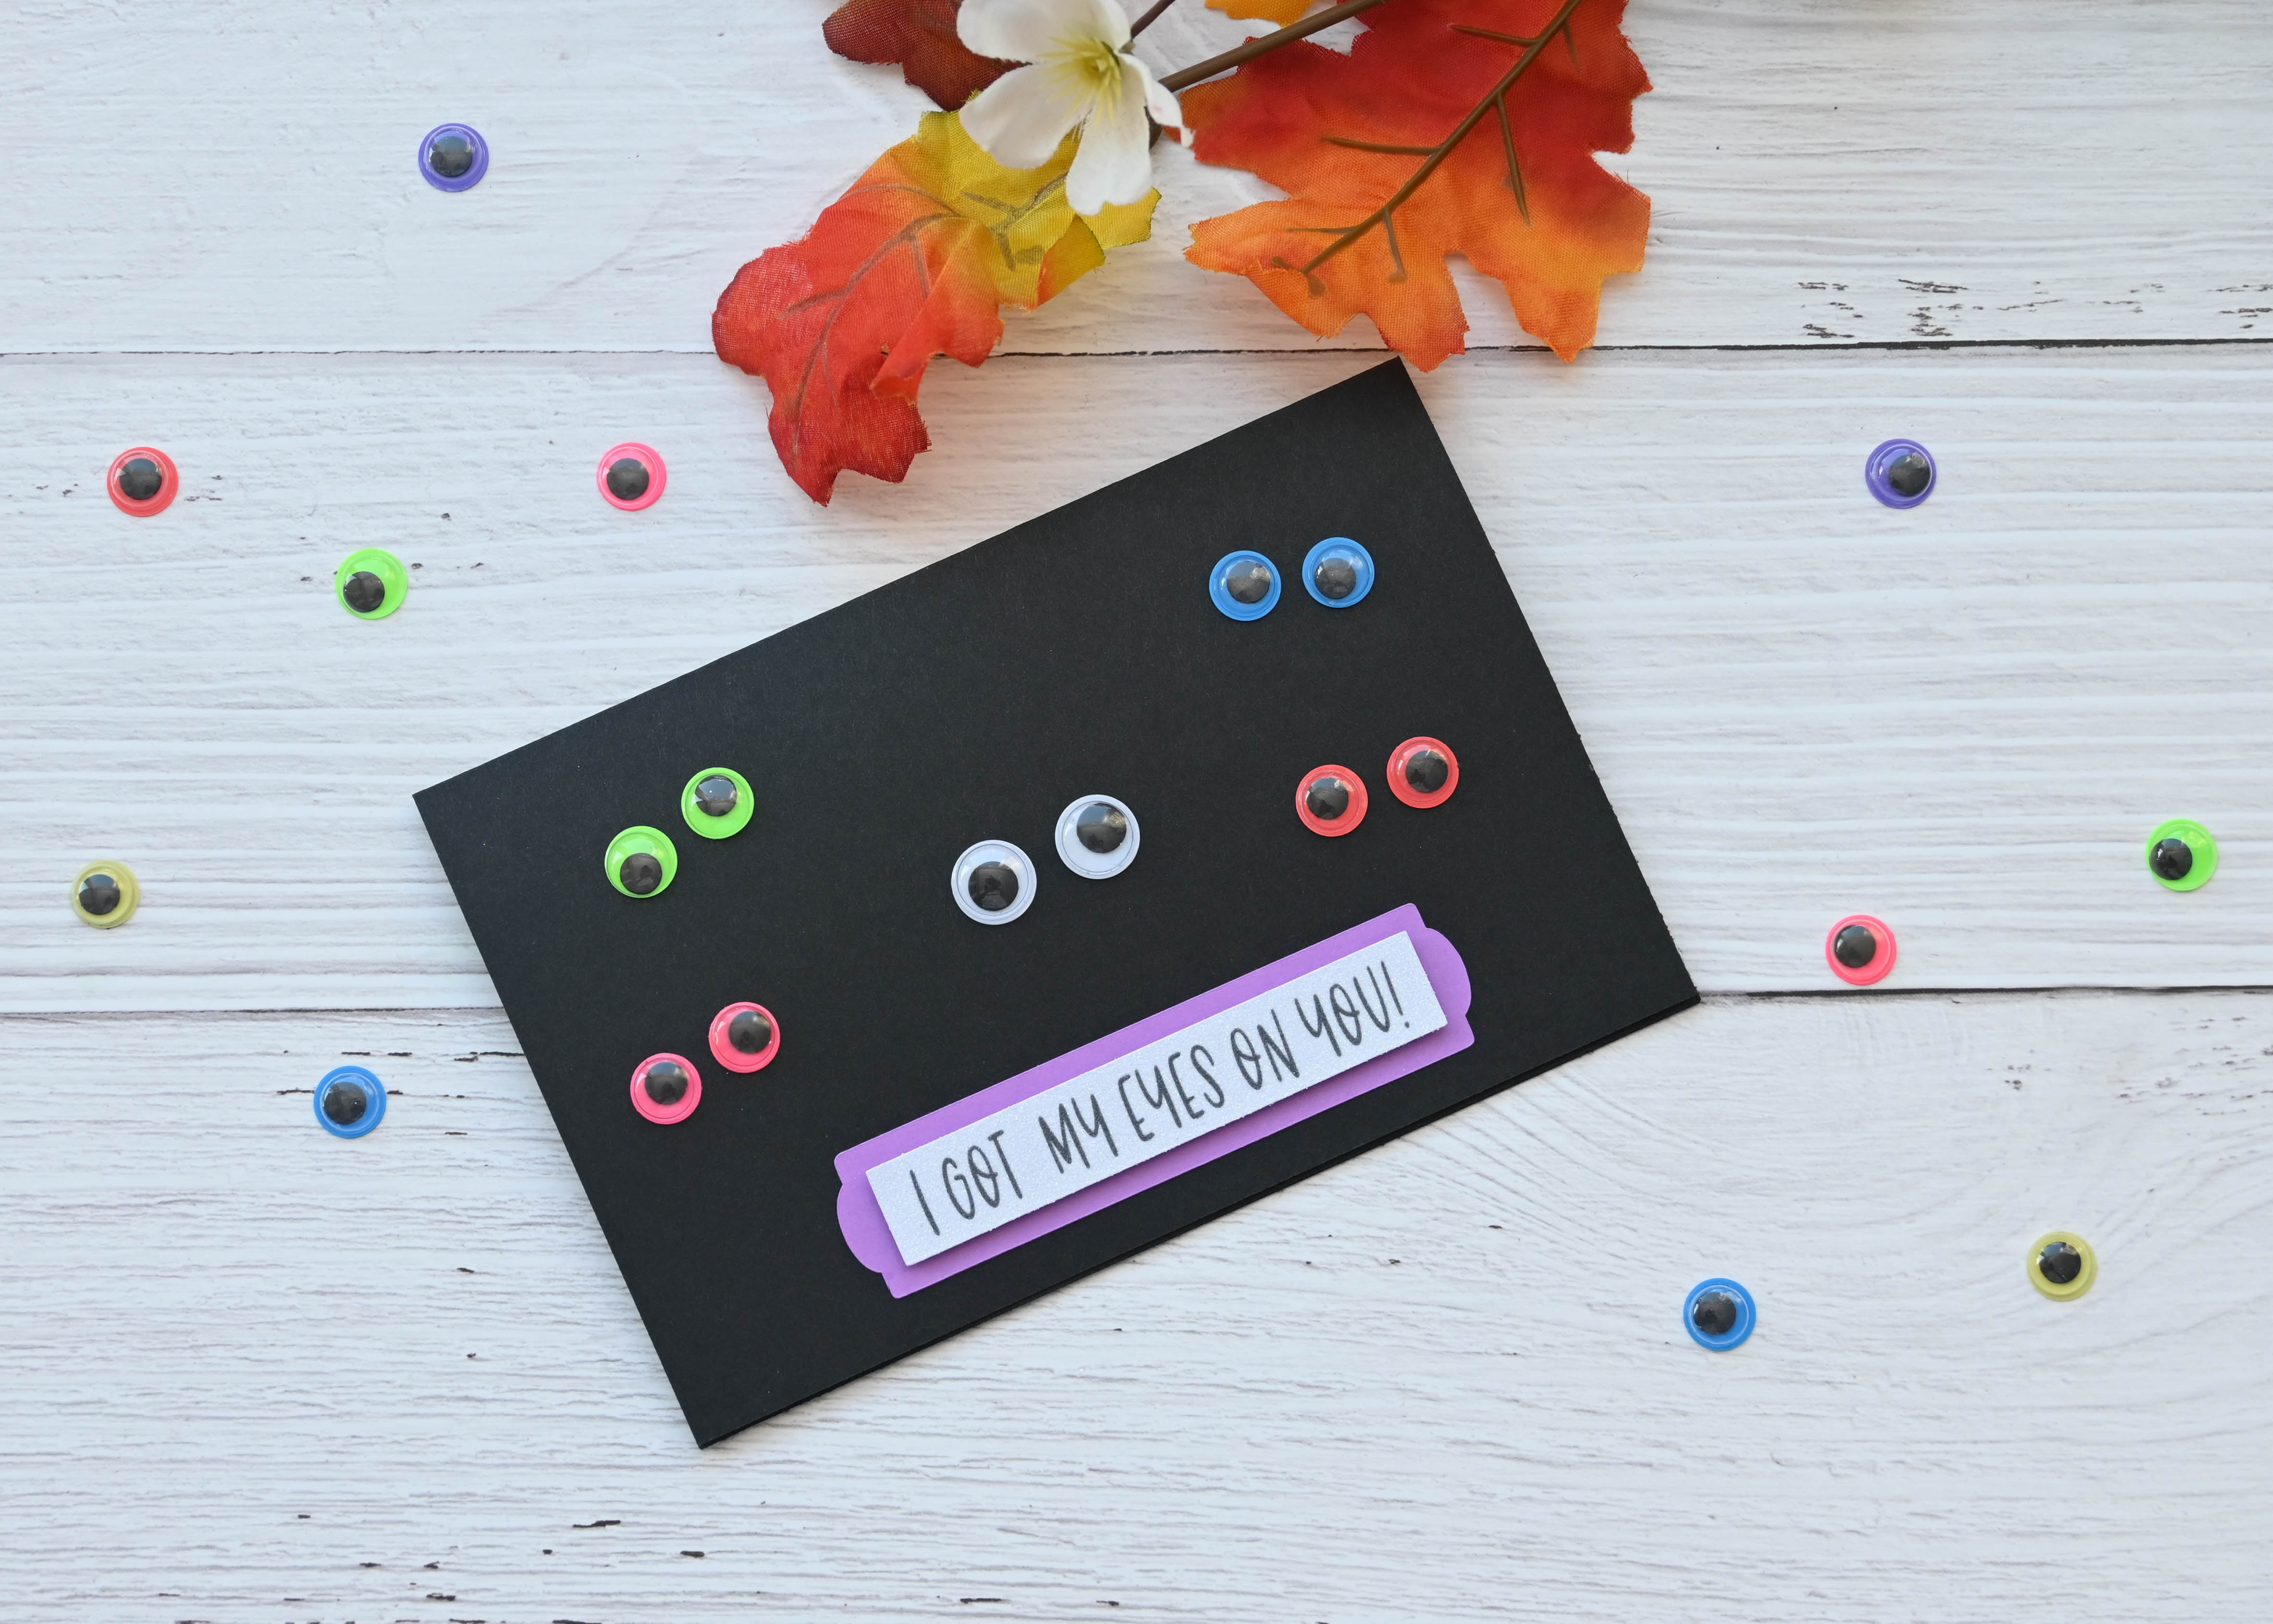
For this googly eyes Halloween card, you will only need Black Cardstock, glue, googly eyes (any size), a ruler, a paper cutter or scissors, and a printout sentiment.
Cut your cardstock down to 6×8” and fold it in half.
Add a small amount of glue on the black of your googly eyes and stick them onto your card (glue as many eyes as you like)! Glue your sentiment and finish it off with a sweet message on the inside of your card.
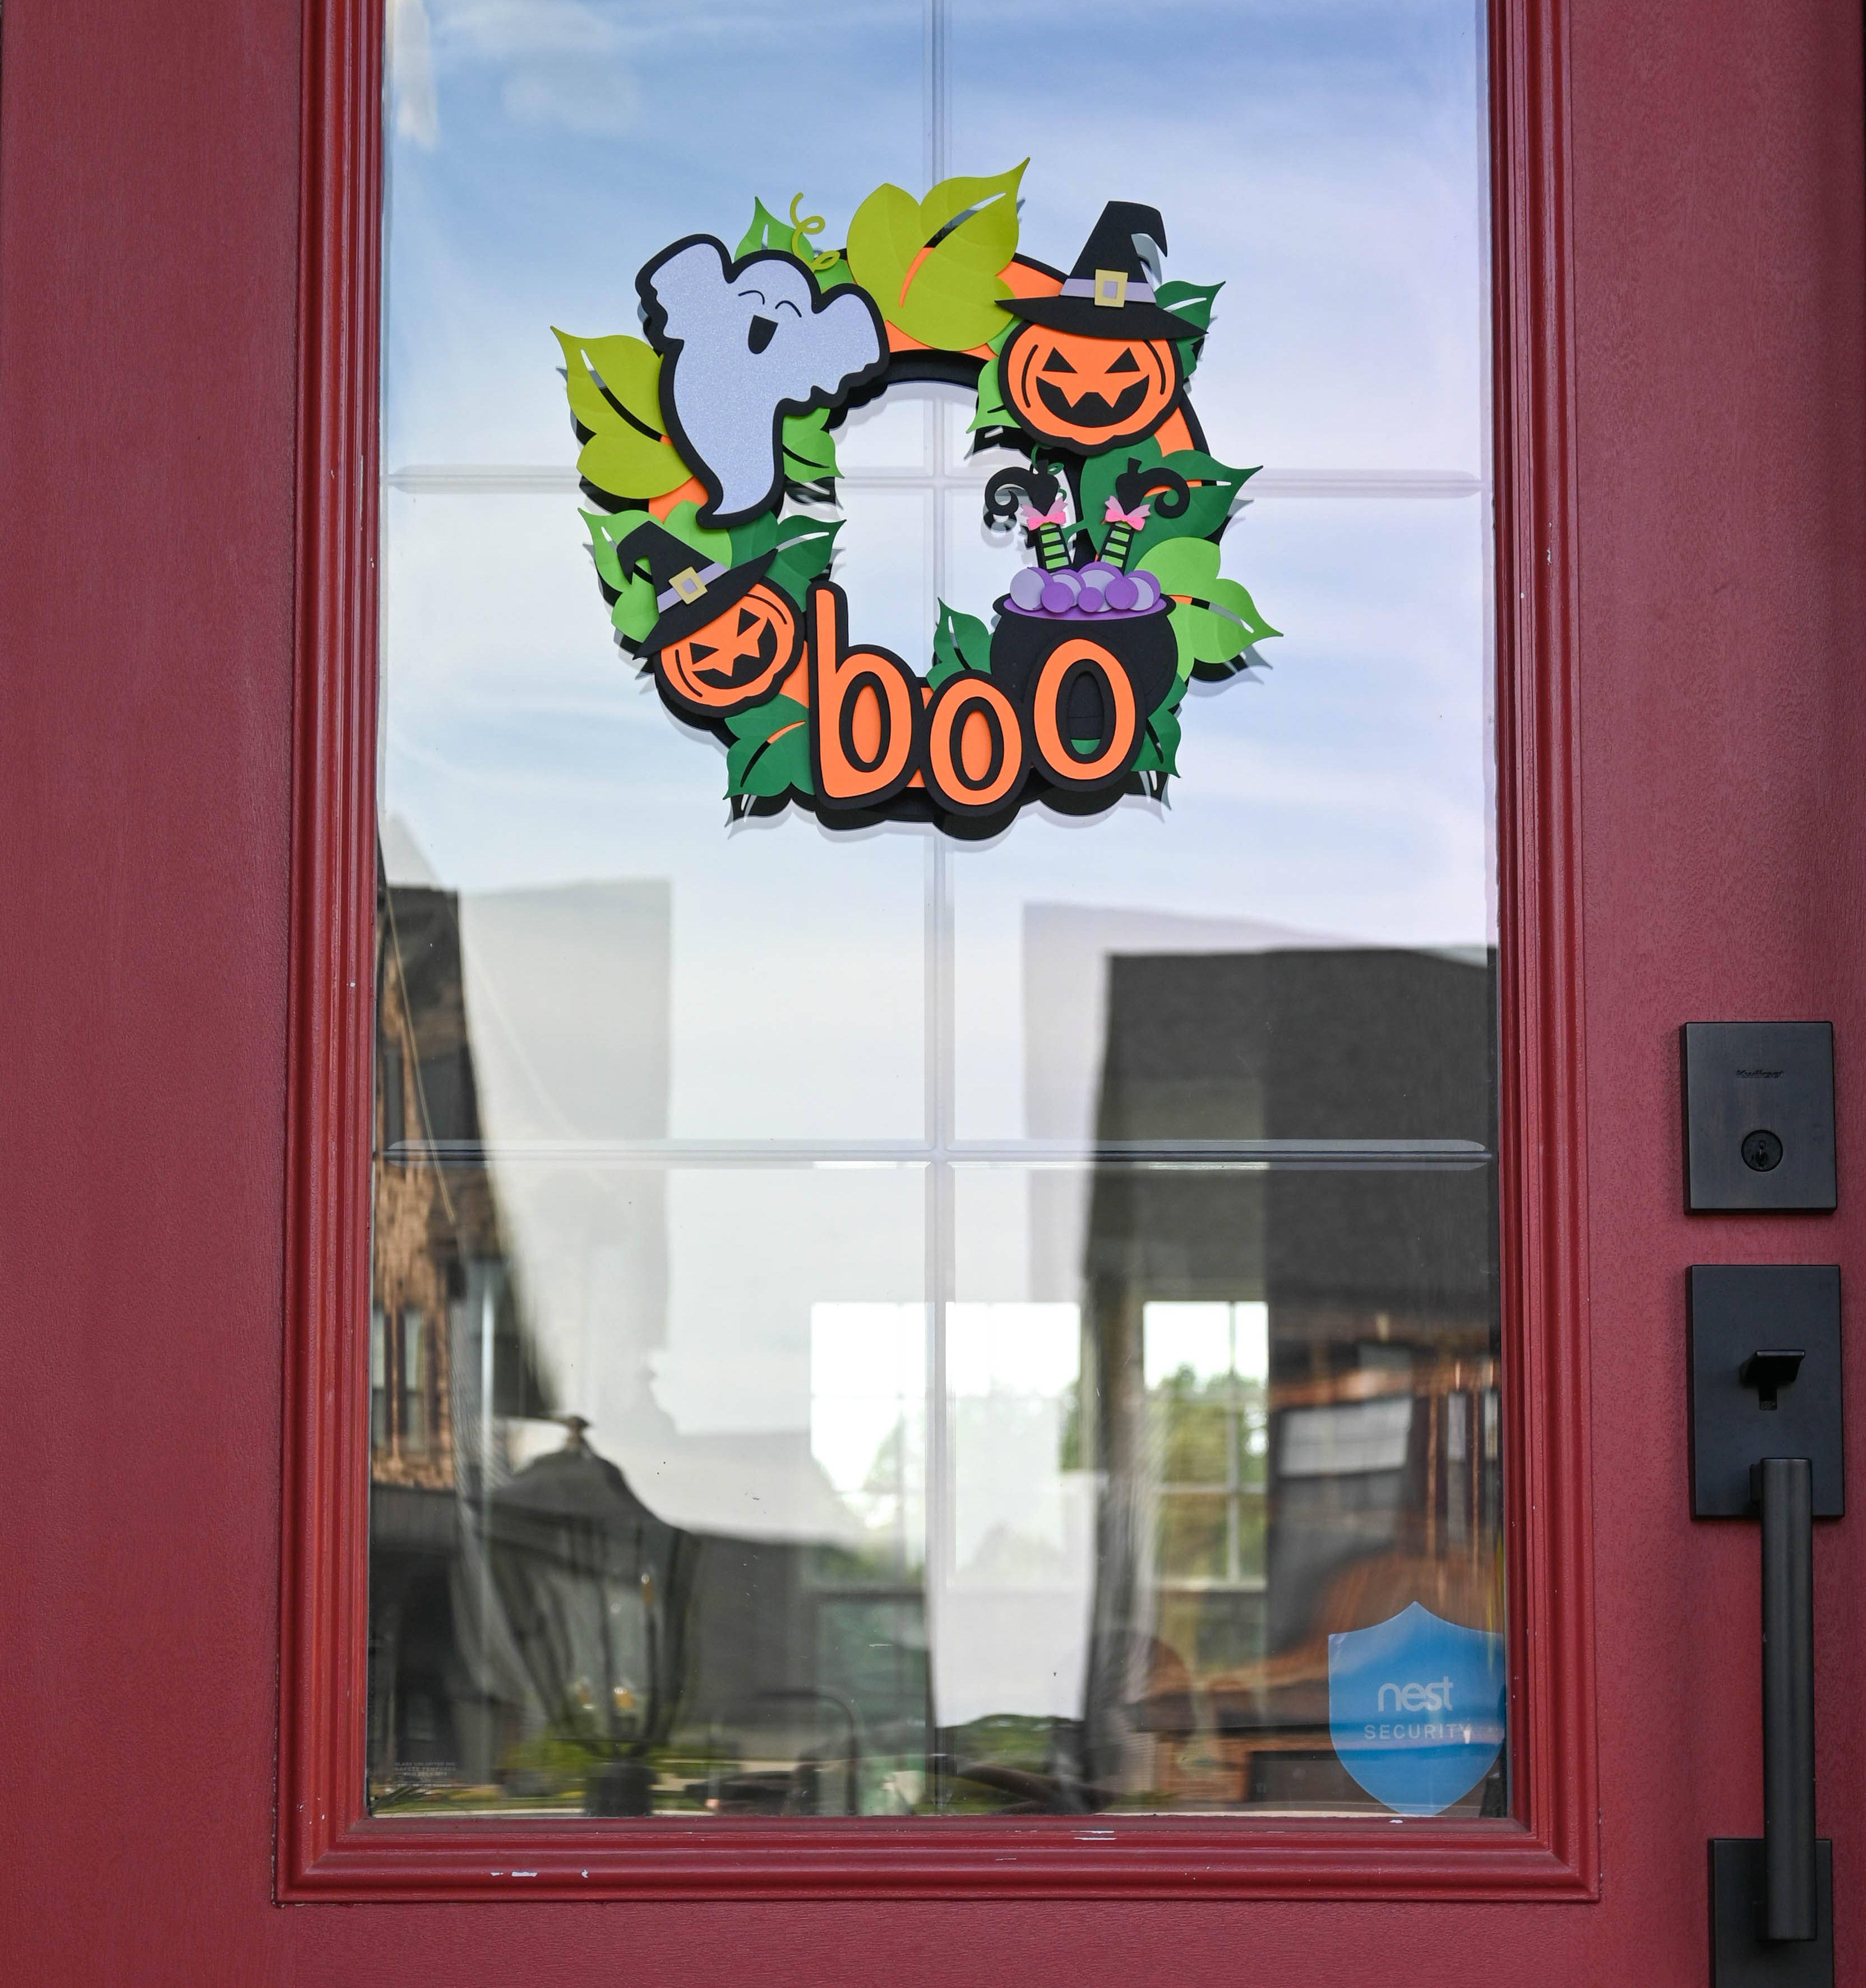
10. Halloween Wreath
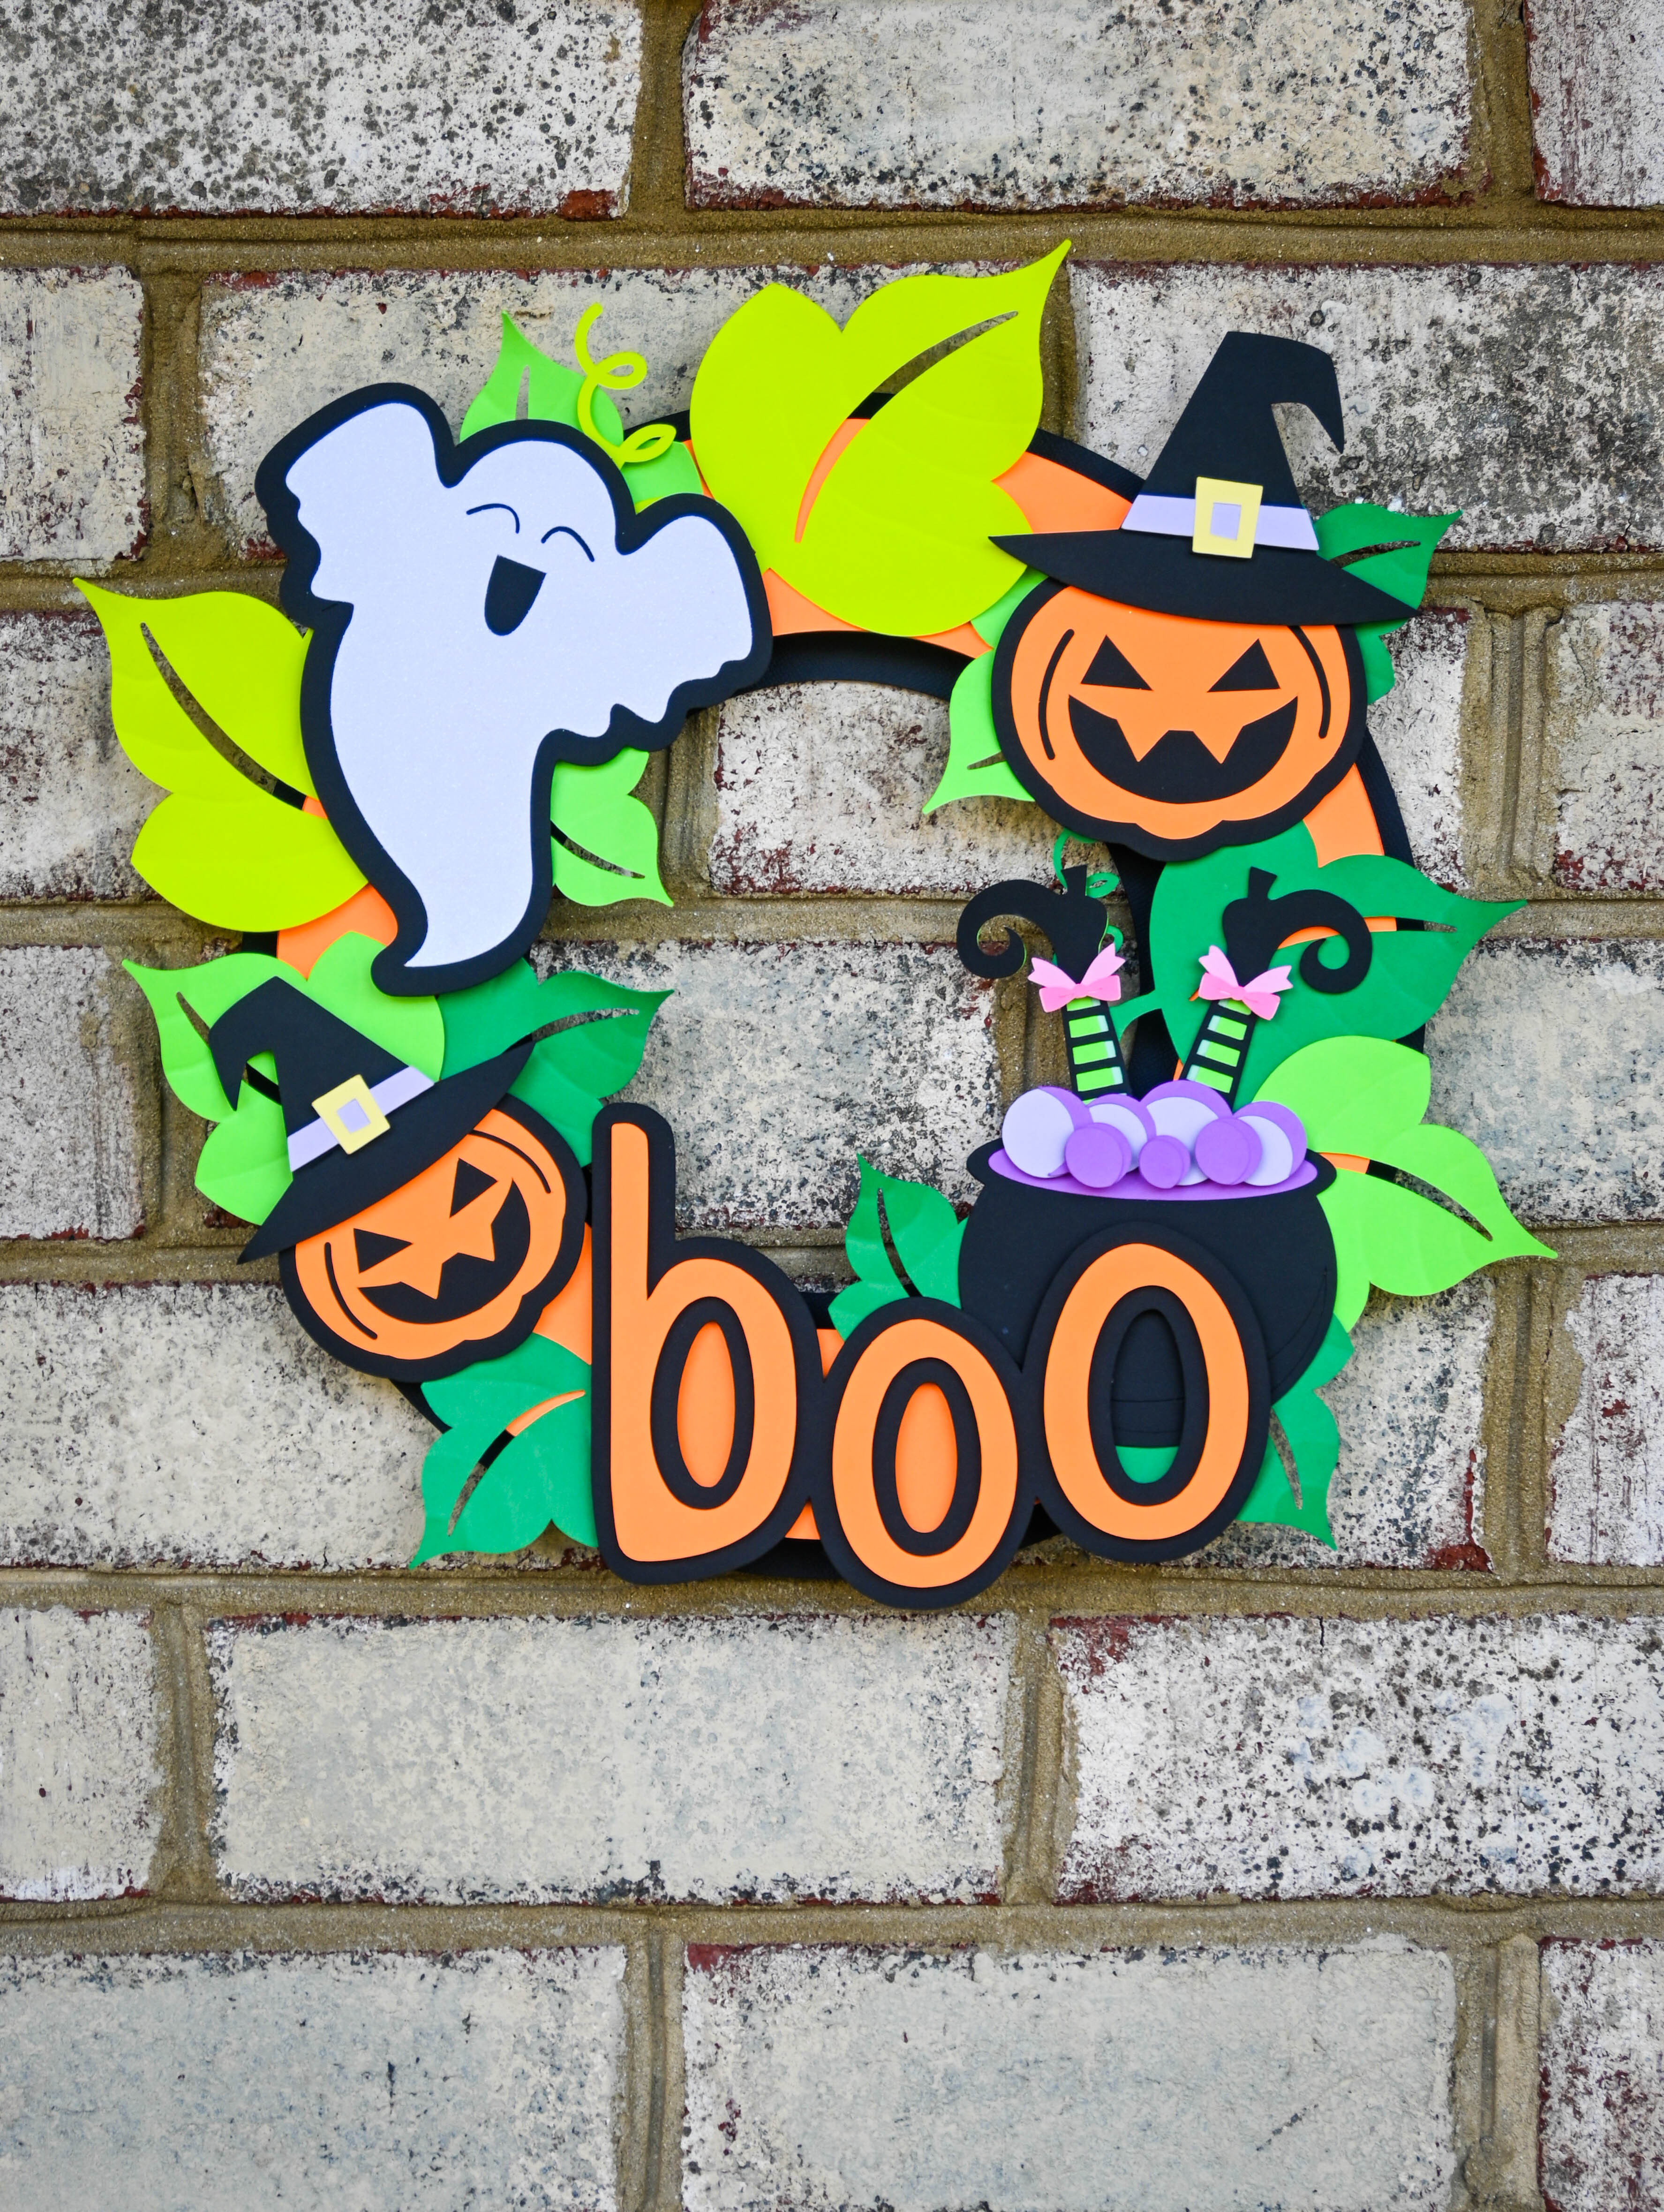
Halloween wreaths are a great accent to add to your front door for a festive vibe. Grab your Cricut machine and let’s get crafting!
Supplies:
- Cardboard
- Shades of Green cardstock: PrintWorks Halloween and Succulent cardstock packs
- Orange, Purple, and Black cardstock from PrintWorks Halloween Cardstock pack
- Pink cardstock from PrintWorks Neon Cardstock pack
- Light Pink from PrintWorks Pastel Cardstock pack
- Light Purple from PrintWorks Succulent Cardstock pack
- Printable White Glitter Cardstock from PrintWorks
- Pencil
- Scissors
- Glue
- Foam Tape
- Black and Orange paint
Draw a circle on the cardboard, 11” wide. Cut and paint it with black paint.
Next, draw another circle, but this time make it a bit smaller and paint it orange. Then glue them together.
Cut all your images with your electronic cutting machine (I got all my images from Cricut Design Space and Silhouette Design Store).
Score and curl the outside edges of the leaves for some dimension.
Glue the images together: pumpkins, ghost, BOO word, etc.
Arrange them in circle until you like how it looks and glue everything in place.
Glue a piece of yarn to the back and it’s ready to hang!
11. Halloween Ghosts Headband
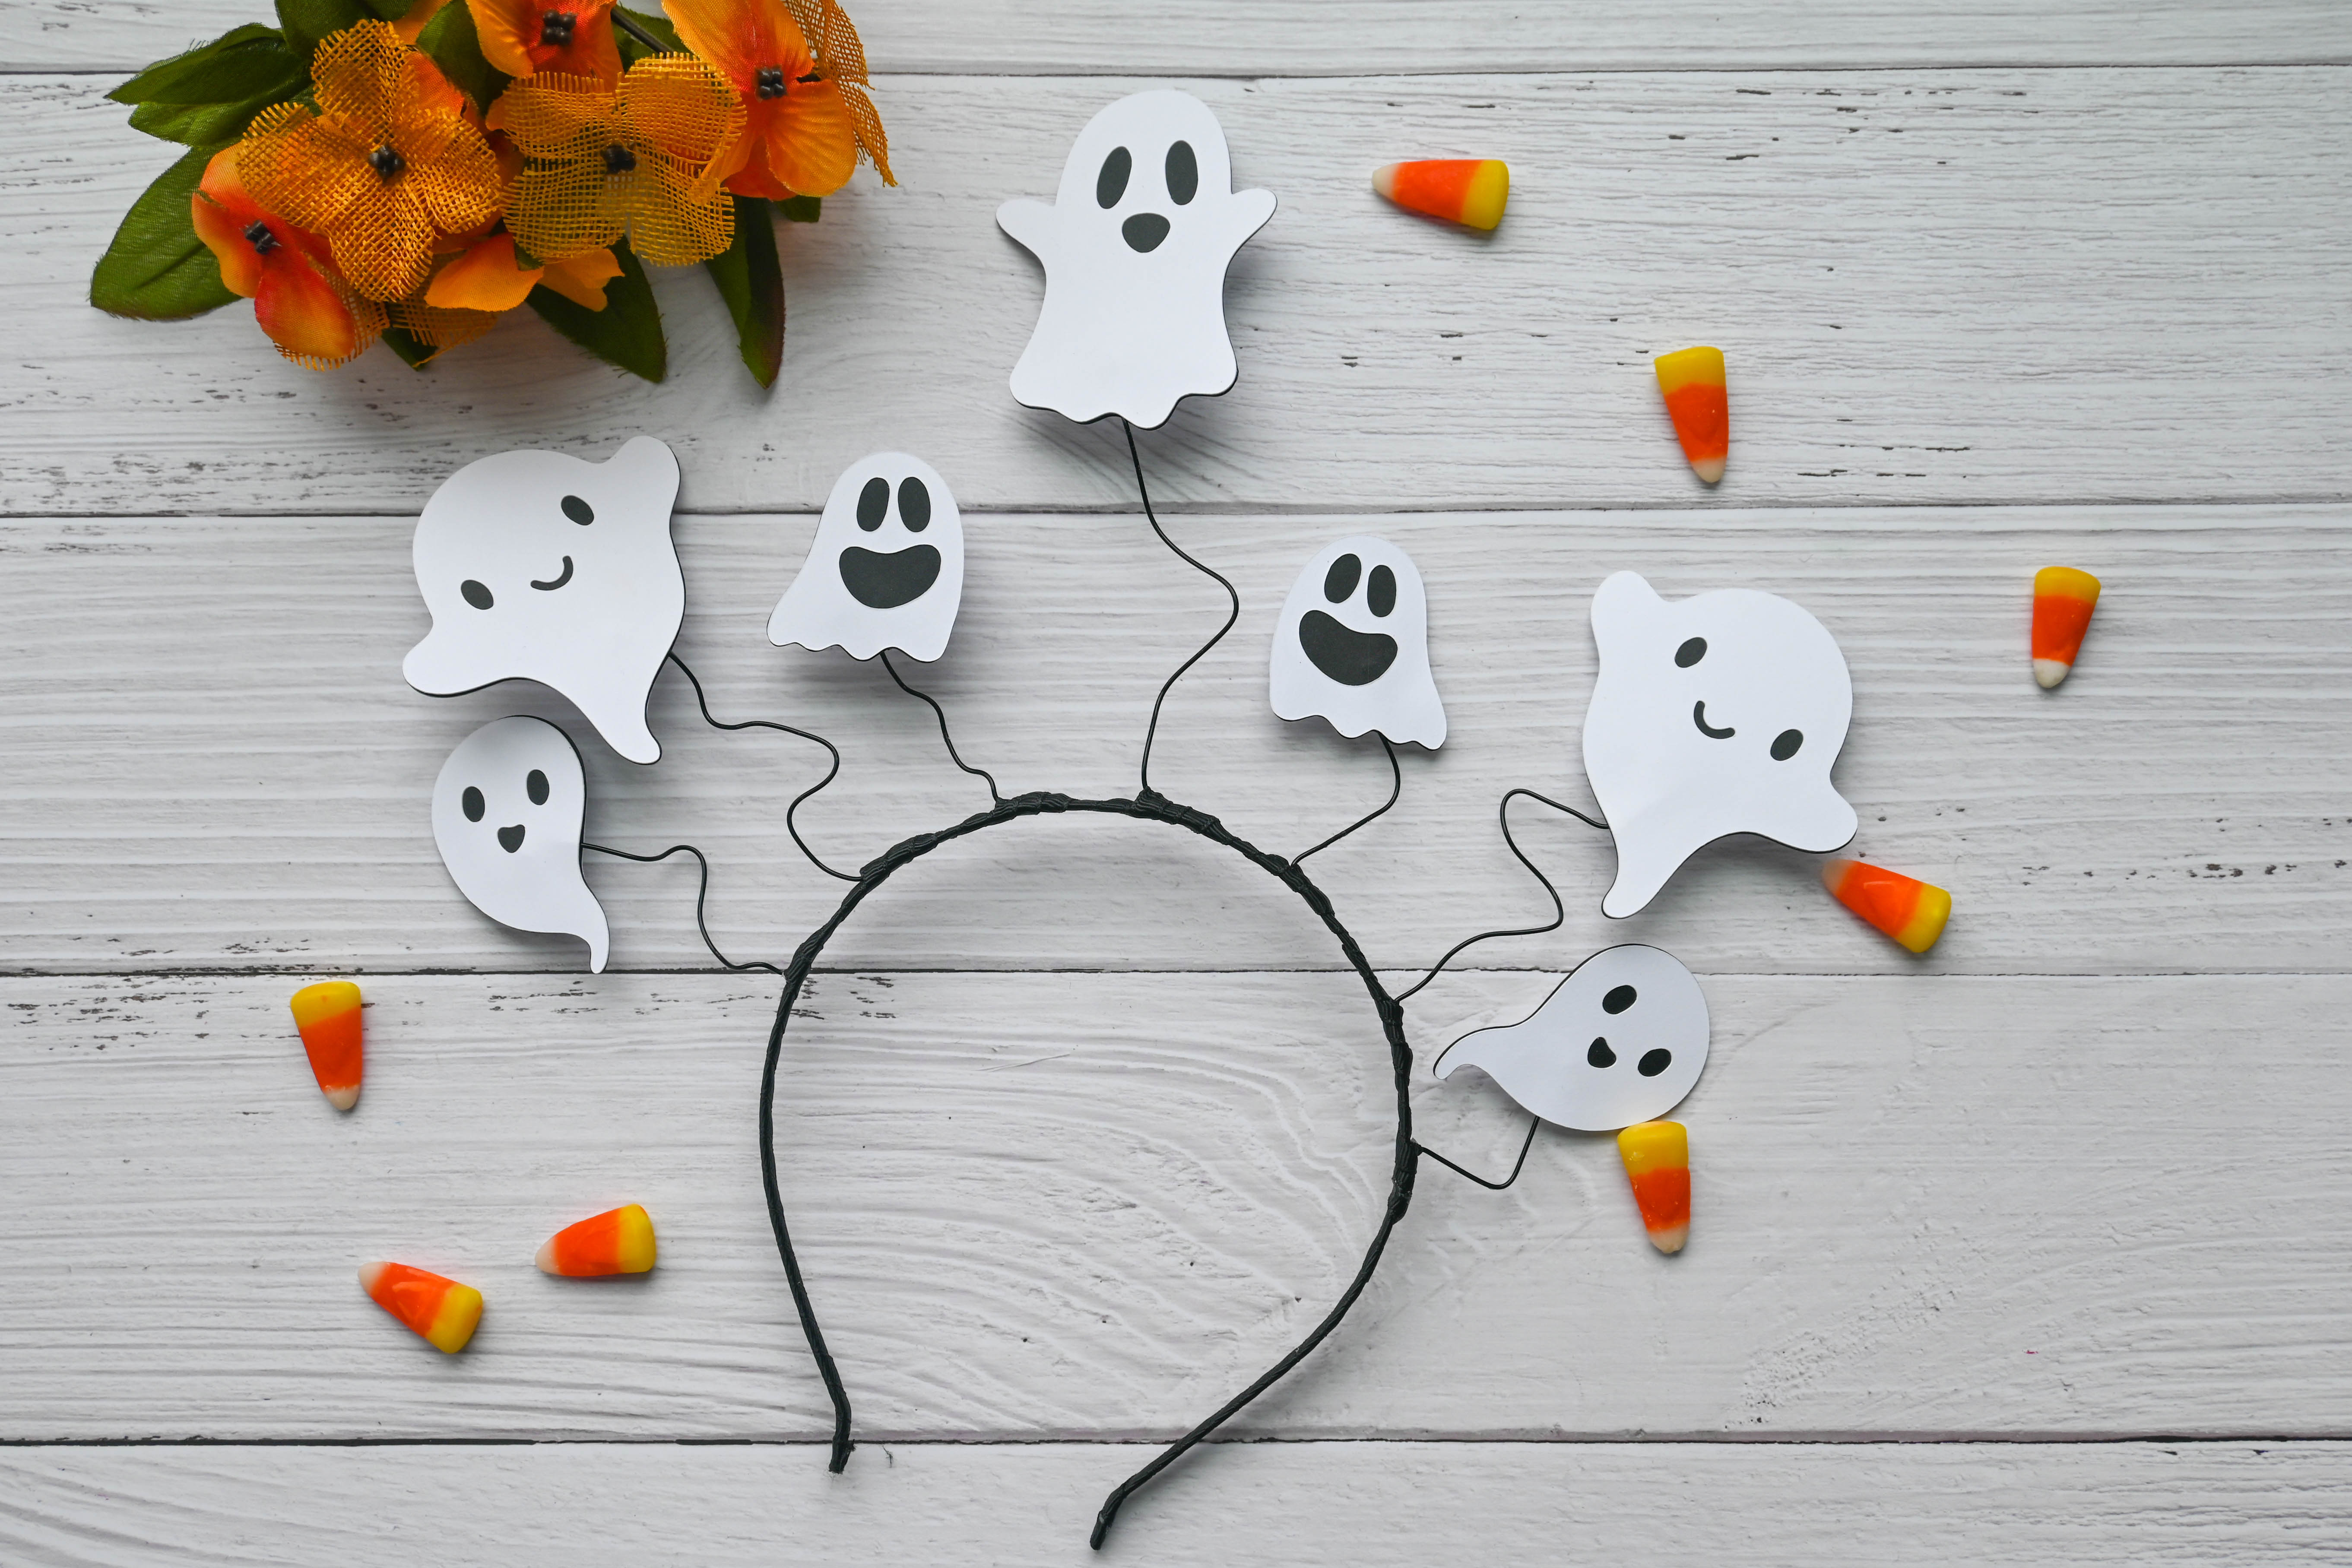
Are you the kind of person who likes to do everything last minute? This DIY Halloween craft is right for you. Here’s a quick and easy way to make a Halloween accessory (that can also be your costume) for you to try.
Supplies:
- Headband
- Black crafting wire (if you have a different color, simply dip your crafting wire into a black paint and let it dry)
- Black and White Cardstock
- Hot Glue
- Scissors
- Flush Cutter
- Black Ribbon
Cut the wire to desired length. I cut mine at about 8-5” long.
Carefully wrap the end wire to the headband with a flush cutter. I suggest wrapping the headband together with the wire with a black ribbon after so you won’t get scratched by the sharp edges of the wire.
Cut out some ghost images and glue the layers together.
Glue each of the ghosts side by side onto the wire.
Twist the wires around your finger to give a coiled look to finish the look.
Match it with a plain white or black shirt and you now have a Halloween costume!
12. Bat Shirt
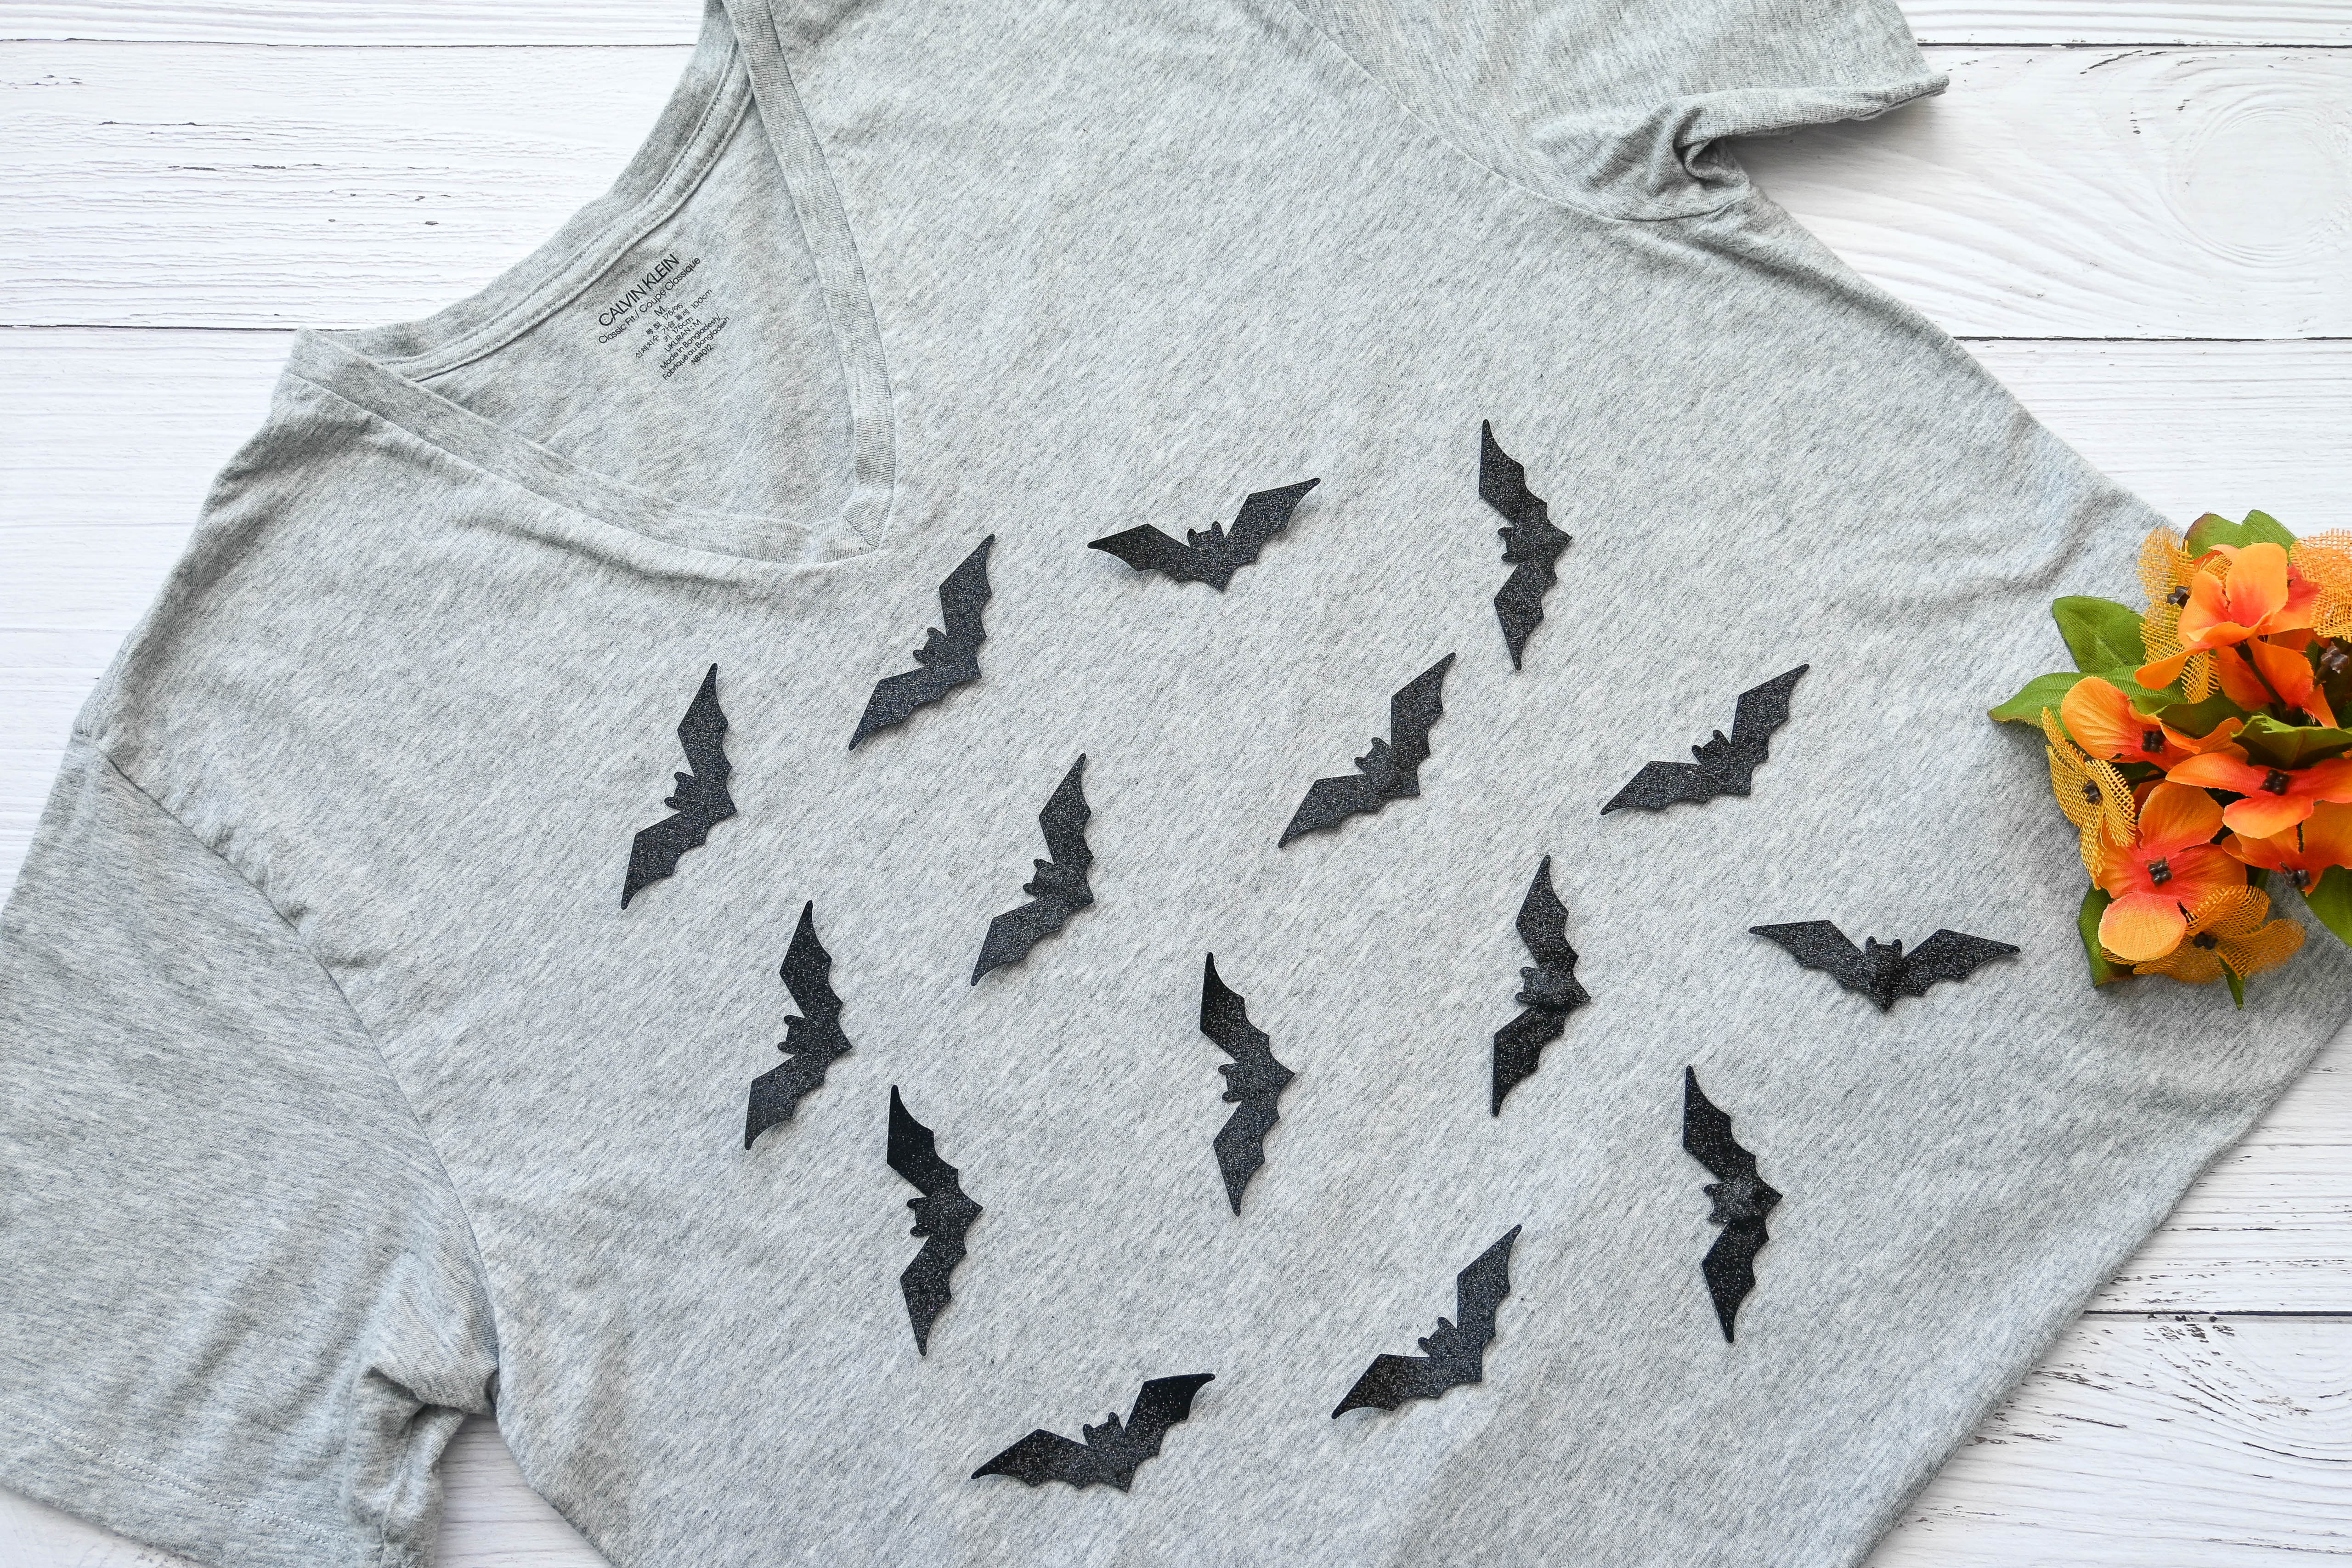
(Still) Wondering what costume to wear this Halloween? I have another easy DIY for you!
Supplies:
- Black Cardstock
- Black Glitter (optional)
- (Old) Plain Shirt: white or gray or any color you like
- Fabric Glue
- Adhesive Spray (optional)
Draw and cut some bat images onto your black cardstock.
Align all your bats into your plain shirt to your liking.
Glue the bats with fabric glue.
Optional: if you want to add a little bit of sparkle to your bats, spray a good amount of adhesive and pour a generous amount of black glitter to your bats.
And now you’re Halloween ready!
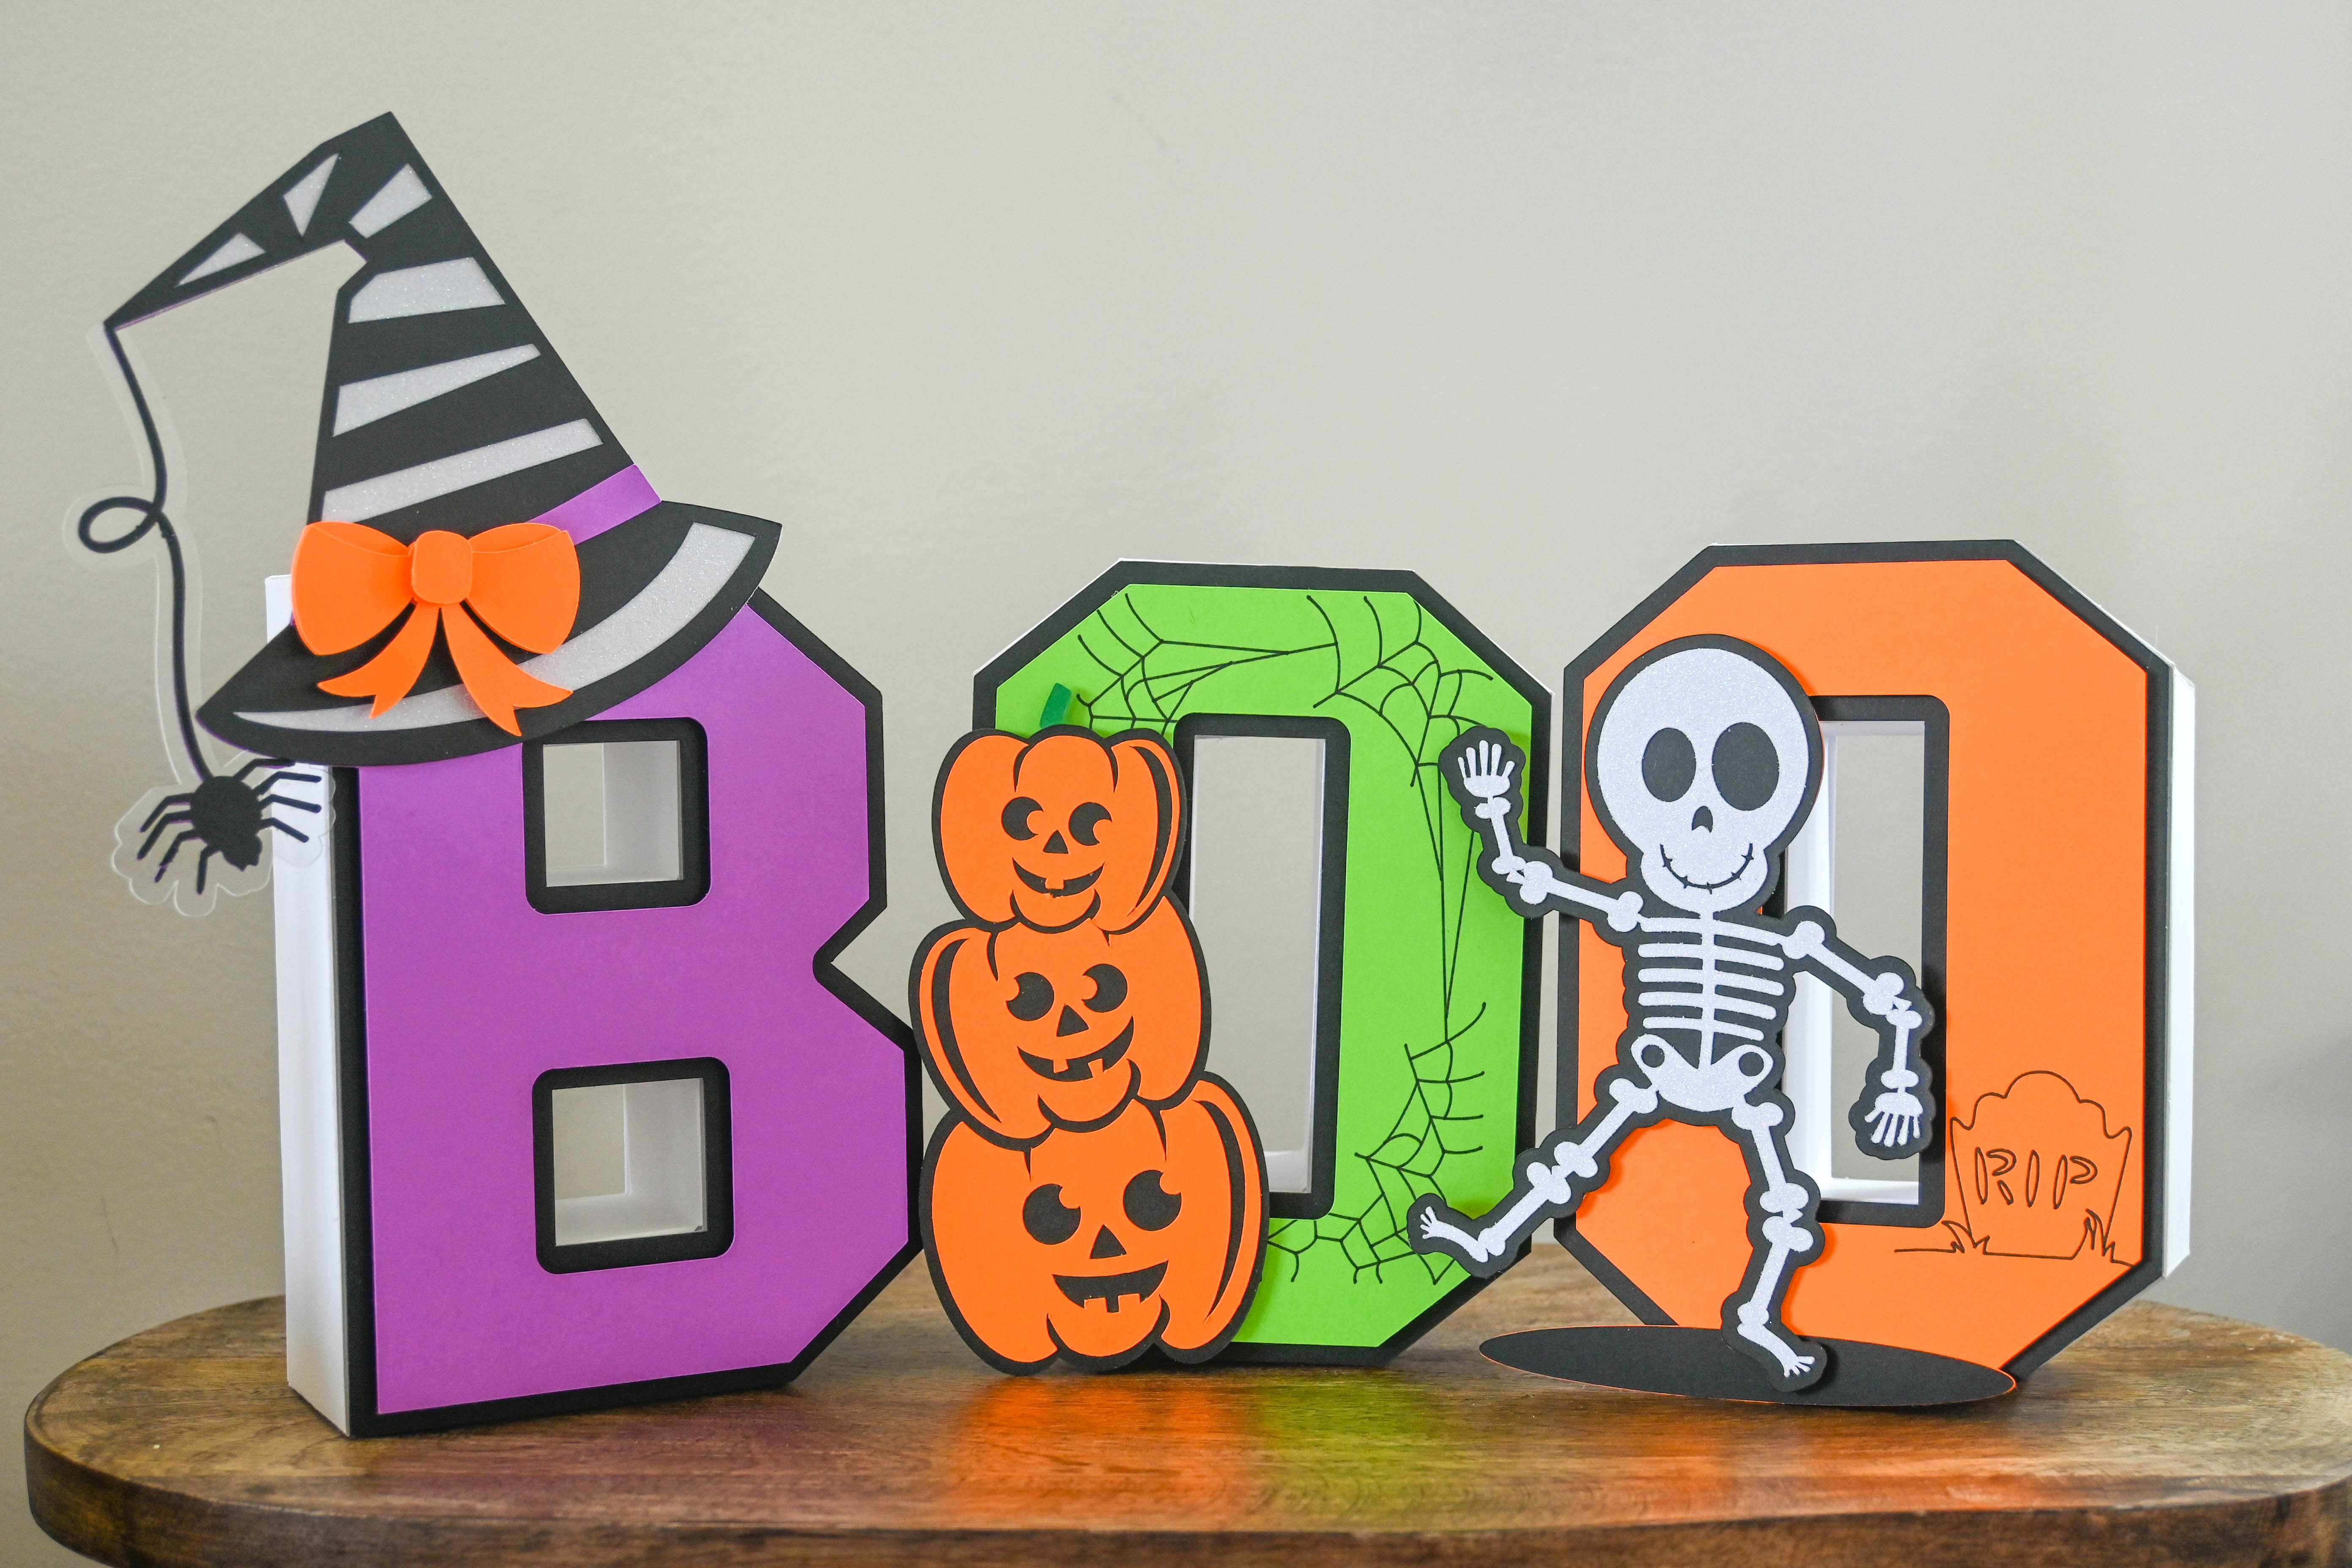
13. Boo 3D Letter
Take your home and party ideas to the next level with this amazing 3D letter craft!
Supplies:
- PrintWorks Halloween Cardstock pack
- Printable White Glitter Cardstock from PrintWorks
- Glue
- Foam Tape
- Black Pen
- Rice Grains or Small Rocks/Pebbles
I first downloaded my 3D letter file. I bought my svg file through Etsy, but there are tons of free downloadable files available on the web. You just have to search, search and search.
Next, I uploaded the letters and images that I will be using into my Cricut Design Space software. Once satisfied, press cut and let the machine do its thing!
Match each svg cut into their corresponding/matching shape in order to connect them with adhesive.
Adhere the images: hat, skeleton, pumpkins onto each of the letters. I drew some cobwebs and a tombstone to the letter O’s for extra detail.
Pro tip: To make your 3D letters sturdier, before sealing it with glue, add a few tablespoons of rice grains or small pebbles inside the 3D letters and then seal it.
The process is a definitely not for beginners, but so worth it. Once you get the hang of it, you’ll end up doing more!
And there you have it, friends! I hope these gives you inspiration/ideas for your Halloween celebration!
Xoxo, Angelica
Follow us @printworksdiy on social media for more craft inspiration, and visit our Store to check out the rest of our product line.

