10 Holly Jolly Crafts for Christmas
The holidays are said to be the most wonderful time of the year. Full of exciting festivities that bring good tidings and cheer. So, grab your coziest blanket with some hot cocoa on the side, your craft supplies, and let’s make some Holly Jolly crafts for Christmas.
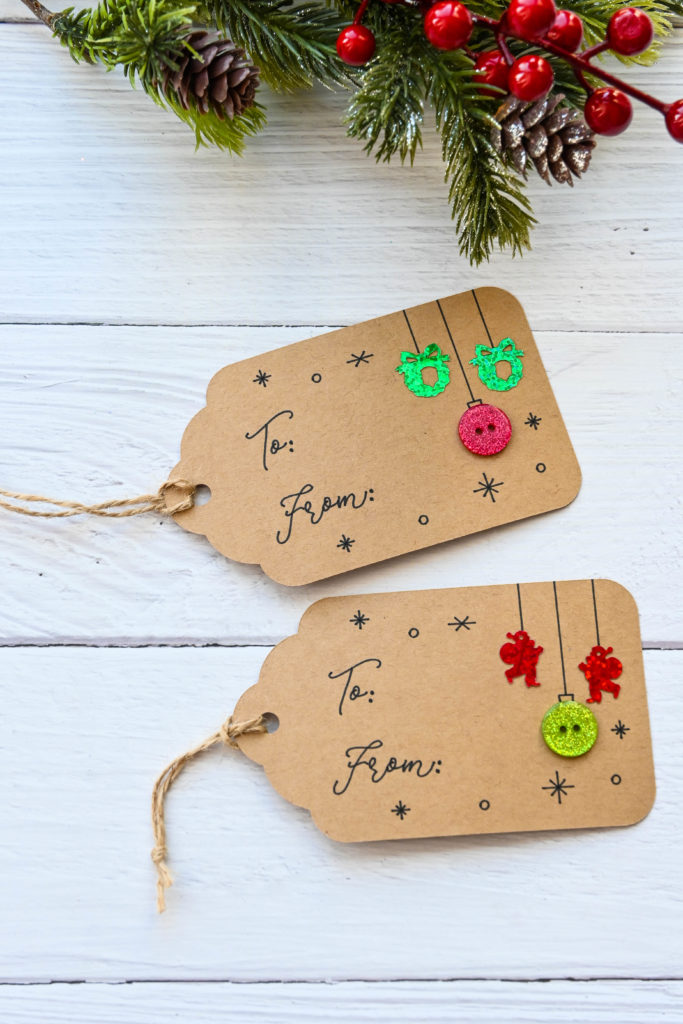
1. Gift Tags
Add some extra magic to your gifts by making your own gift tags. All you need are some PrintWorks Kraft Cover Stock (if you’re going for a rustic theme), pen, twine and some embellishments.
2. Christmas Card

I created this holiday card using a snowflake embossing folder, Kraft Cover Stock, Photo Paper and my favorite White Glitter Cardstock all from PrintWorks.
- Cut a piece of Kraft Cover Stock and fold to form a card base.
- Cut a piece of White Glitter Cardstock (I prefer it to be a tad smaller from your card base) to fit on the front of the card and emboss it with a snowflake embossing folder
*Optional: add a little bit of color into your snowflakes embossed cardstock with an inkpad - Glue the printed sentiment on top of the embossed glittered cardstock and finish it off with a sweet message on the inside of your card.
3. Twine Christmas Tree Ornament

Jute twines are the perfect addition to any neutral, rustic or farmhouse themed Christmas. With just a few supplies, this project is super easy to make. So, let’s get started!
Supplies:
- PrintWorks 67lb White Cardstock
- PrintWorks White Glitter Cardstock
- Glue
- Twine
- Scissors
- Hot glue
- Embellishments
Directions:
- Cut out two pieces of Christmas tree shape on a cardstock.
- Cut a piece of twine, tie a knot and glue the loop unto the back side of the tree.
- Add a small amount of hot glue unto the tree cardstock and start wrapping the twine around the tree. Dab some hot glue after every few loops to secure the twine. Continue to wrap the twine around until the tree is fully covered, trim any excess twine.
- For a fun added touch, I added some cutout snowflakes (thanks Cricut for helping me cut these tiny and intricate images) and some white pearls to embellish my tree ornament.
4. Wooden Photo Ornament
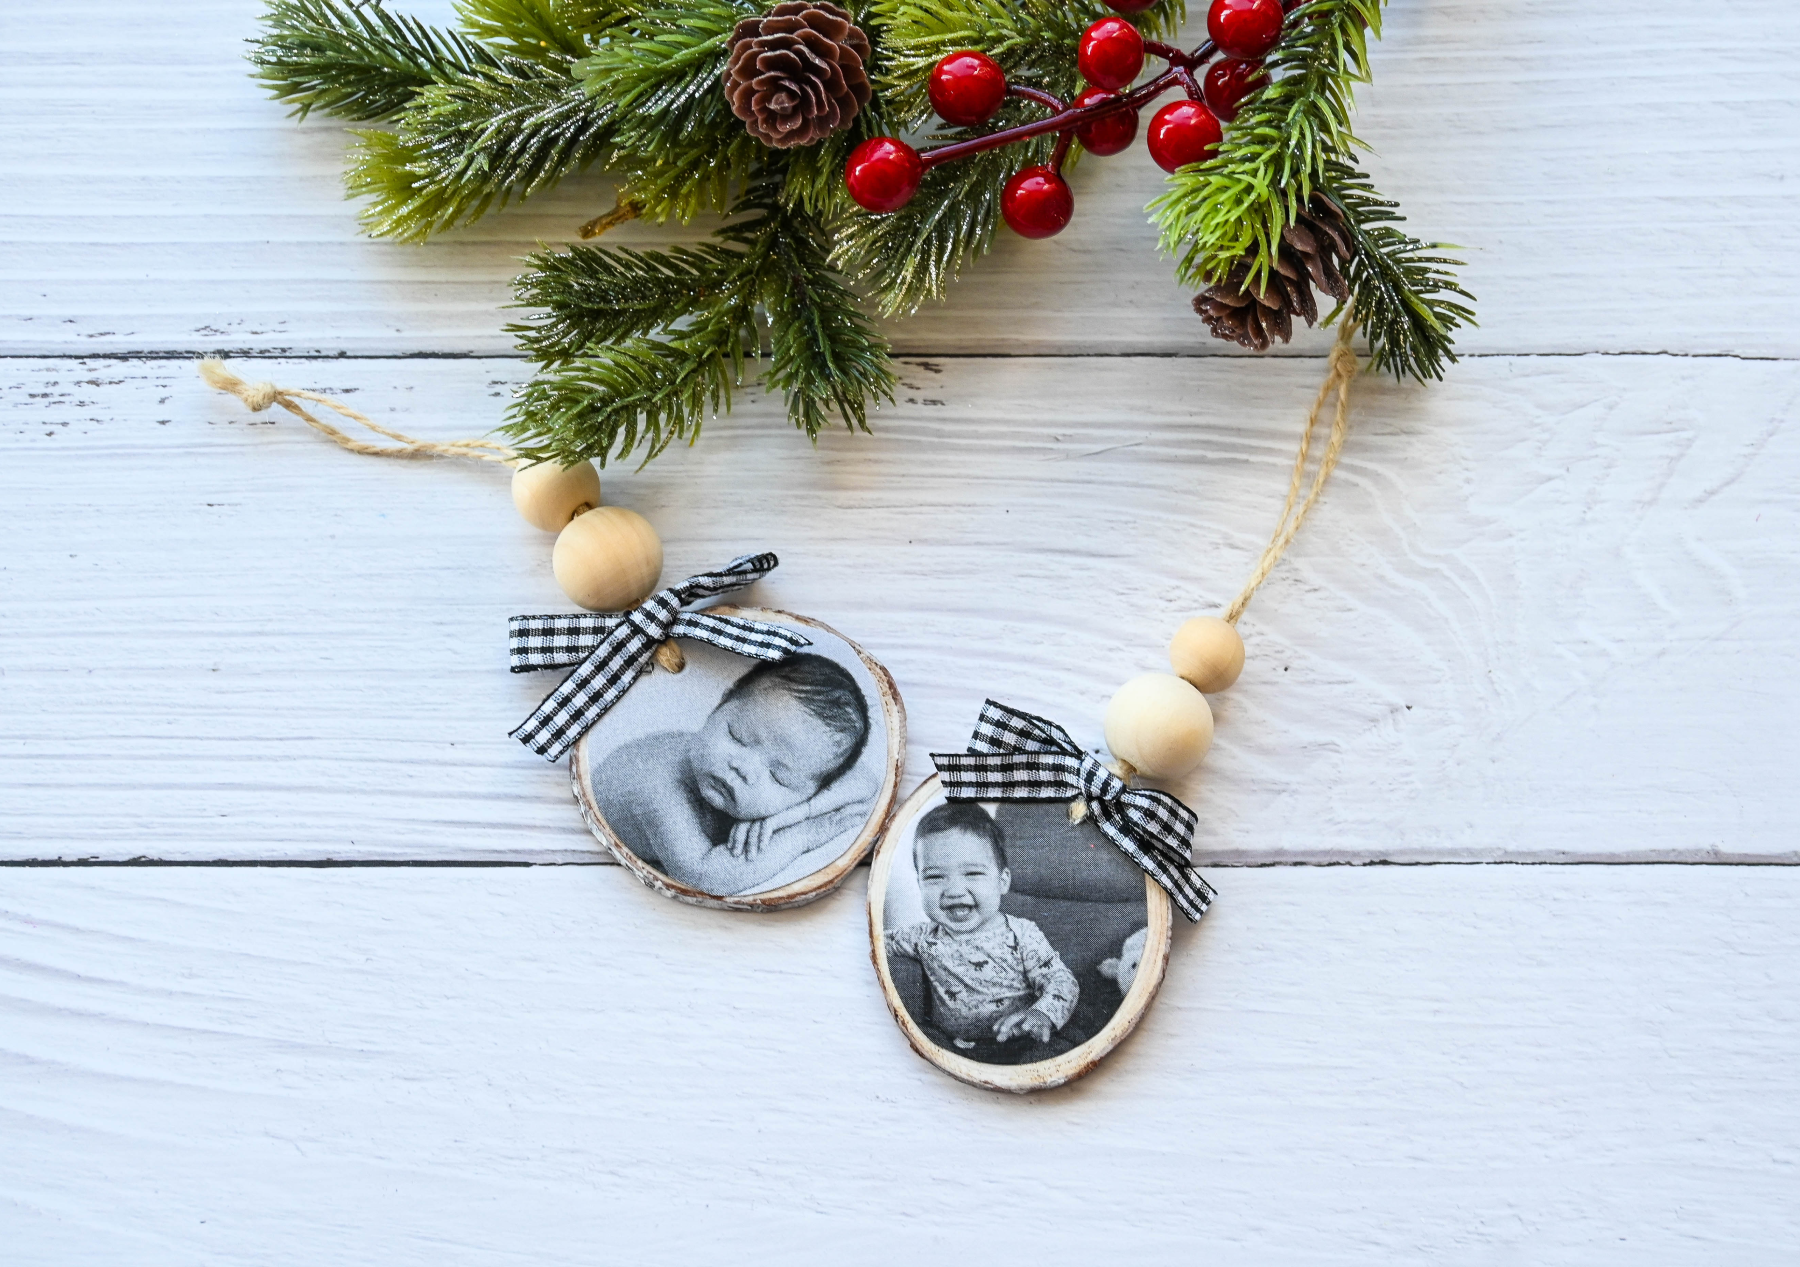
Making this wooden photo ornament is Super easy to make. The process is not difficult and you will love how quickly this Christmas craft will turn out.
Supplies:
- Pre-cut wood slices that you can order online
- Photo paper from PrintWorks
- Scissors
- Mod Podge
- White acrylic paint
- Paintbrushes
- Twine
- Ribbon and wooden beads-optional
- Hot glue
Directions:
- Start by painting the top and the sides of your wood slice with white acrylic paint for a snowy look and let it dry for a few minutes.
- Print your favorites photo: colored or black and white is fine. For this photo, I chose B&W for a rustic vibe.
*PRO tip: for better quality looking photos use PrintWorks Photo Paper
- Place your wood slice over the image and trace around using a pen and cut the photo to fit your wood slice. I prefer to cut the picture smaller because I wanted some wood on the sides as a border.
- Using the paintbrush, apply a good layer of Mod Podge into the wood slice and place your picture on top of the wood.
- Apply a second coat of Modpoge on top of the picture to seal it. Set aside to dry completely.
- Poke a whole near the top of your wood slice, and cut a piece of twine, sliding it through the hole.
- Add some wooden beads and ribbons and tie it in a knot. You’re done!
5. Wooden Holly Ornament
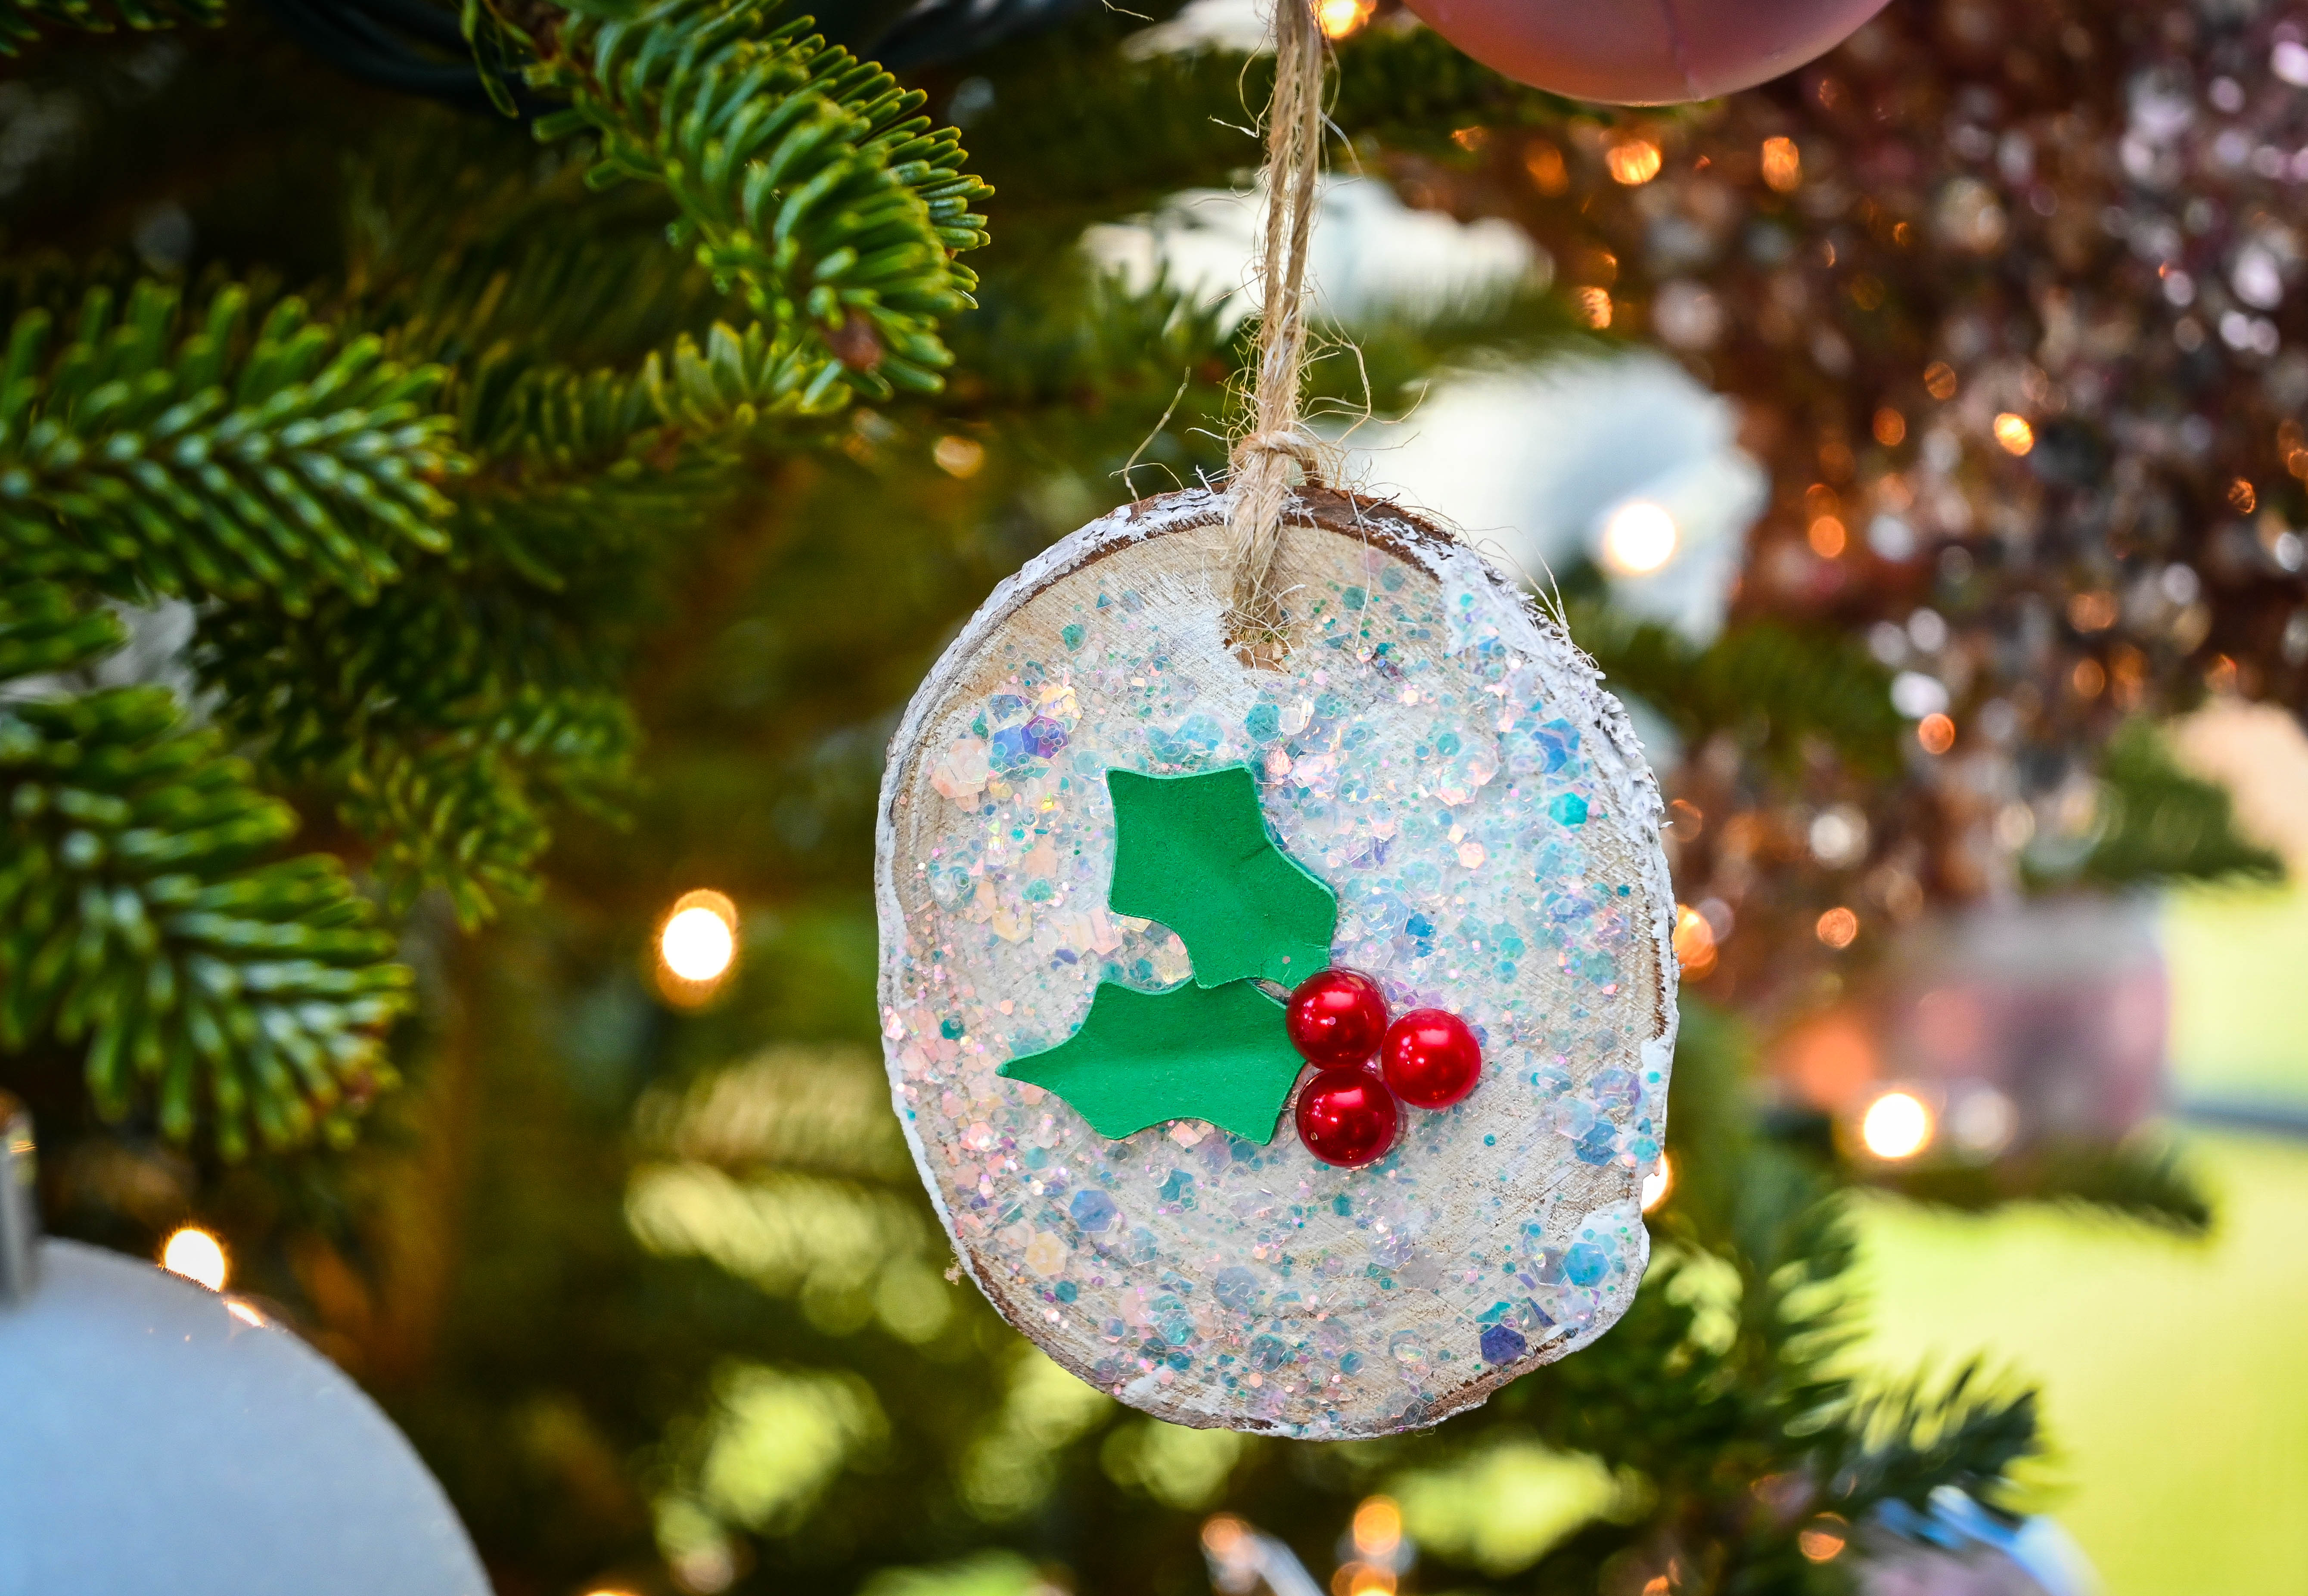
Wood is another great addition to any neutral, rustic or farmhouse themed Christmas. With just a few supplies, this project is super easy to make. So, let’s get started!
Supplies:
- Green cardstock from PrintWorks Holiday Cardstock collection
- Pre-cut wood slices that you can order online
- Mod Podge
- White acrylic paint
- Paintbrushes
- Twine
- Embellishments
- Hot glue
Directions:
- Start by painting the top and the sides of your wood slice with white acrylic paint for a snowy look and let it dry for a few minutes.
- Using the paintbrush, apply a good amount of Mod Podge into the wood slice.
- Sprinkle a good amount of glitter.
- Apply a second coat of Mod Podge on top of the glittery wood slice to seal the glitters and set aside to dry completely.
- Glue the Holly leaves and red beads into the wood ornament to finish the look.
- Cut a piece of twine, tie a knot and now your cute ornament is ready to hang!
6. Baby’s First Christmas Ornament
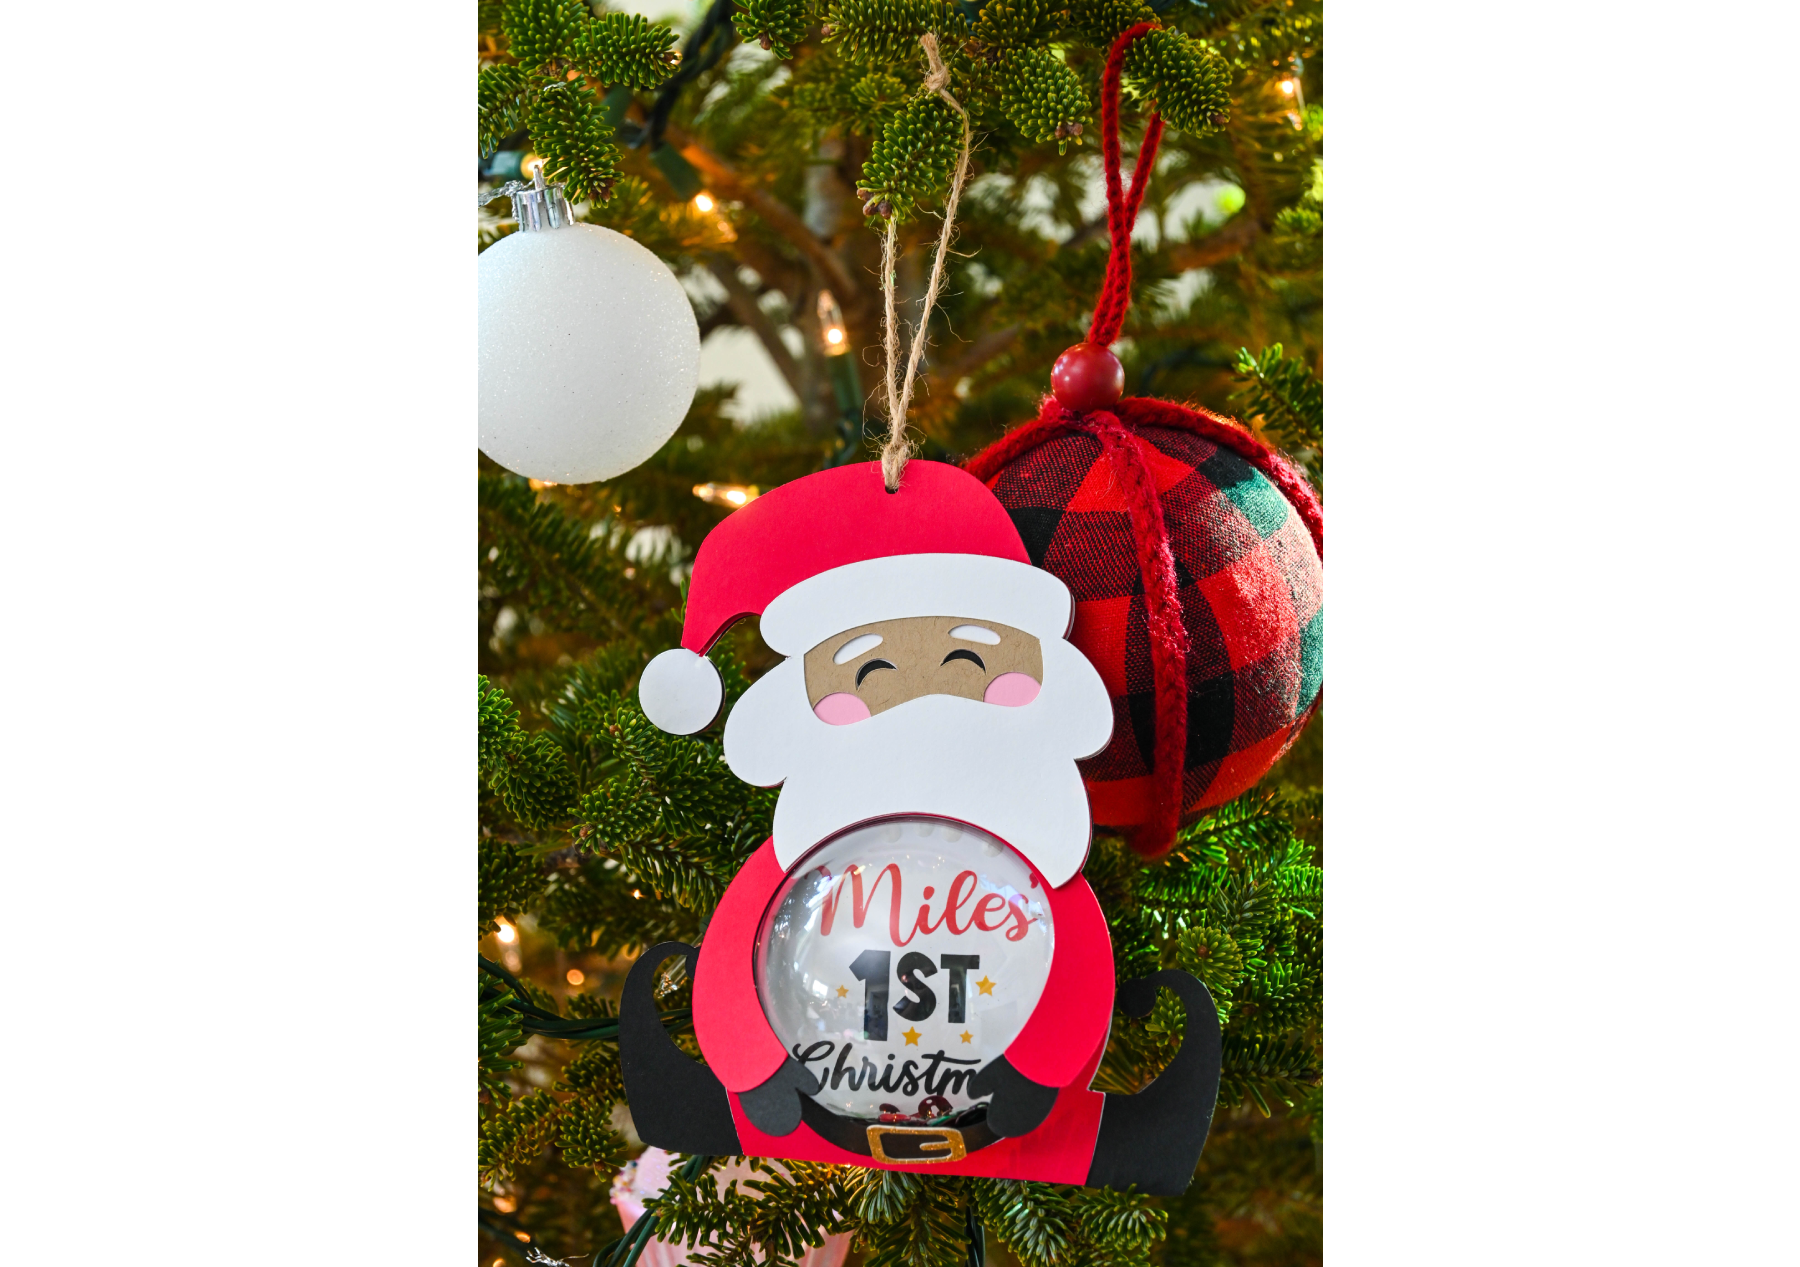
A Christmas ornament is something to commemorate your first Christmas as a growing family and is a beautiful keepsake for the years to come. Making a DIY Christmas ornament for your baby is even more special because you can personalize it for your little one.
Supplies:
- Red, Green and White cardstock from PrintWorks Holiday Cardstock collection
- PrintWorks Photo Paper
- 67lb White Cardstock
- Confetti/embellishment (optional)
- Glass dome ornament
- Twine
- Glue gun
- Santa SVG file
Directions:
- With your electronic cutting machine, cut the Santa SVG file.
- I purchased this cute Santa file from a fellow crafter. Check out her Etsy shop. She has a ton cute Christmas SVGs for you to choose from.
- Print and cut a sentiment that you prefer like: Baby’s 1st
- Add your favorite embellishment, if you like, on top of the printed sentiment and seal the dome and the printed sentiment with a hot glue gun.
- Glue the Santa SVG layers all together.
- Cut a piece of twine and tie a knot and without a doubt, your baby’s first Christmas will be remembered forever.
NOTE: You can also turn this ornament into a Christmas gift tag or a stocking stuffer for your little one, simply fill out the dome with some goodies.
7. Custom Christmas Ribbon
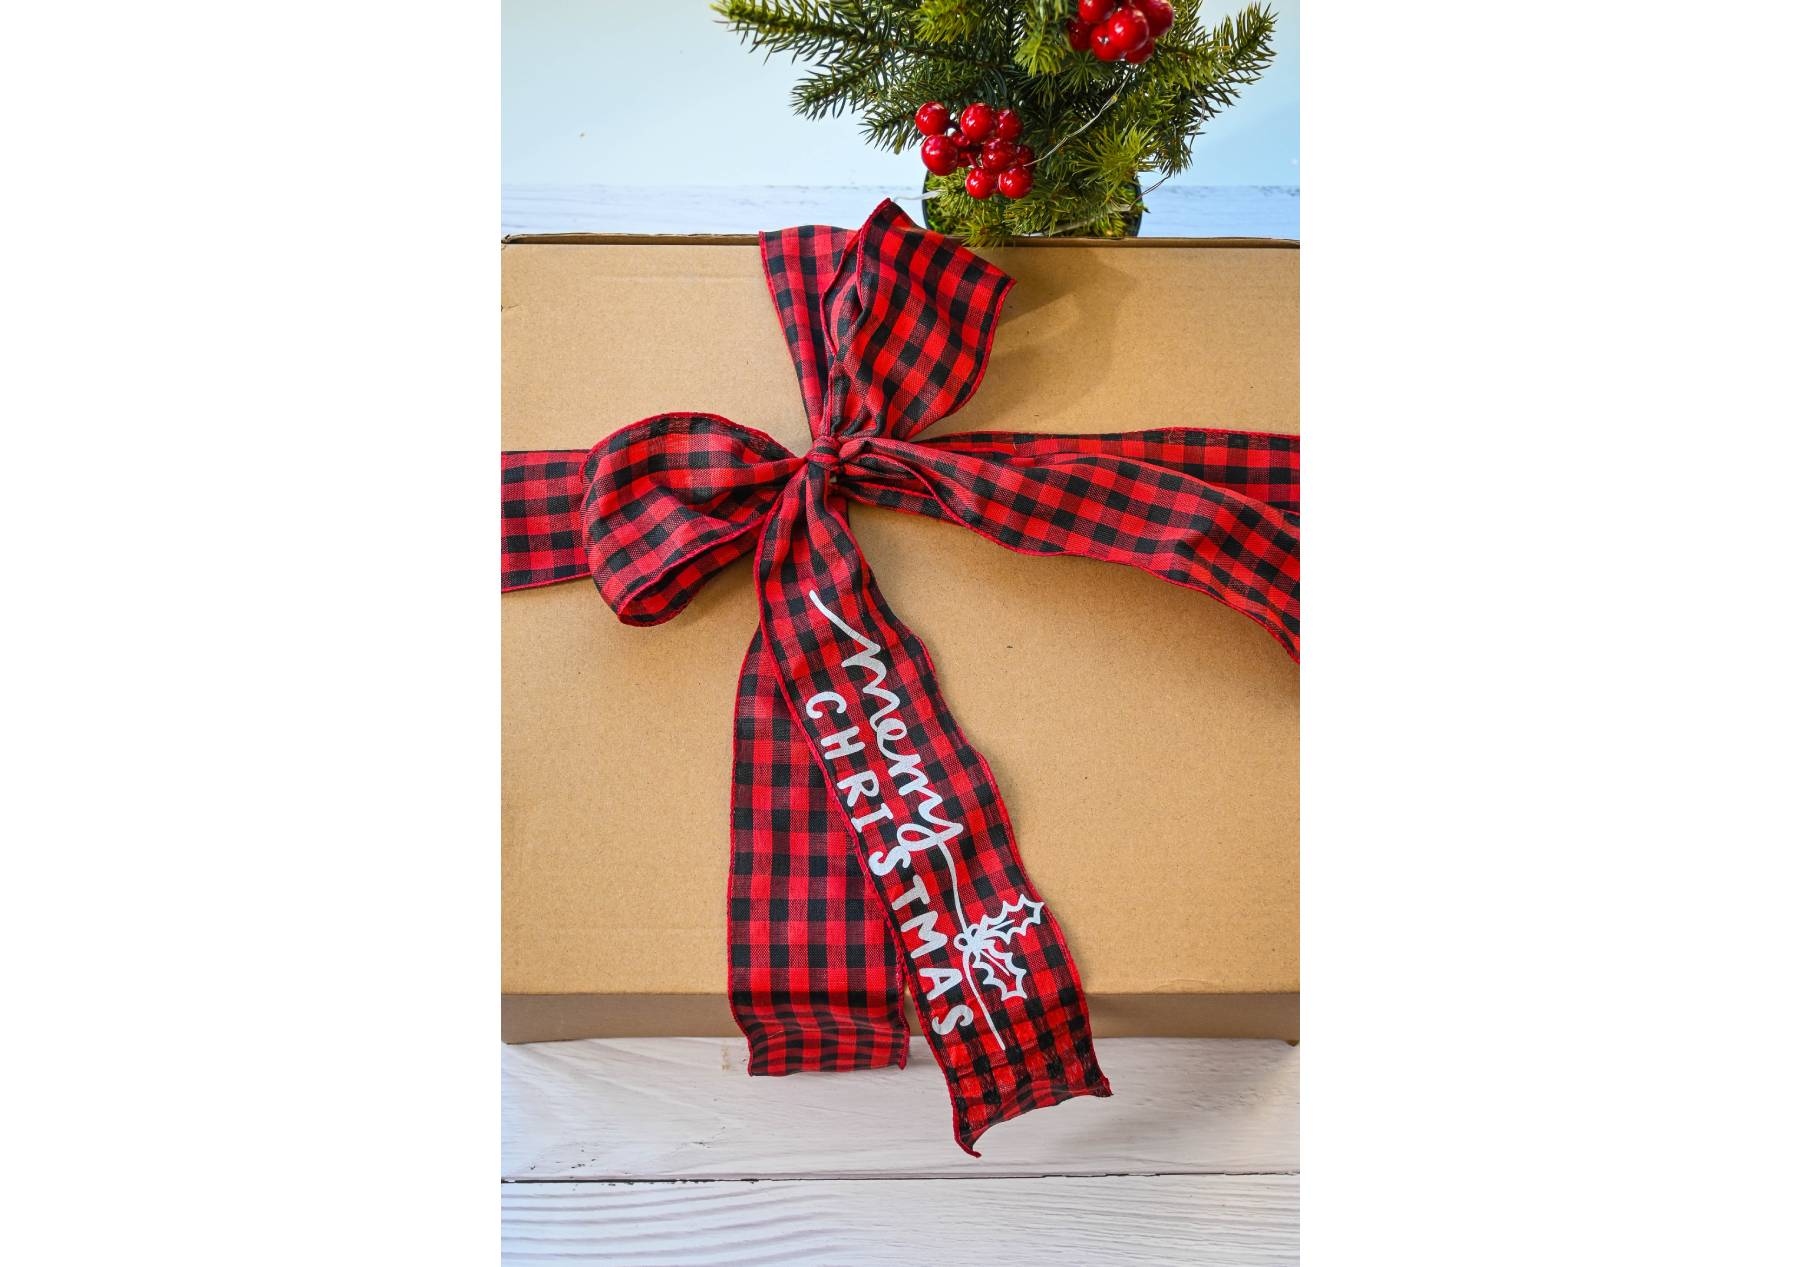
This Christmas ribbon is so easy to make and since I personally love wrapping presents in all occasions, especially during the holidays. Here’s all you need to make your own!
Supplies:
- Ribbon
- PrintWorks Glitter, Dark, and Light Fabric Transfers
- Iron
- Computer
- Inkjet printer
- Scissors
Directions:
- Design your preferred pattern/image in your computer: your design can include full photos, graphics or text.
- Once you’ve chosen your images, print them on the transfer sheet.
*I recommend to test print your design first on a piece of paper to make sure the sizing is correct. Also, be sure to load the paper onto the blank matte side and not on the shiny side with the blank lines of the transfer sheet.
- Leave your printed design to dry for few minutes. Cut (or weed) your design and make sure to leave a small tab to help you peel off the backing paper.
- Peel the backing paper, and place the transfer sheet onto the ribbon/fabric in your desired position
- Cover the transfer sheet with an overlay paper, and heat up your iron to the maxim setting and NOT the steam setting
- With a firm pressure, iron the overlay paper from top-to-bottom and side-to-side. Make sure you iron the entire design including the edges. Make sure to keep the iron moving to prevent scorching and yellowing.
- Leave it for a few minutes to cool off before you remove the overlay paper.
- Done! Now you can wrap your presents with your personalized ribbon.
8. Customized Christmas Kraft Napkin
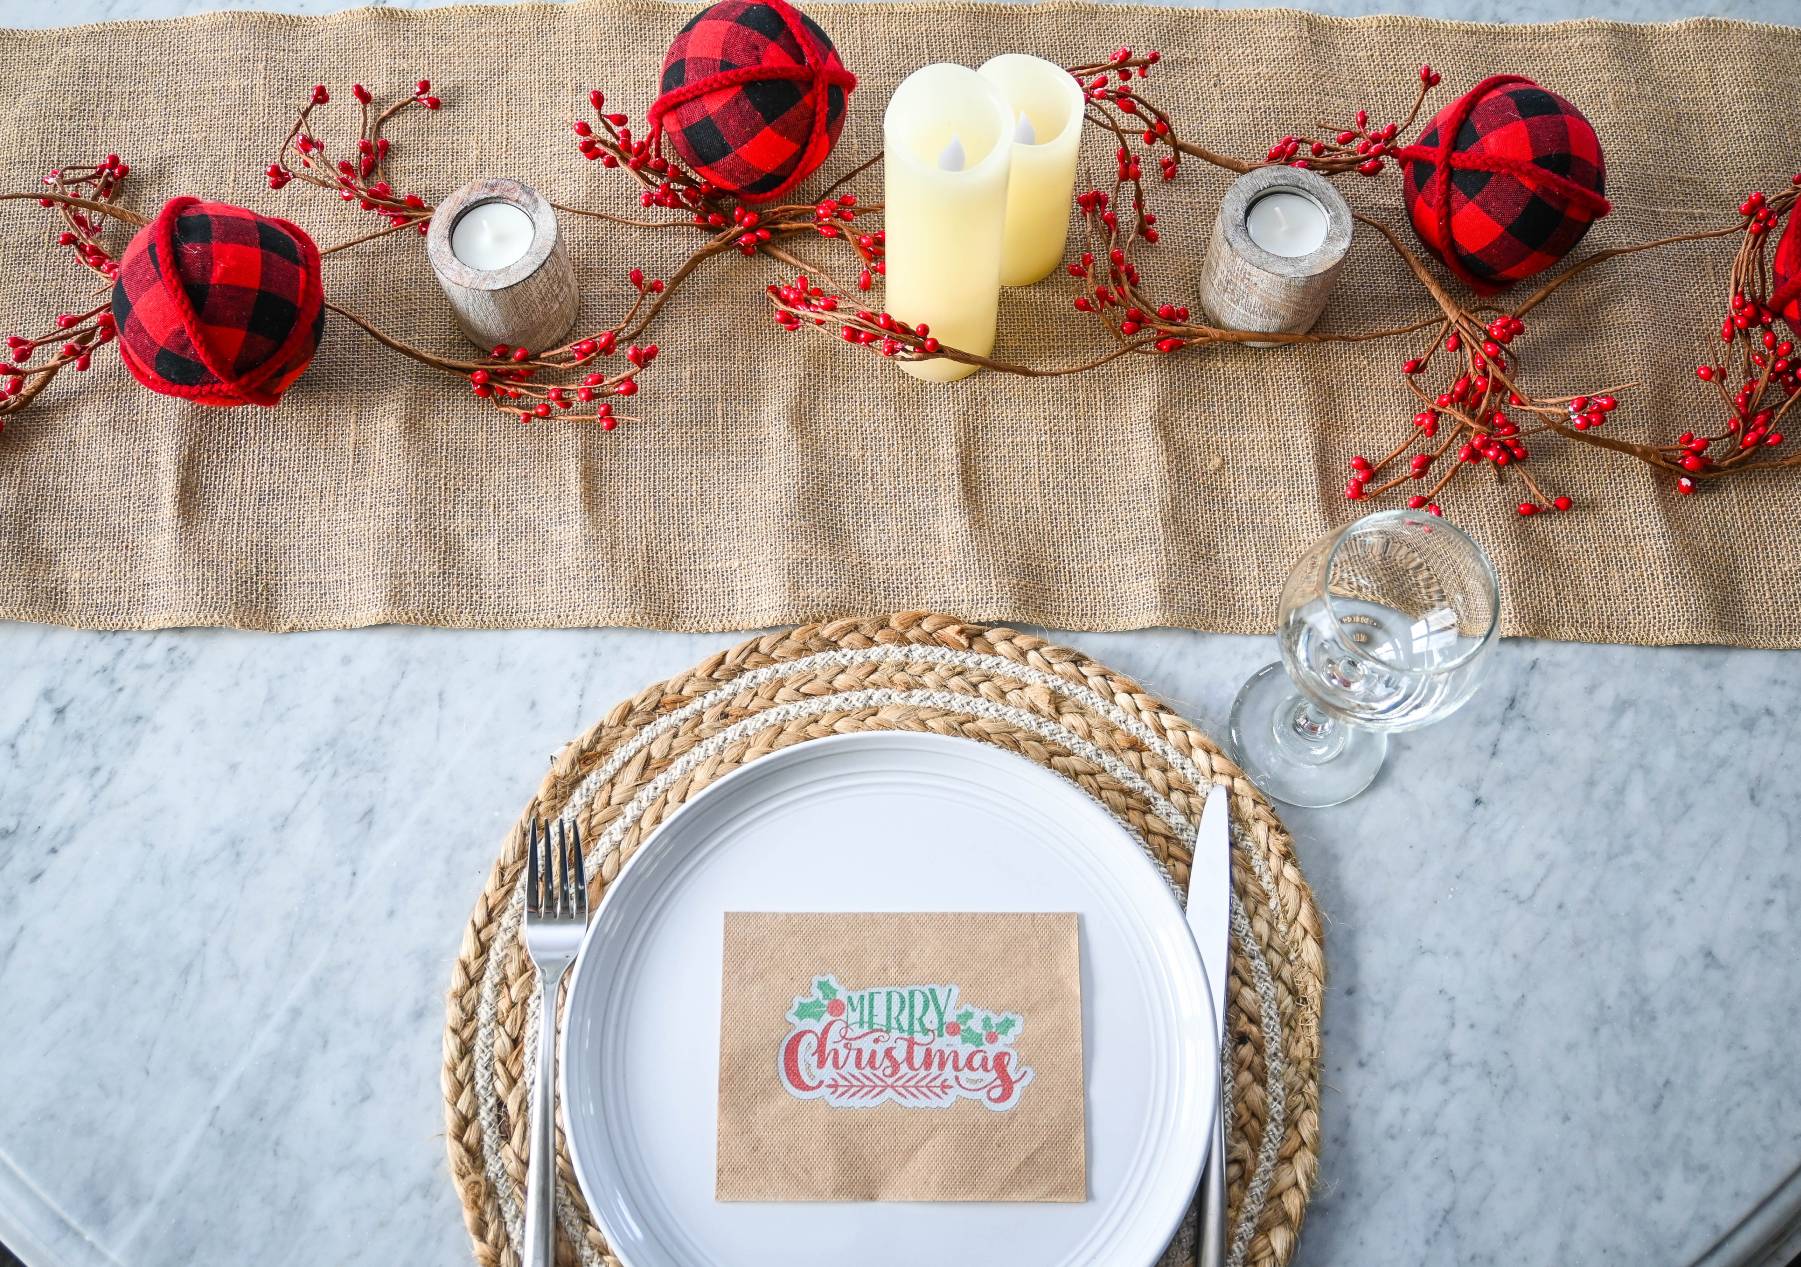
Add a little flare of fun and make your table setting skills into the next level by using PrintWorks Glitter Dark Fabric Transfers. Refer to my Christmas Ribbon instructions for the steps, but be sure to slightly press the iron on top of the overlay paper for just a FEW seconds to avoid the Kraft napkin from burning/melting. Bon appetit!
9. Christmas Party Hat

Supplies:
- Red cardstock from PrintWorks Holiday Cardstock collection
- Black Cardstock and Printworks Kraft Cardstock
- PrintWorks White Glitter Cardstock
- Adhesive glue
- Scissors
- Ribbon
- Hot glue
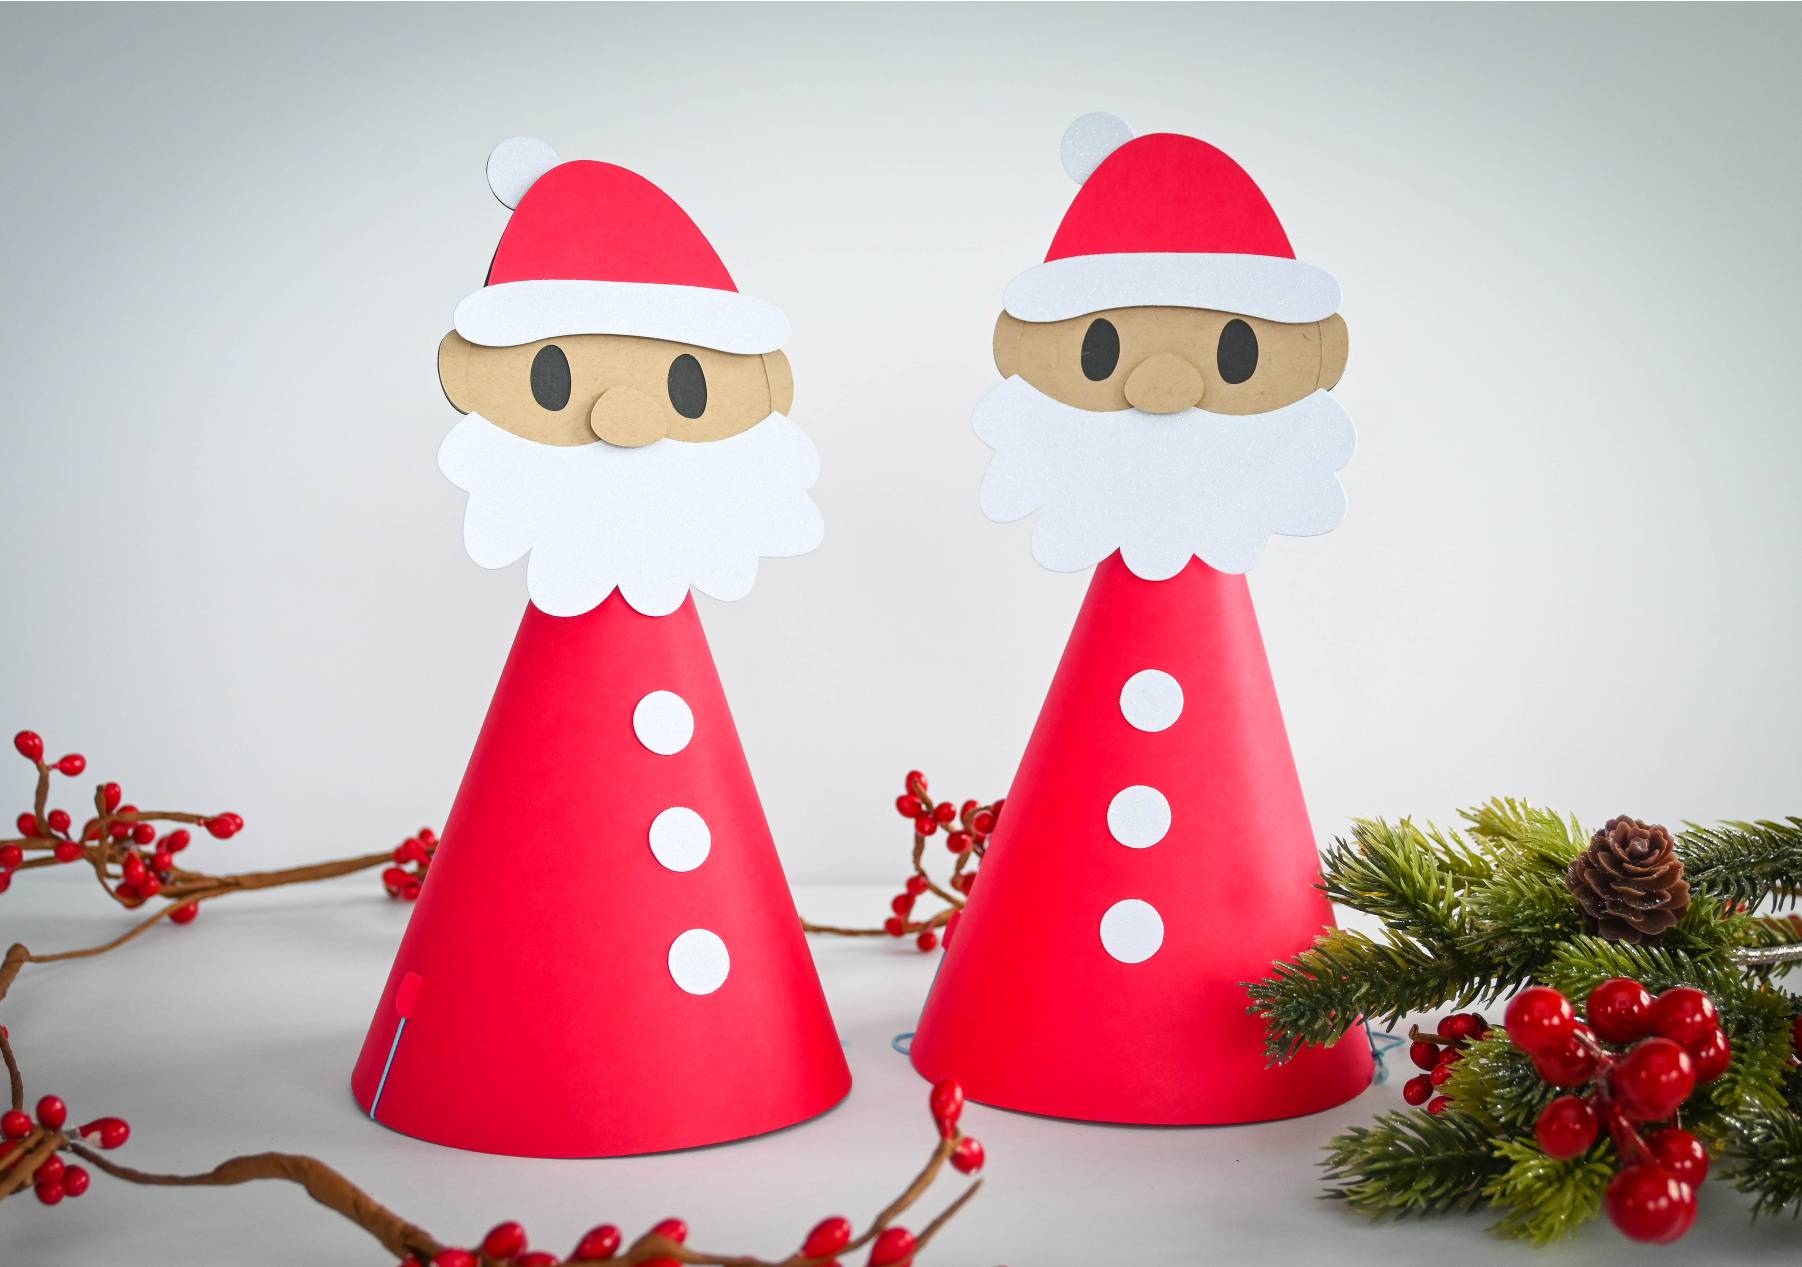
Directions:
- Cut the Santa face and the hat template with your electronic cutting machine. I got all my images from Cricut Design Space.
- Insert the tab into the slit on the other side of the party hat and secure it with a glue.
- Assemble and glue all the layers of Santa’s face.
- Glue the assembled face just below the tip of the cone.
- Cut some small circles and glue in the center of the cone.
- Tie the ends of the elastic string around the holes and let’s party!
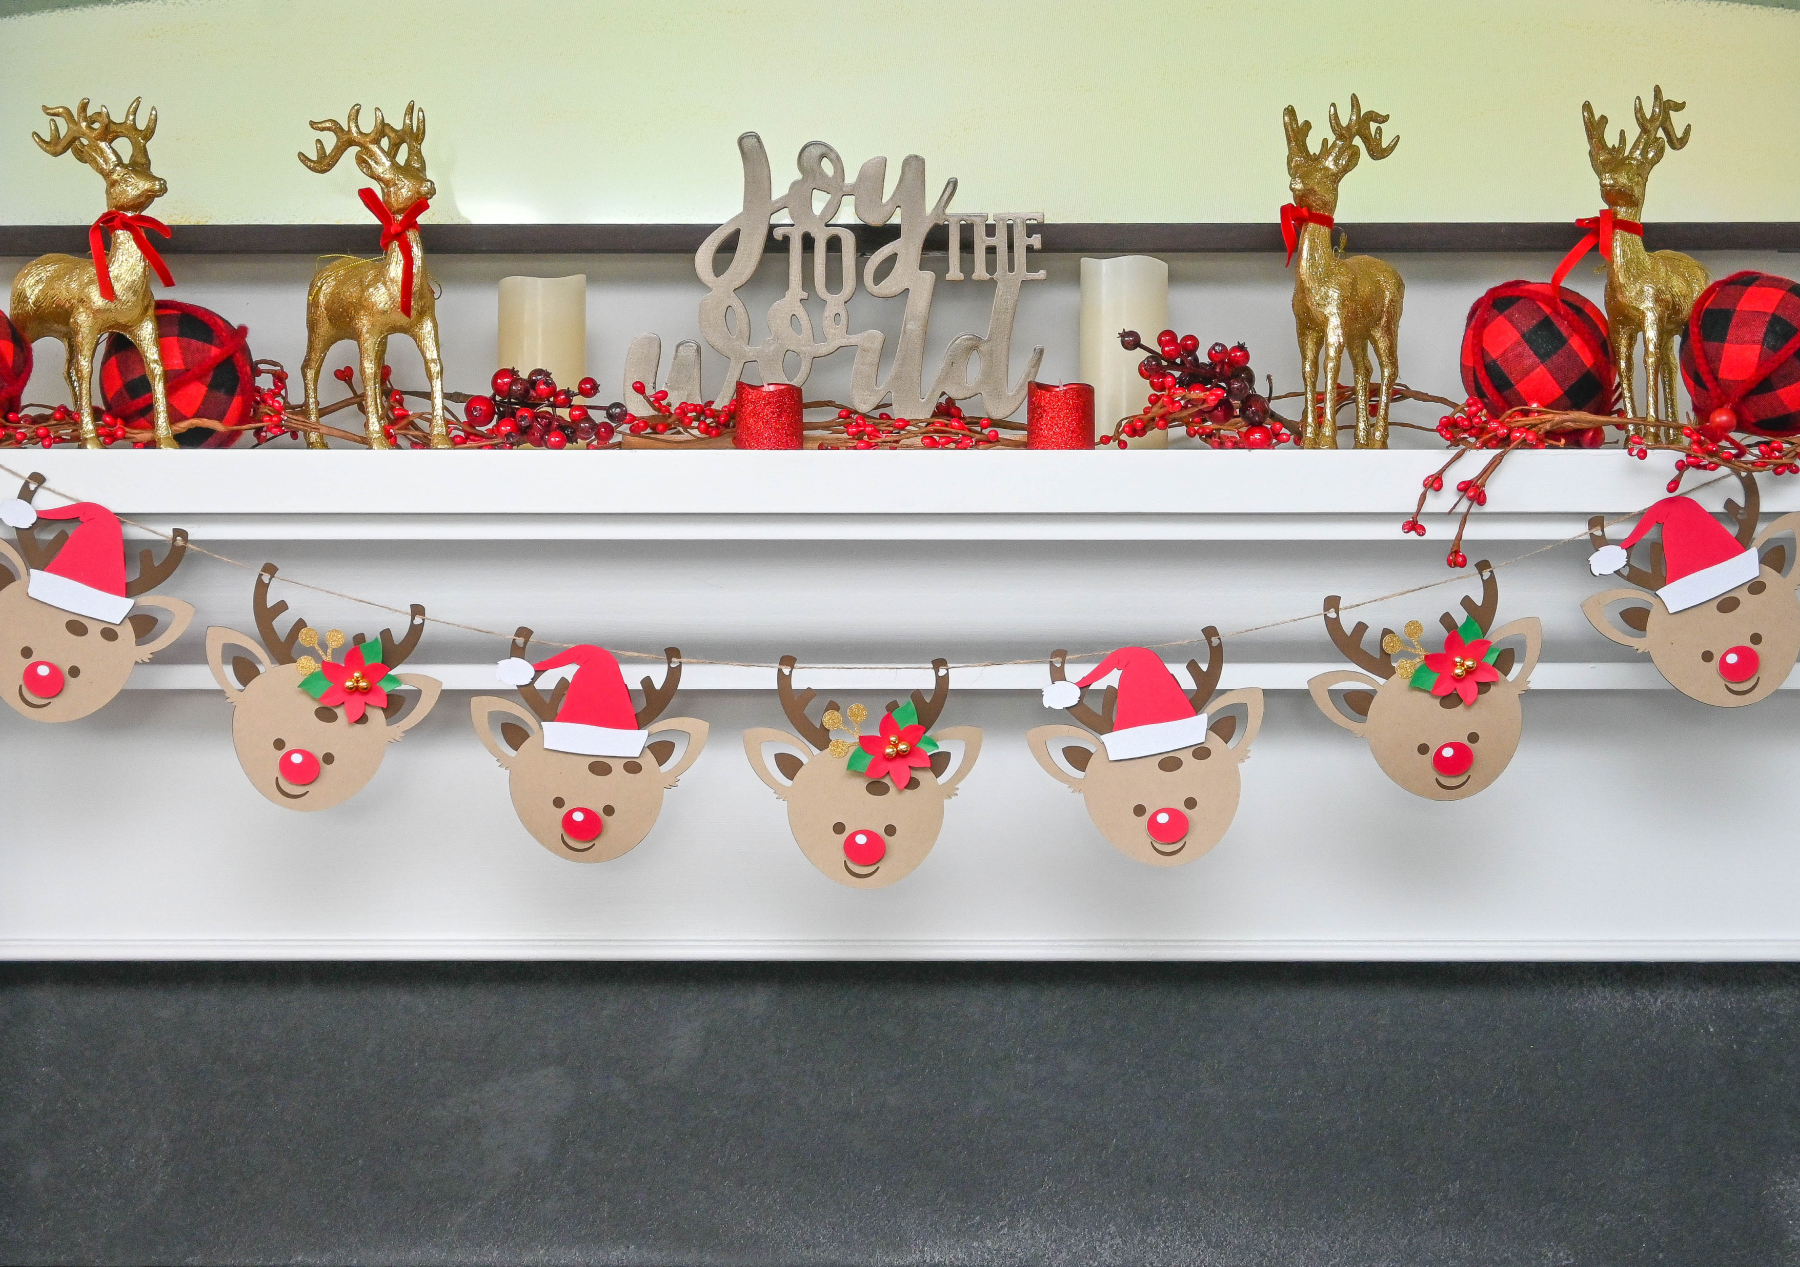
10. Reindeer Banner

Here’s a festive and fun craft that you can add to your Christmas décor! Hang it across a mantle, above the window or your fire place.
Supplies:
- PrintWorks Kraft Cardstock
- Green and Red cardstock from PrintWorks Holiday Cardstock collection
- Gold and White Glitter Cardstock from PrintWorks
- Brown cardstock
- Adhesive glue
- Gold embellishments
- Twine
Directions:
- Cut all the images with your electronic cutting machine (I got all my images from Cricut Design Space).
- Glue all the images together.
- Doll up the Poinsettia with some gold embellishments.
- Punch holes through each of reindeers’ antlers.
- Slide the twine through the each of the reindeers’ hole and your banner is ready to hang!
Thanks for stopping by and have a wonderful Christmas!
Be sure to share your creations with us and use the hashtag #printworksdiy to be featured on our page!
Xoxo,
Angelica
Follow us @printworksdiy on social media for more craft inspiration, and visit our Store to check out the rest of our product line.

